
Happy Make It Monday Y’all!!
We made it to another week!
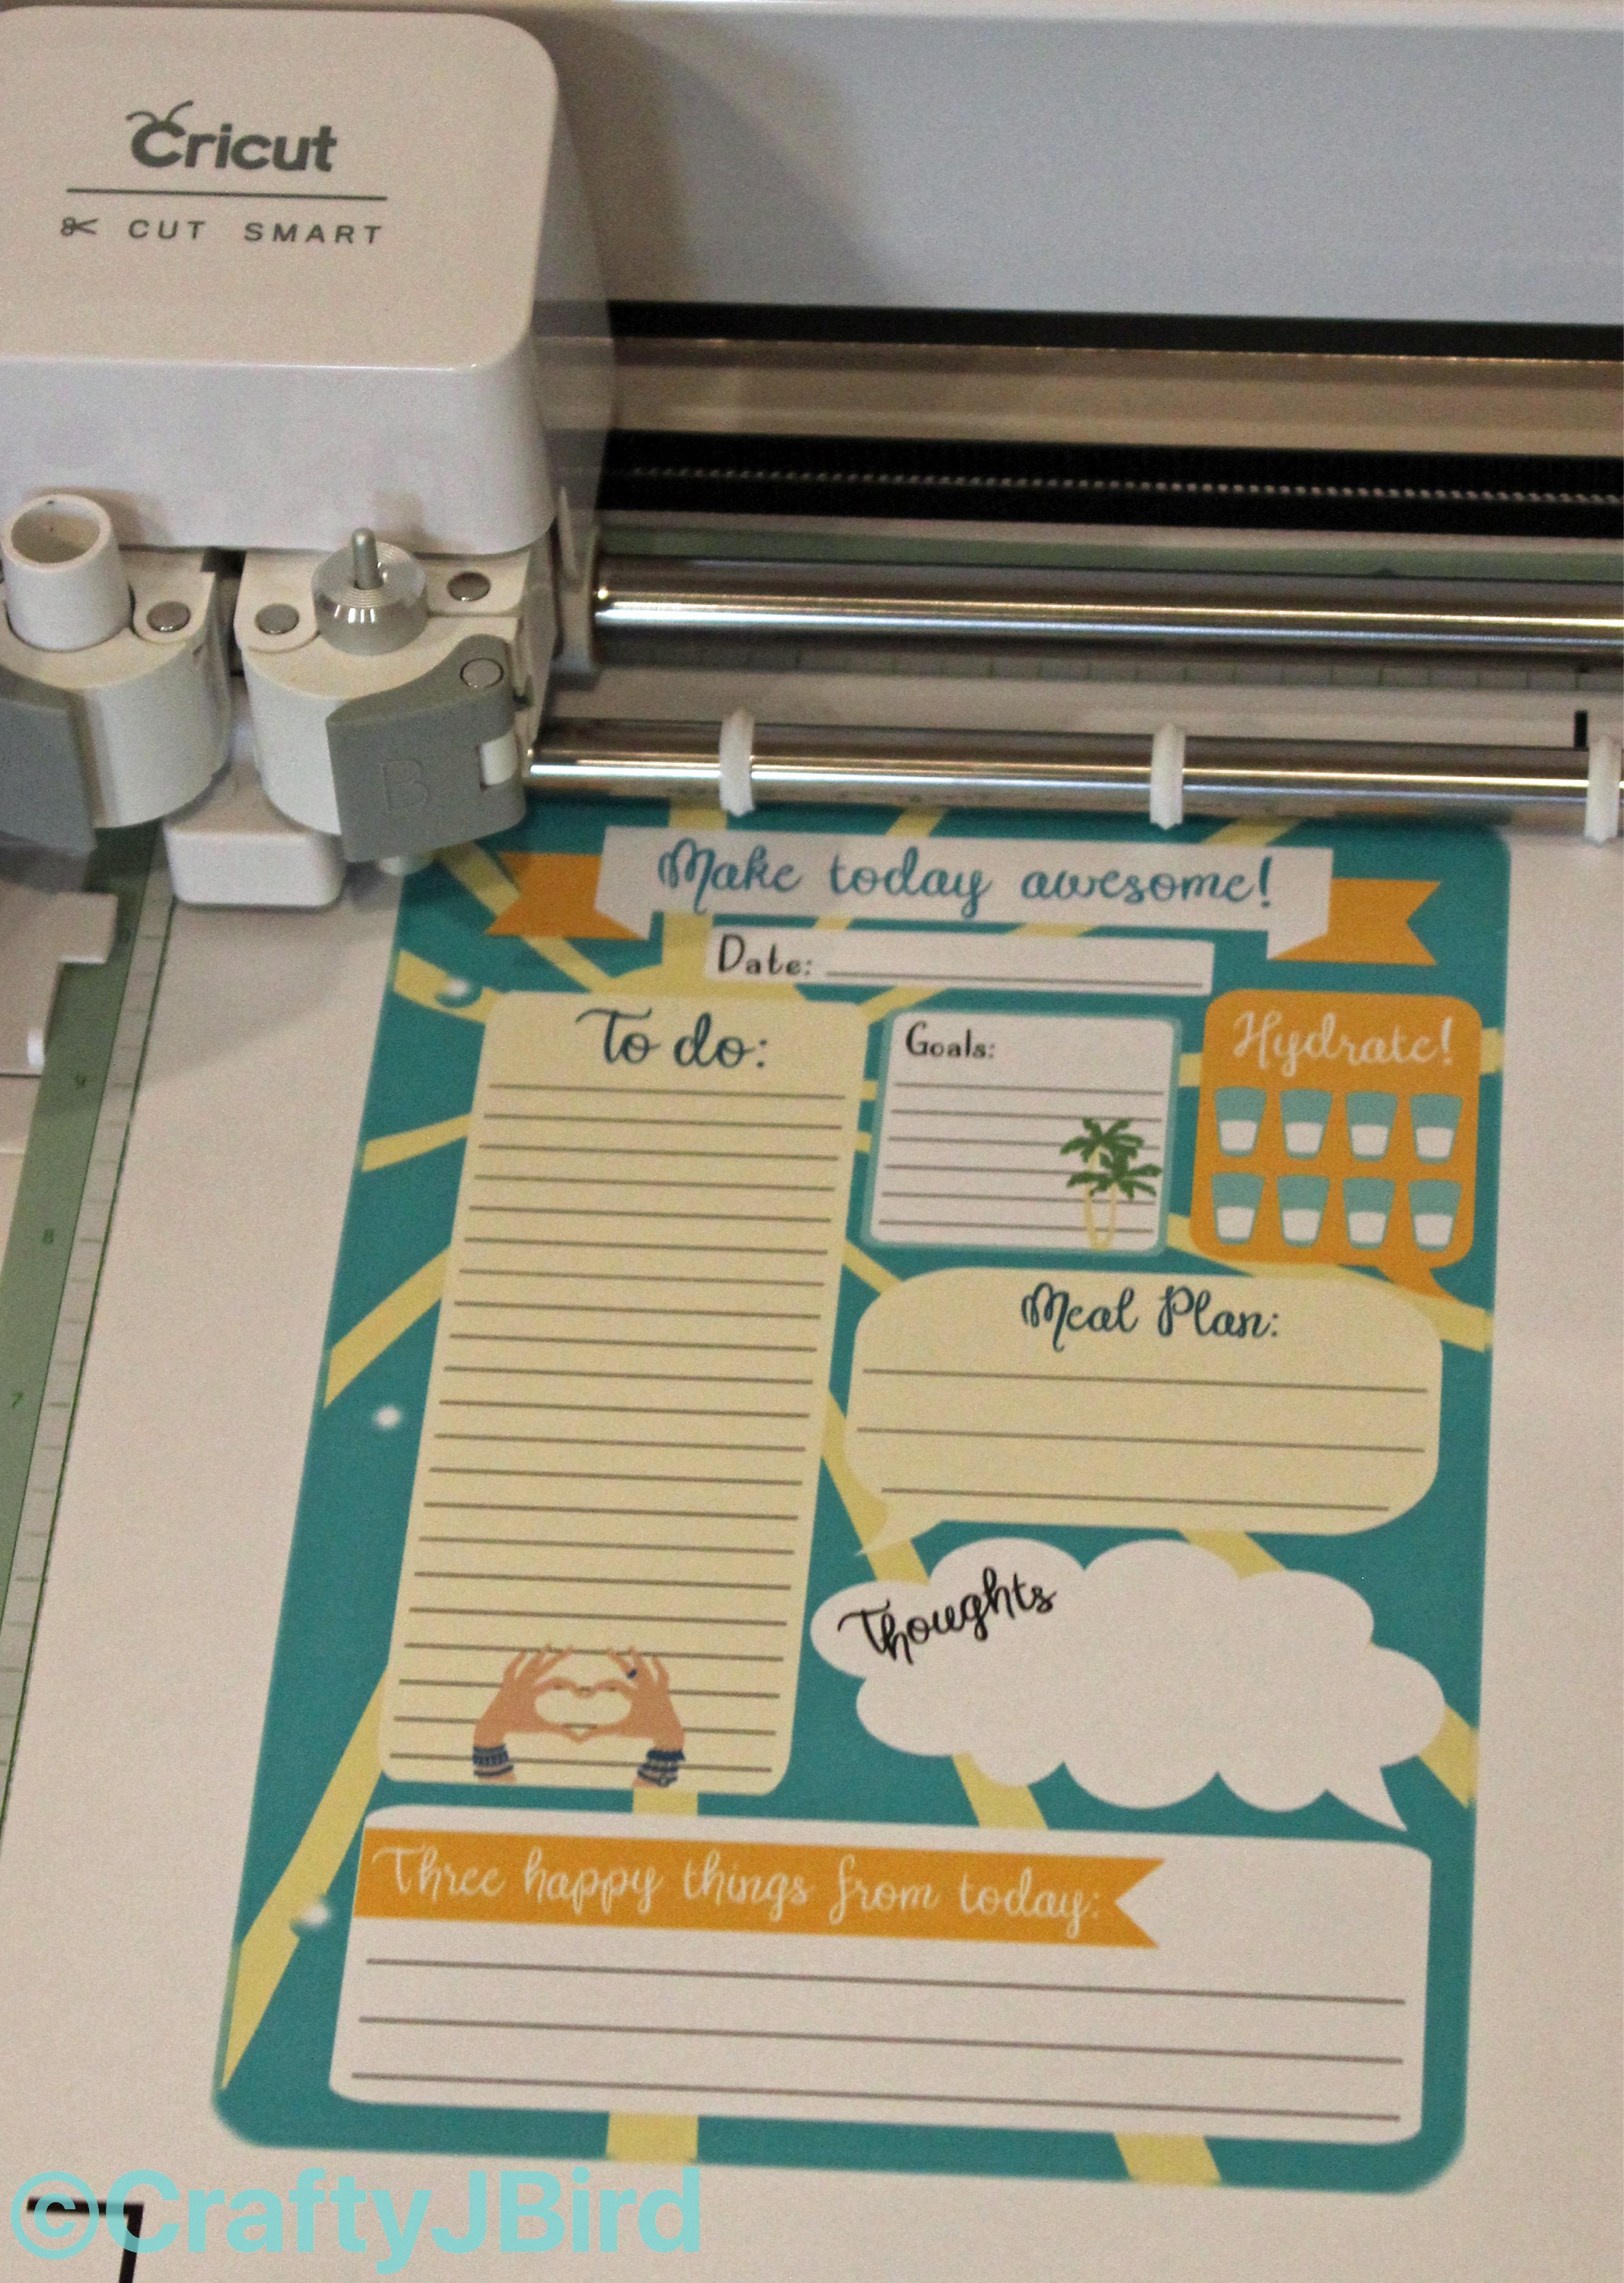
Today I made Cricut’s Summer Planner Day-by-Day inserts. I thought it was really fun and cute; so I decided I would make this planner for the rest of my summer plans and through next year. I love how it has a place to keep track of how much H2O you drink and meal planning. Though I could keep track on my phone for such, I tend to do a better job tracking by using the old fashion way of just writing/marking it down.
Even though the project itself, based on the Cricut Design Space instructions, only takes “less than 30 minutes,” it took a little longer for me because I was making enough for the next 2 weeks. Which means, I will most-likely be back at it sometime this week to make more for the next months.
This Cricut project is very simple. If you have a Cricut Explore or Cricut Explore Air, you will be told you have to first calibrate it before printing then cutting, if you haven’t used this function before now. Since I’ve been using my mom’s Cricut until now I had yet to calibrate mine. So first things first.
Cricut Explore Calibration:

Though the Design Space will walk you step-by-step on this, to calibrate for a print then cut project, you start off with printing out the calibration sheet. As you can see in the picture, I own an HP PhotoSmart Printer. I’ve had this particular HP printer for 5-6 years now and love it.
Once you have your sheet printed, you are going to put it on your mat matching it up as well as possible to the lines. Then make sure the dial is turn to ‘Paper’ located next to ‘Custom.’ Let it do its thing and then check to see if the cuts were on the middle square. After you’ve confirmed that, click continue and the machine will cut down each ‘numbered’ and ‘lettered’ line on the calibration sheet. Assuming everything from there goes well, you are now ready to start a print to cut project. Here’s Part 1 of a video to see how it’s done and Part 2 for the last part (since it was too long to post as one).
Things You’ll Need:

- Cricut Explore or Cricut Explore Air Machine
- An account for Cricut Design Space
- Small 3-ringed Notebook (I purchased mine for about $4.00 from Target)
- 8 1/2 by 11 white cardstock (Purchased mine from Hobby Lobby)
- Cricut Mat
In addition to Part 1, for Part 2 of this project you’ll need:
- Adhesive
- Orange 12 by 12 Cardstock
- Blue 12 by 12 Cardstock
Summer Planner Inserts:
Step #1:

First things first, find the Summer Planner project in the Design Space. Right now it’s between 16 and 20 rows down. Once you find it click on it and wait for it to load. Next you click the “GO” at the top right to proceed of printing then cutting out the insert. For the insert I found out, the “Date” and “Goal” is cut once it gets to the Cricut but since it’s so small I decided to go back and change the ‘cut’ to ‘print,’ which made it look much nicer. I may eventually go back and change it to ‘cut’ another word or two out but until I figure out which ones would work well I’ll just leave it at printing.
Step #2:

Now, since I wanted obviously more than one copy of the insert in my binder, I printed out a total of 14 to at least get me through the next two weeks. I suggest to take the time and go ahead and ‘print’ out at least 2 months worth. If you don’t have time to ‘cut’ them out too, then you can always ‘print’ now and then as you have time ‘cut’ a few out at a time.
Step #3:

After all mine were ‘printed,’ I took them to my workstation where I have my Cricut Explore setup to start ‘cutting’ them out. The ‘cutting’ time takes a few minutes on each since it has to take the time to scan each corner with an ‘L’ looking symbol. Go through each step to ‘cut’ each ‘print’ out and then your finished.
Come back next week for Part 2 and what my almost finished Summer Planner looks like. Now get to work and get that Summer Planner ready to go!
See ya soon!
Thanks for visiting. Hope to see you back here again. If you have any questions or comments feel free to contact me and I will try to answer as quickly as possible.
Please be sure to check out my other posts for each day of the week if you have not done so yet. Be sure to sign up for my e-mails at the bottom of this page.
Have a great day!!
Please be sure to follow me on Instagram @craftyjbird
Also be sure to ‘like’ me on Facebook! Link at bottom of the page.
Thank you!!
***Design Space, and Explore/Explore Air are all copyright by Cricut. I have no affiliation with Cricut at this time. This is just a project I wanted to do and share as a cute, fun, easy project for my “Make It Monday”***

[…] Summer Planner Inserts […]
[…] one day closer to Thursday! Come back to find out why! A couple of weeks ago I showed how to make Cricut’s Summer Planner Day-by-Day inserts. This week, I am going to show how to make Cricut’s Summer Planner Monthly Inserts […]