Happy Scrap It Friday!
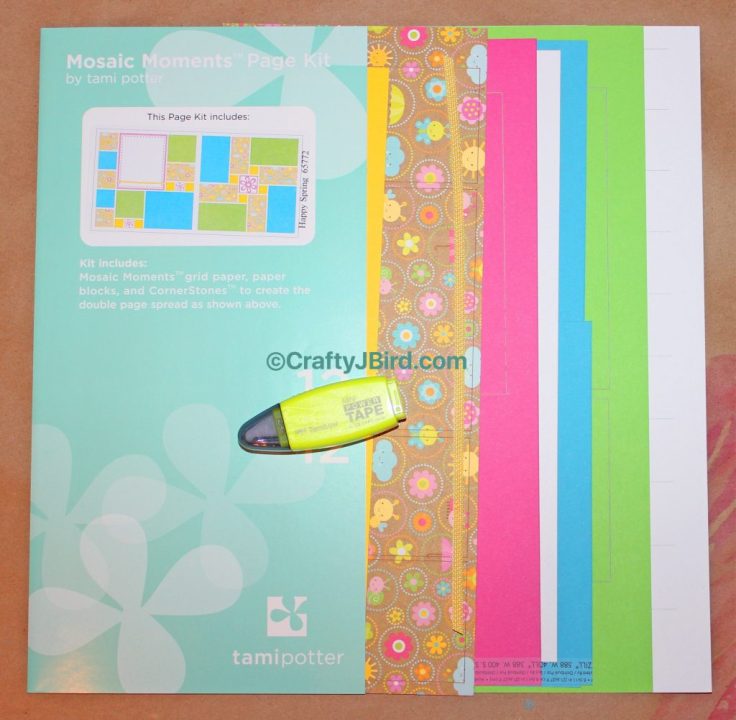
Once again it’s “Scrap It Friday!!” Yep, I know it’s not officially Spring yet; but here in North Louisiana it sure did feel like it was Tuesday and Wednesday of this week. I mean I did have a tank top and flip flops on as well as my windows down, and sunroof opened in my car. Yesterday, on the other hand, was quite cold. Anyways, I thought I would go ahead and still share this double page by Mosaic Moments. Let’s get started with “Mosaic Moments Happy Spring…”
Things Used:
- Mosaic Moments Happy Spring page kit
- Tombow Adhesive
Step #1:
As usual, I placed the smallest pieces on first. The small flowers for this layout didn’t have a piece to back them with anything like the large one does here. So, when putting it in place, I had to be sure to line it up along the lines well.
Step #2:

 Next, I added medium size pieces to each side of the layout. (Sorry about the unfocused photo above, I didn’t realize it until after the fact.)
 Step #3:

 Here, I added the next size up pieces to the layout.
Step #4:
Before placing the last and final piece on the left side page, I attached the ribbon to the piece. To do that, I first tied a knot around the middle of the ribbon. Then I inserted the ends in a hole on either side the piece. Finally, I used my adhesive to secure the ribbon in place on the back of the piece. Once my ribbon was in place, I adhered it to the pink piece and then adhered it to the left side page.
And there you go, a quick page that could be easily finished at wherever you scrapbook. Need pictures printed but don’t have time or access to the right printer? Visit Snapfish for all your photo needs. You can even use their website for storing all your pictures and sorting them in albums, so you know what is what. Also, don’t forget to go through eBates for a 10% cash back for Snapfish and other various stores.
 Have any questions about today’s “Snap ‘N Crop”/”Mosaic Moments” double page kit? Please feel free to comment below and I’ll respond back as soon as possible! Thanks for visiting! Hope to see you again!
Crafty JBird


