
Hope everyone had a great Easter weekend! We visited family in Dallas and had Easter lunch at The Melting Pot. The original plan was to have Easter lunch at the Arboretum; unfortunately, when we called to confirmed reservations somehow they didn’t manage to make them for us. Even though we’ve eaten at The Melting Pot many times over the years, yesterday’s service was absolutely horrible! We had reservations for 11:30 am, waited over 30 minutes just to have our table cleared and have our chocolate fondue ordered after our main meal. By the time our waiter finally came by to take it, we were ready to go. Anyways, today I have a how-to drawing for a few projects I have planned over the next several months. Let’s get started with “Starfish Drawing…”
Things Used:
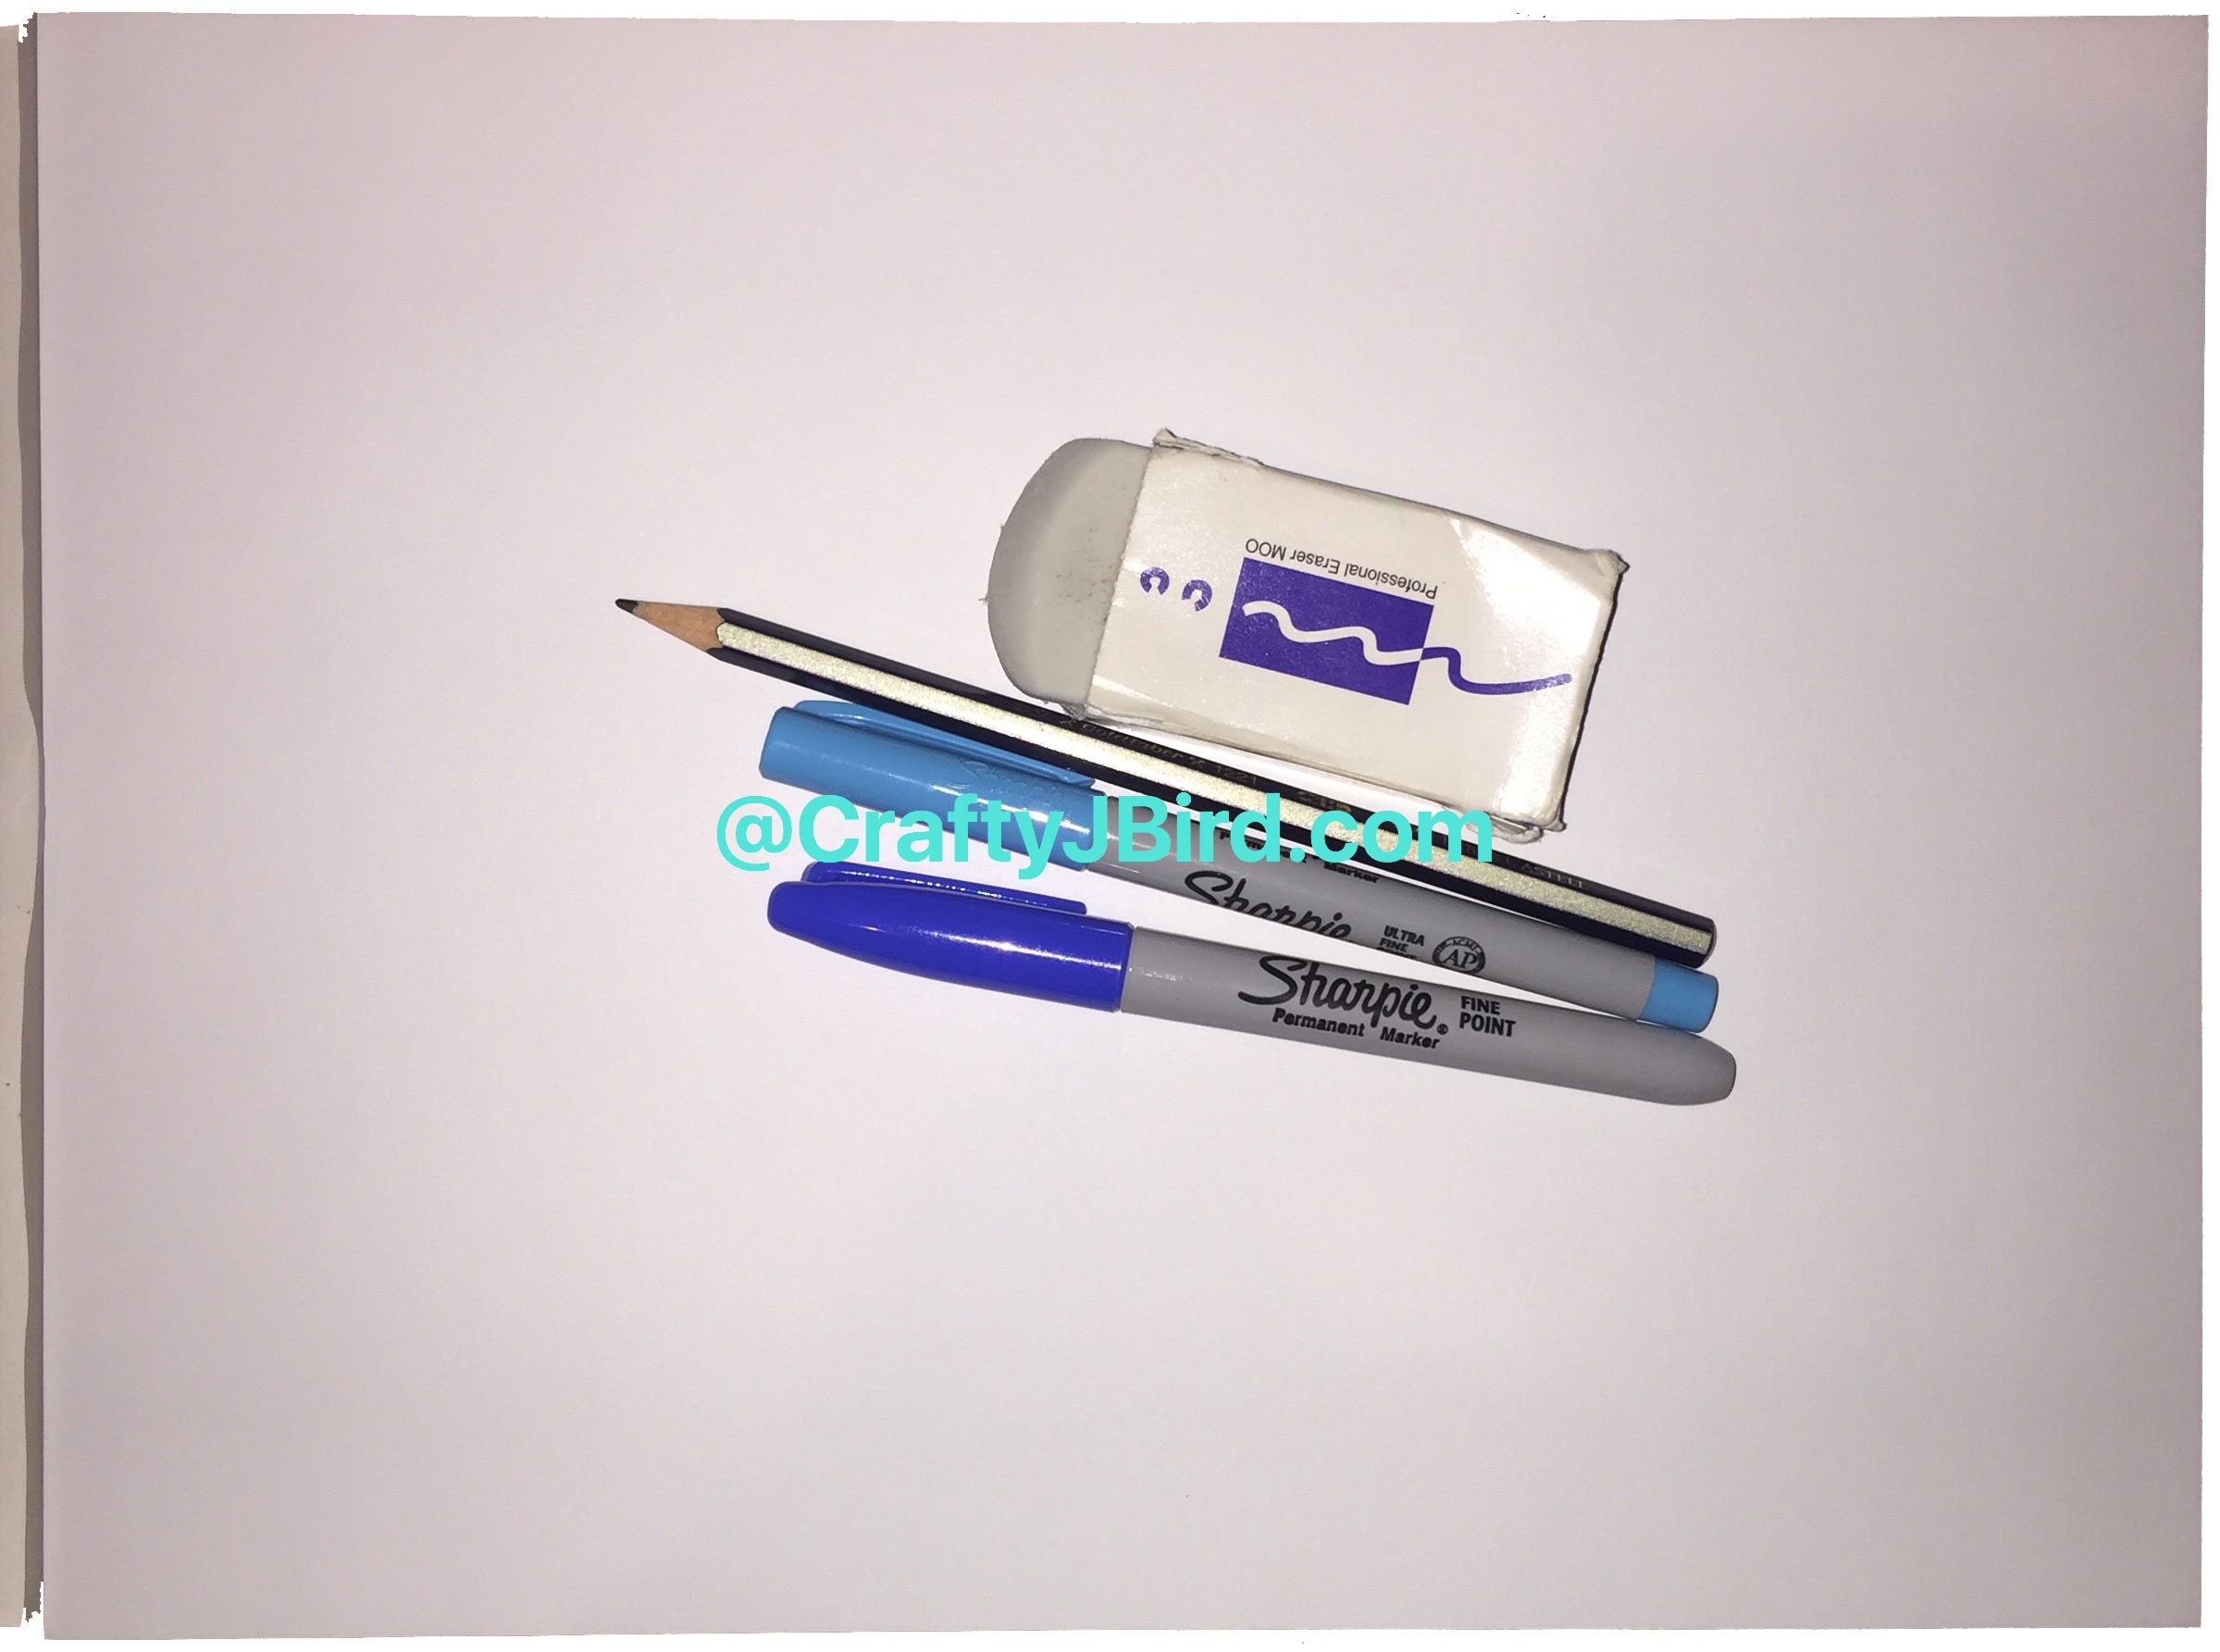
- Canson Marker Paper
- Faber-Castell Sketch Pencil
- Professional Eraser MOO
- Sharpie Pens
- Photoshop Elements 13
Step #1:
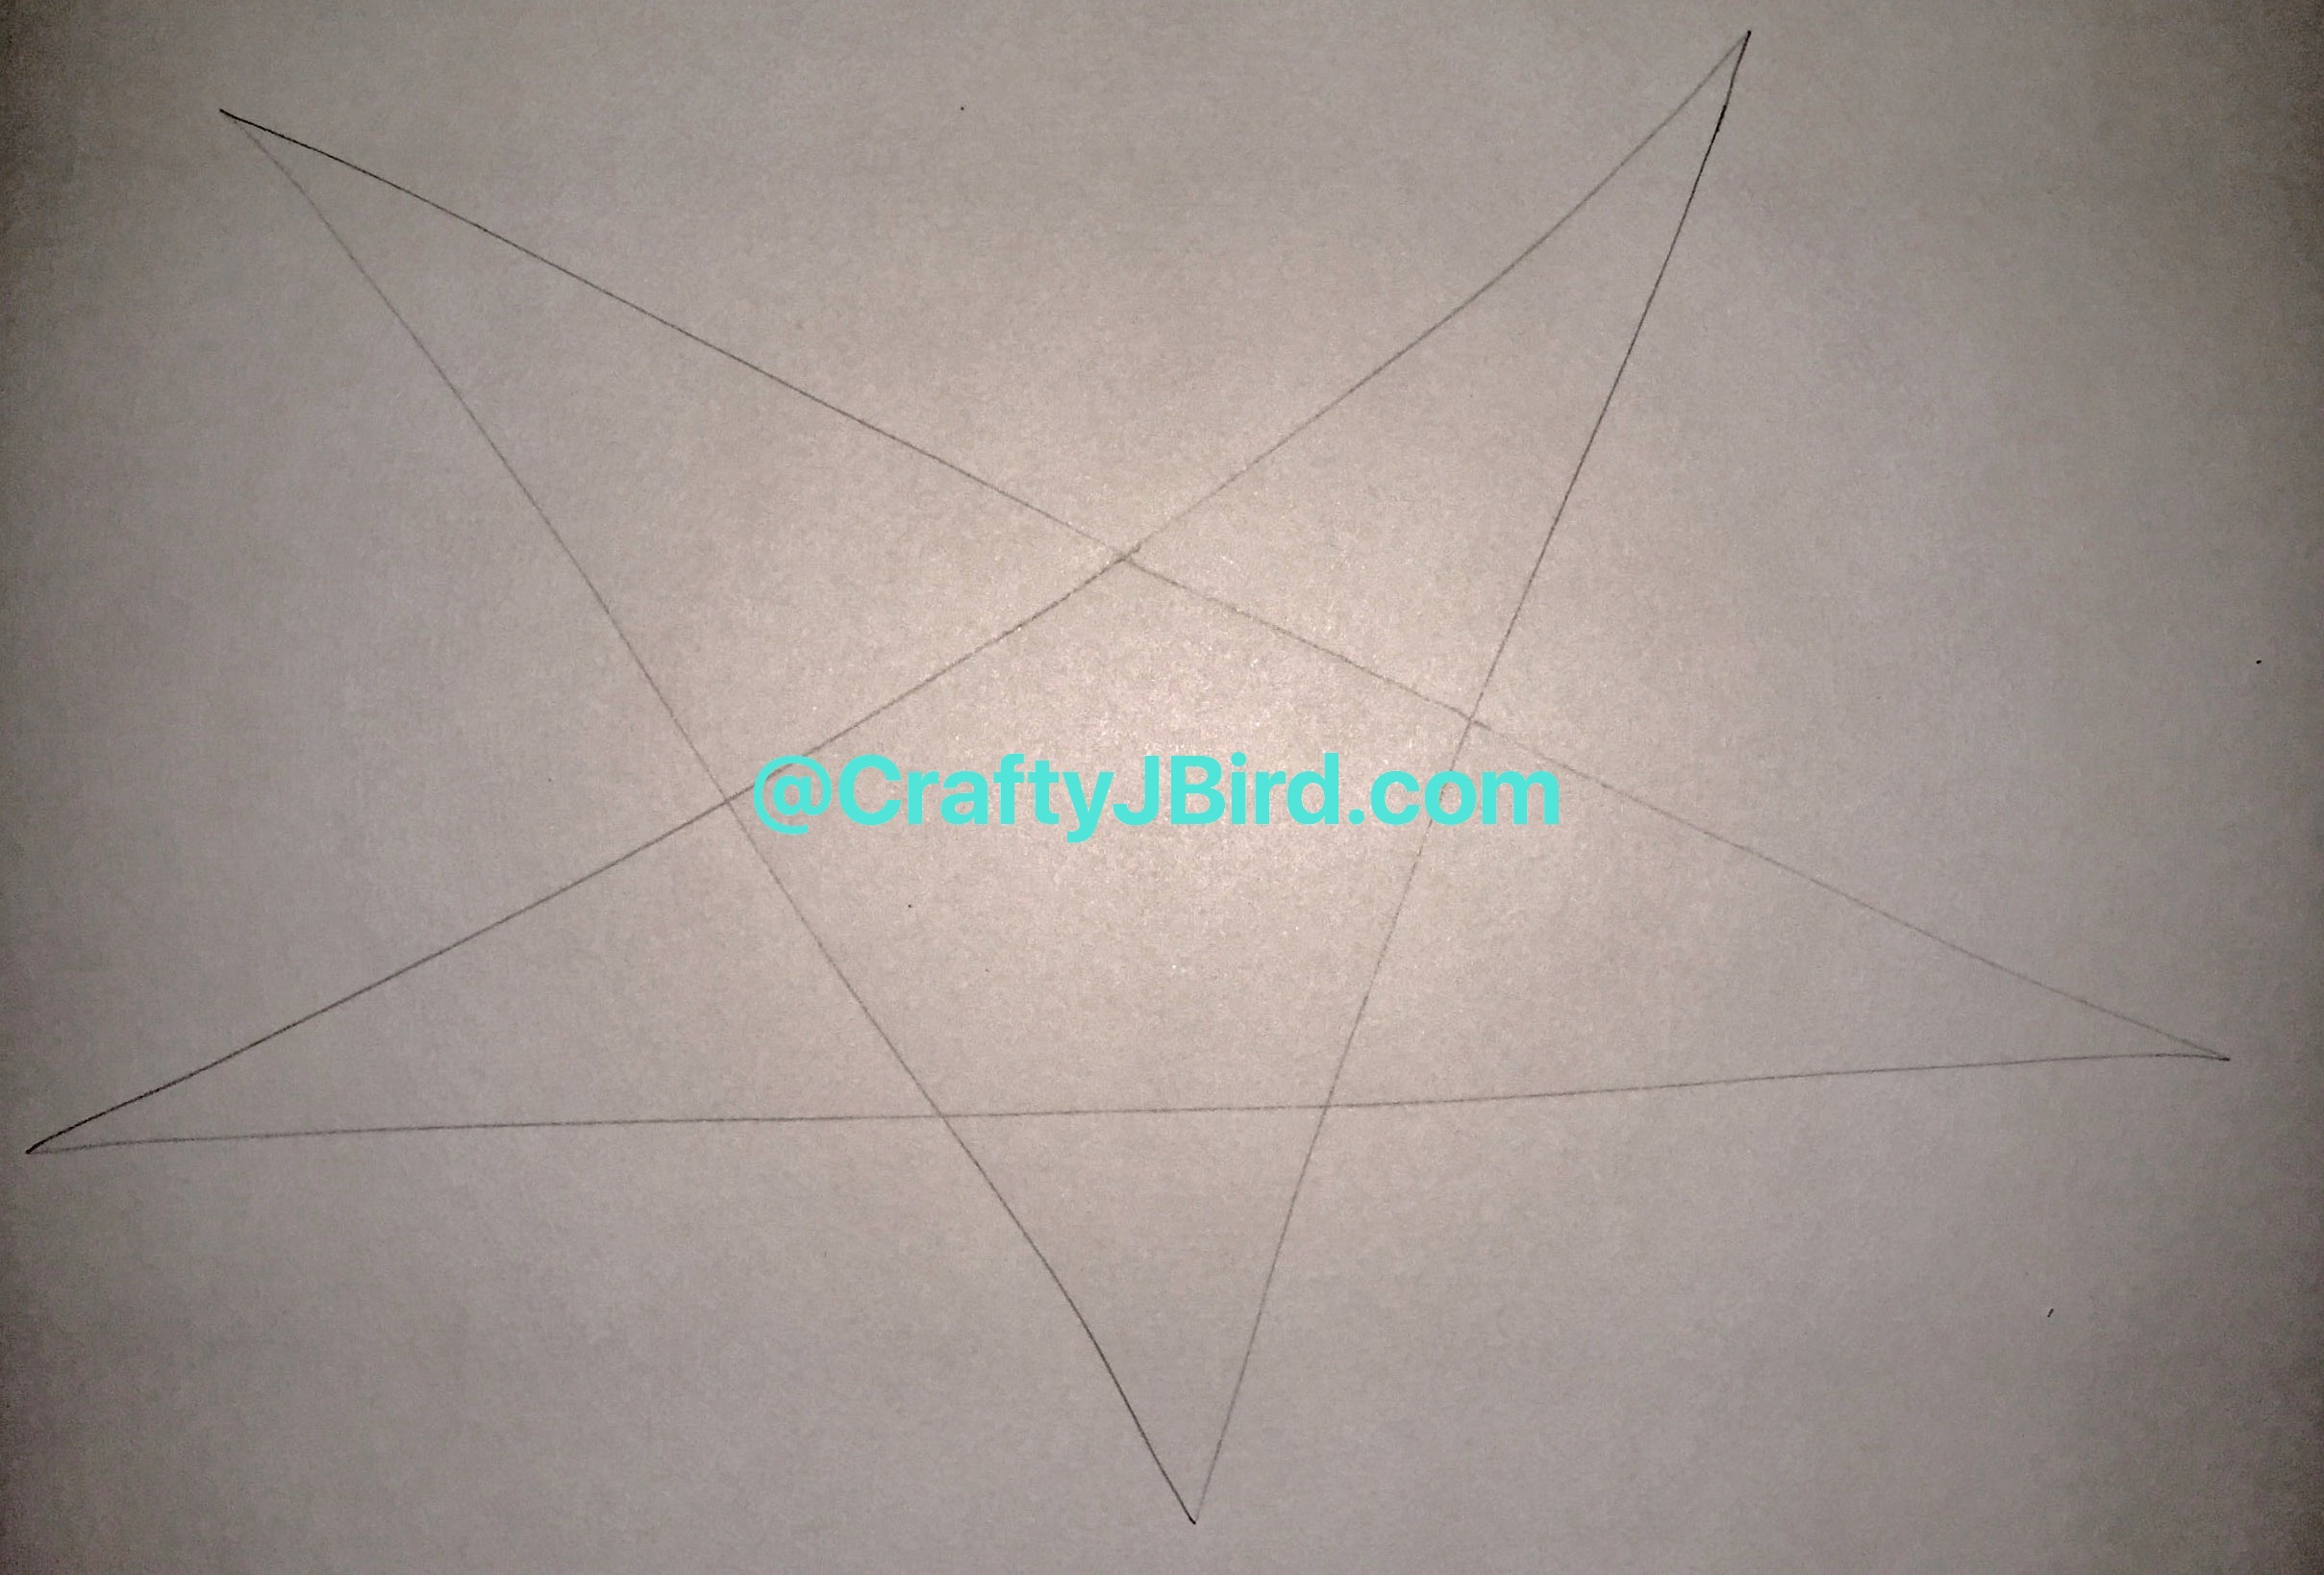
The first thing I did was draw a star. Since I’m horrible at drawing a star without drawing the lines in the middle then erasing, that’s the way I drew it to get started.

Step #2:
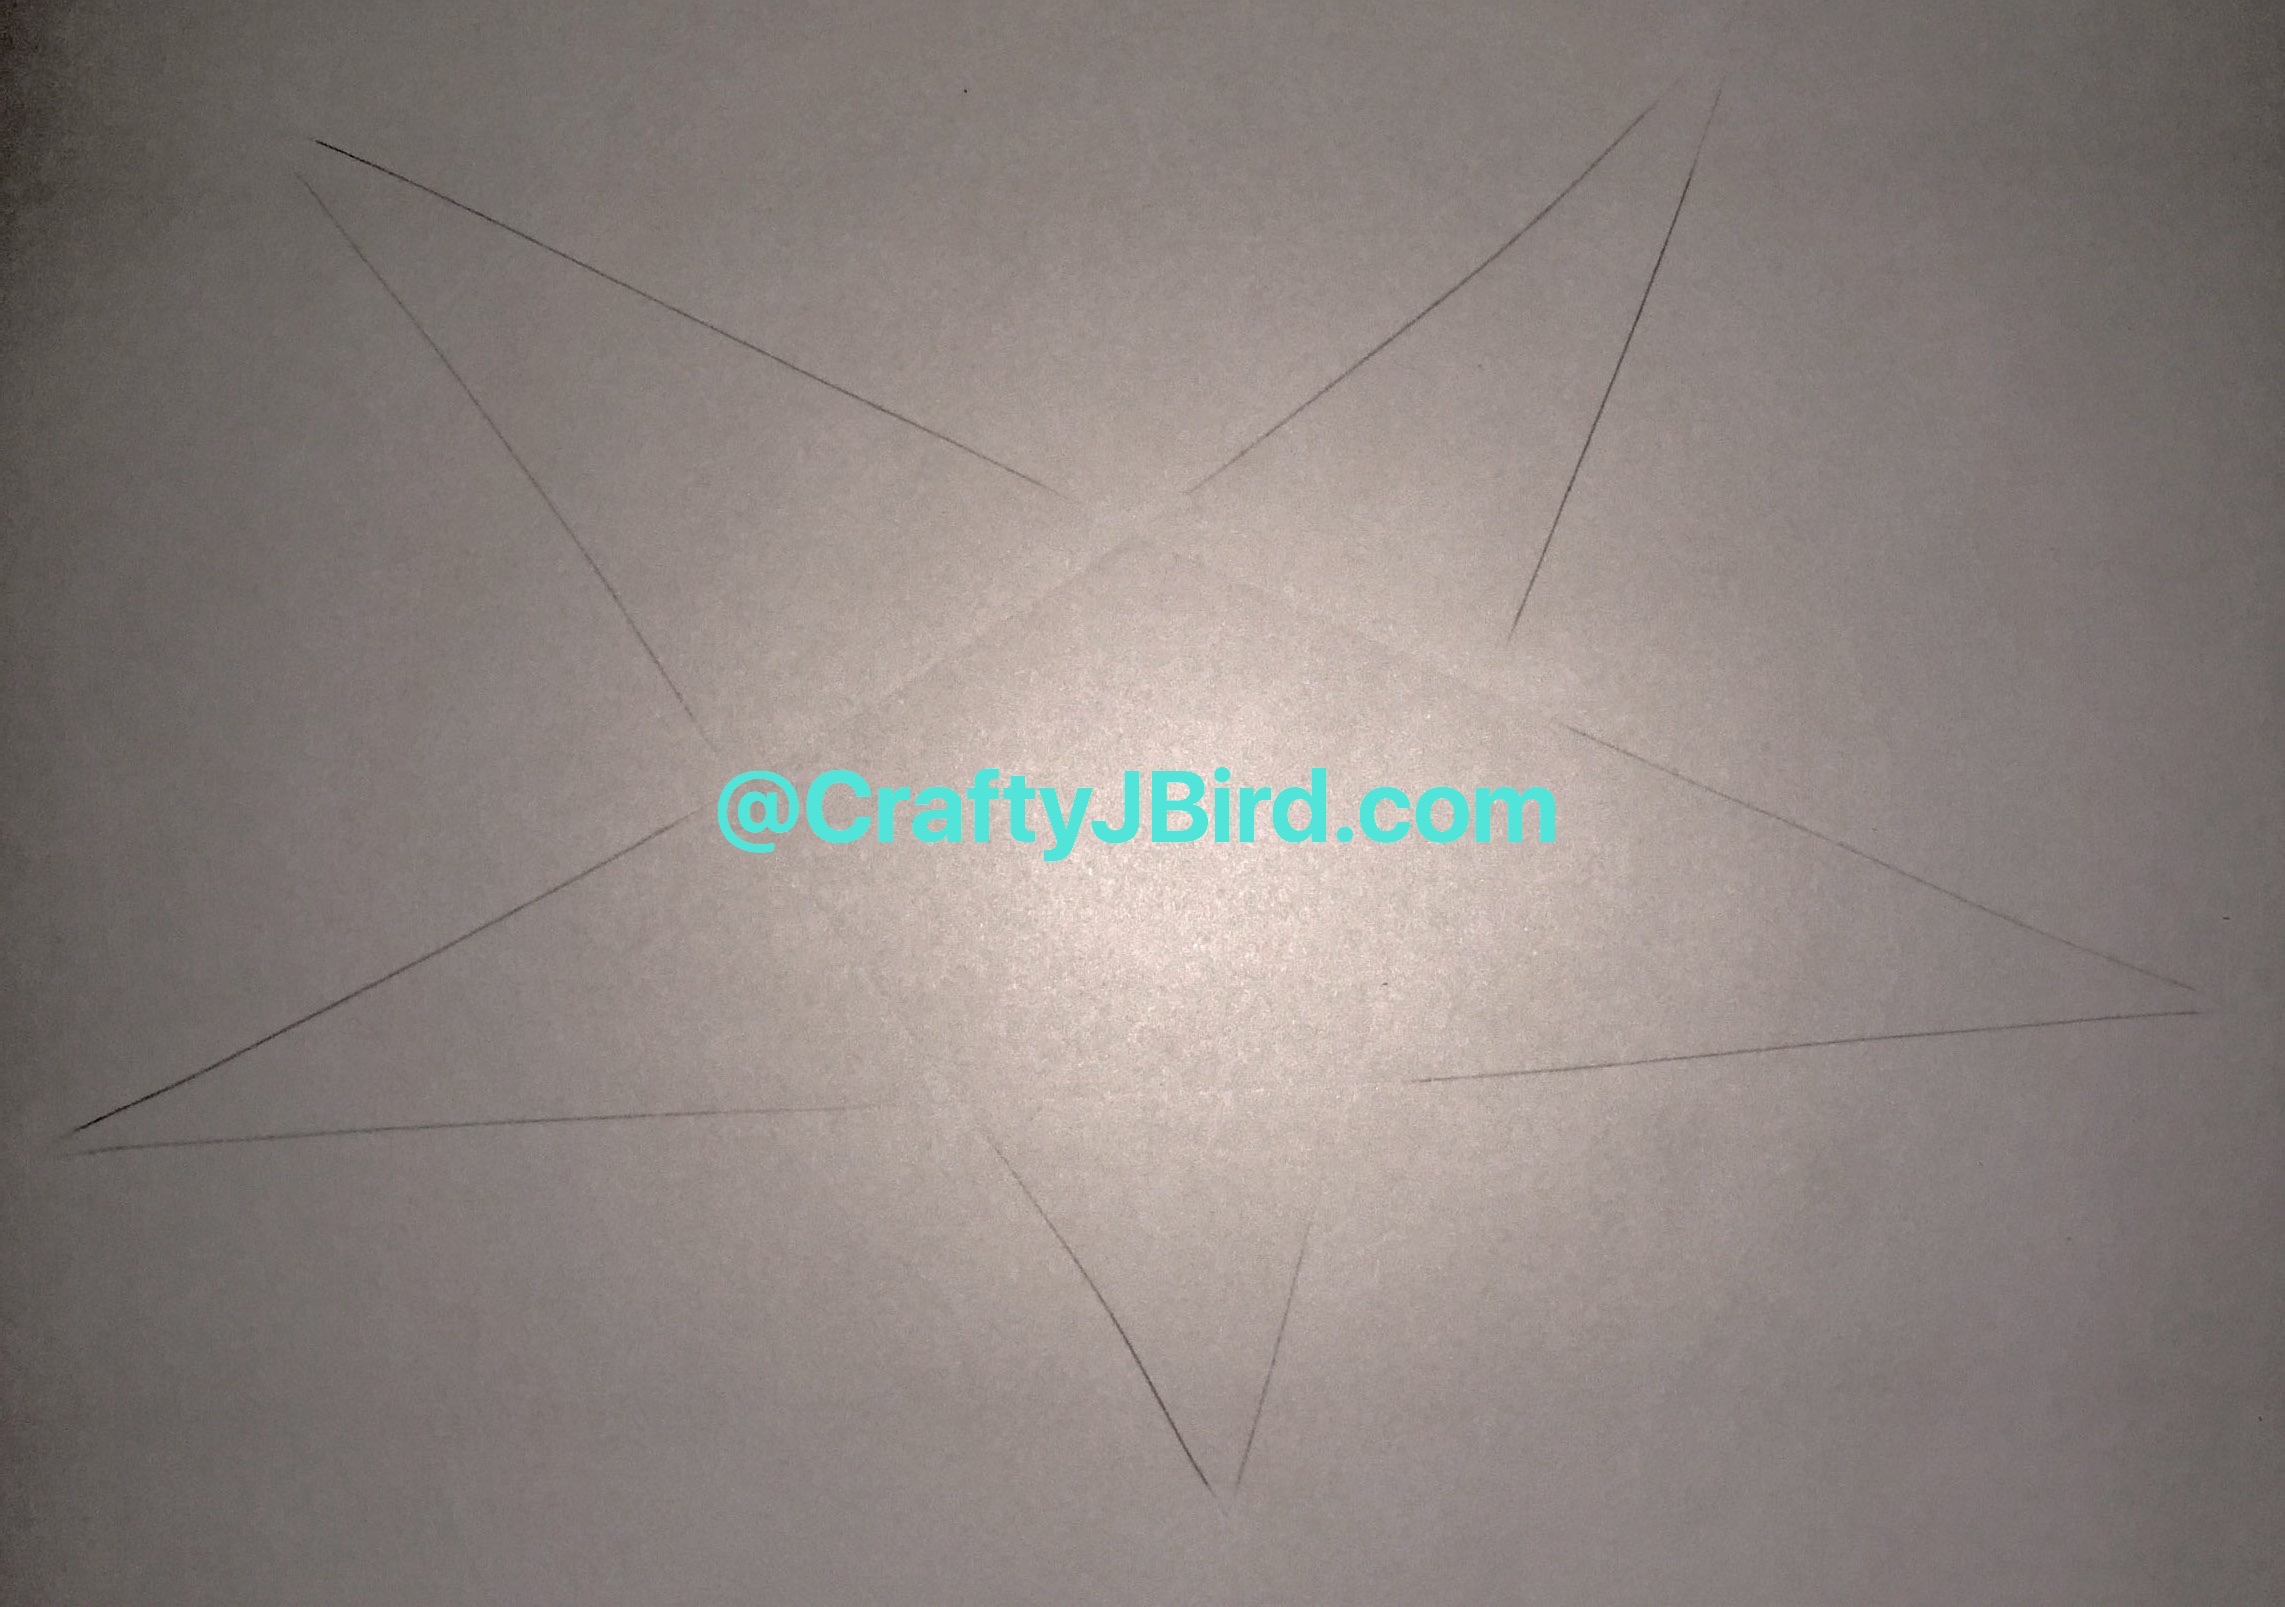
Next, I used my eraser to ‘remove’ the points. This included the points of the ‘arms’ and the angle points pointing inward.
Step #3:
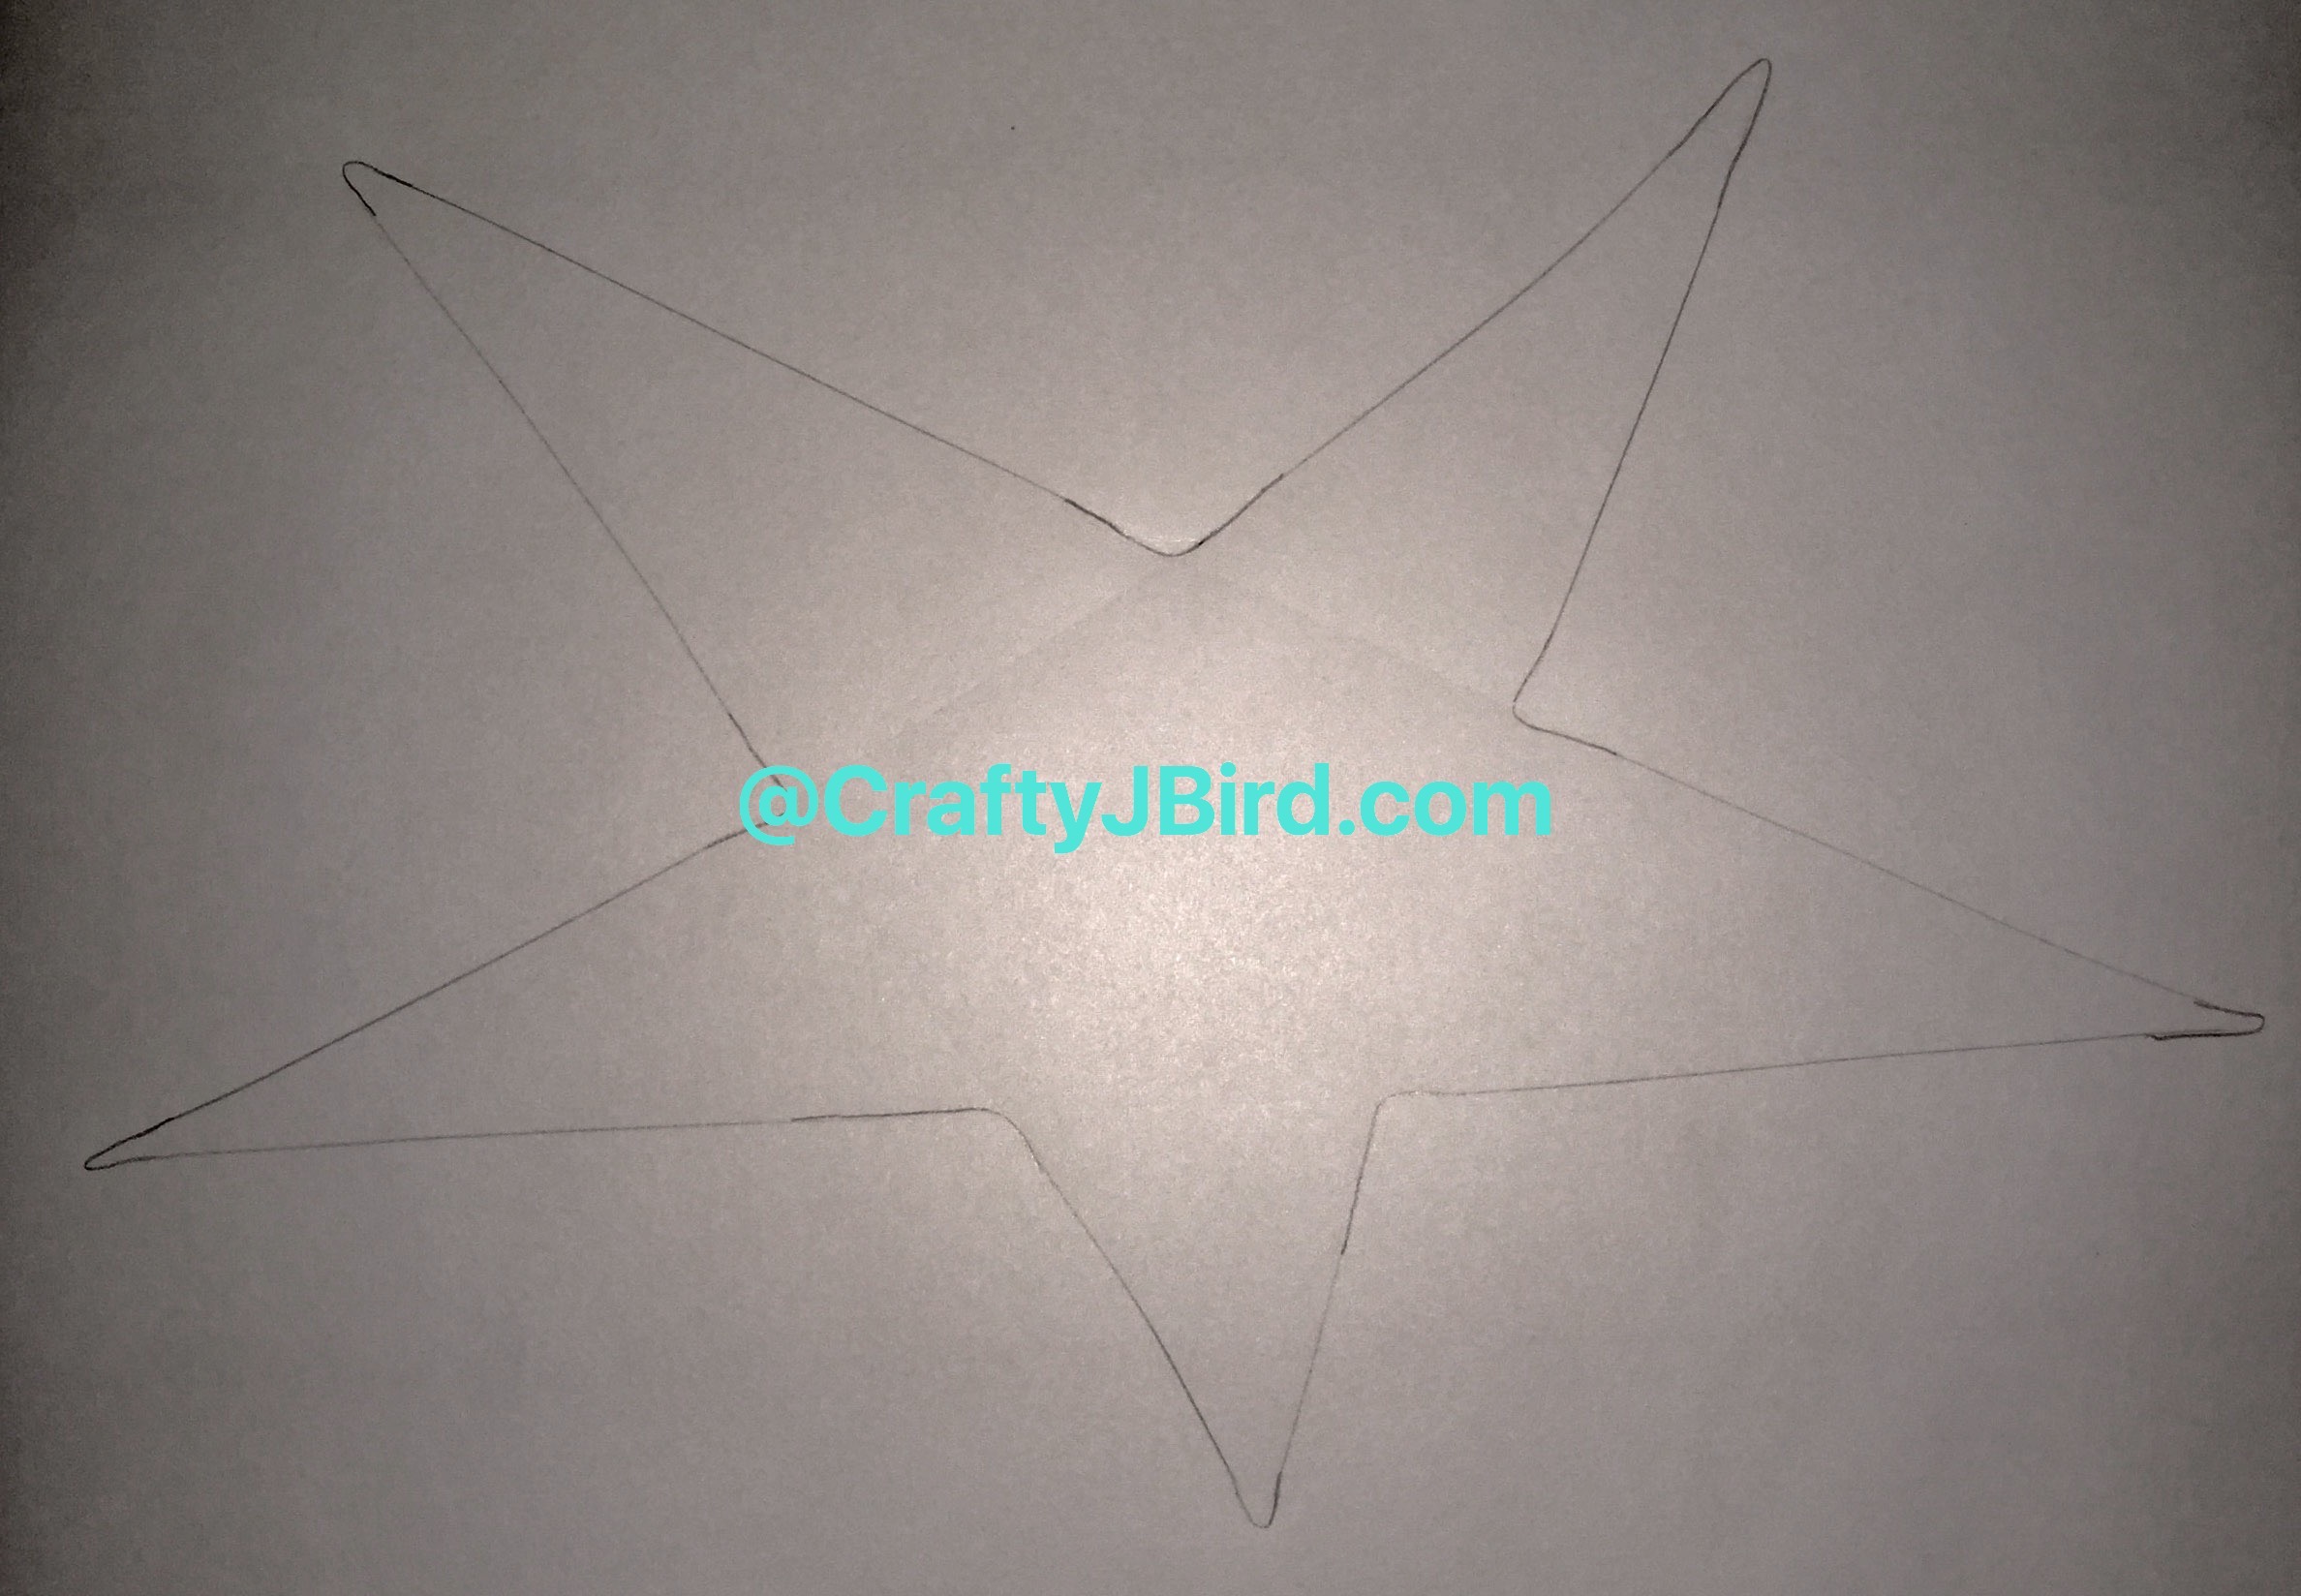
Then, I used my pencil and at each place where I erased the ‘points,’ I added back a rounded end.
Step #4:
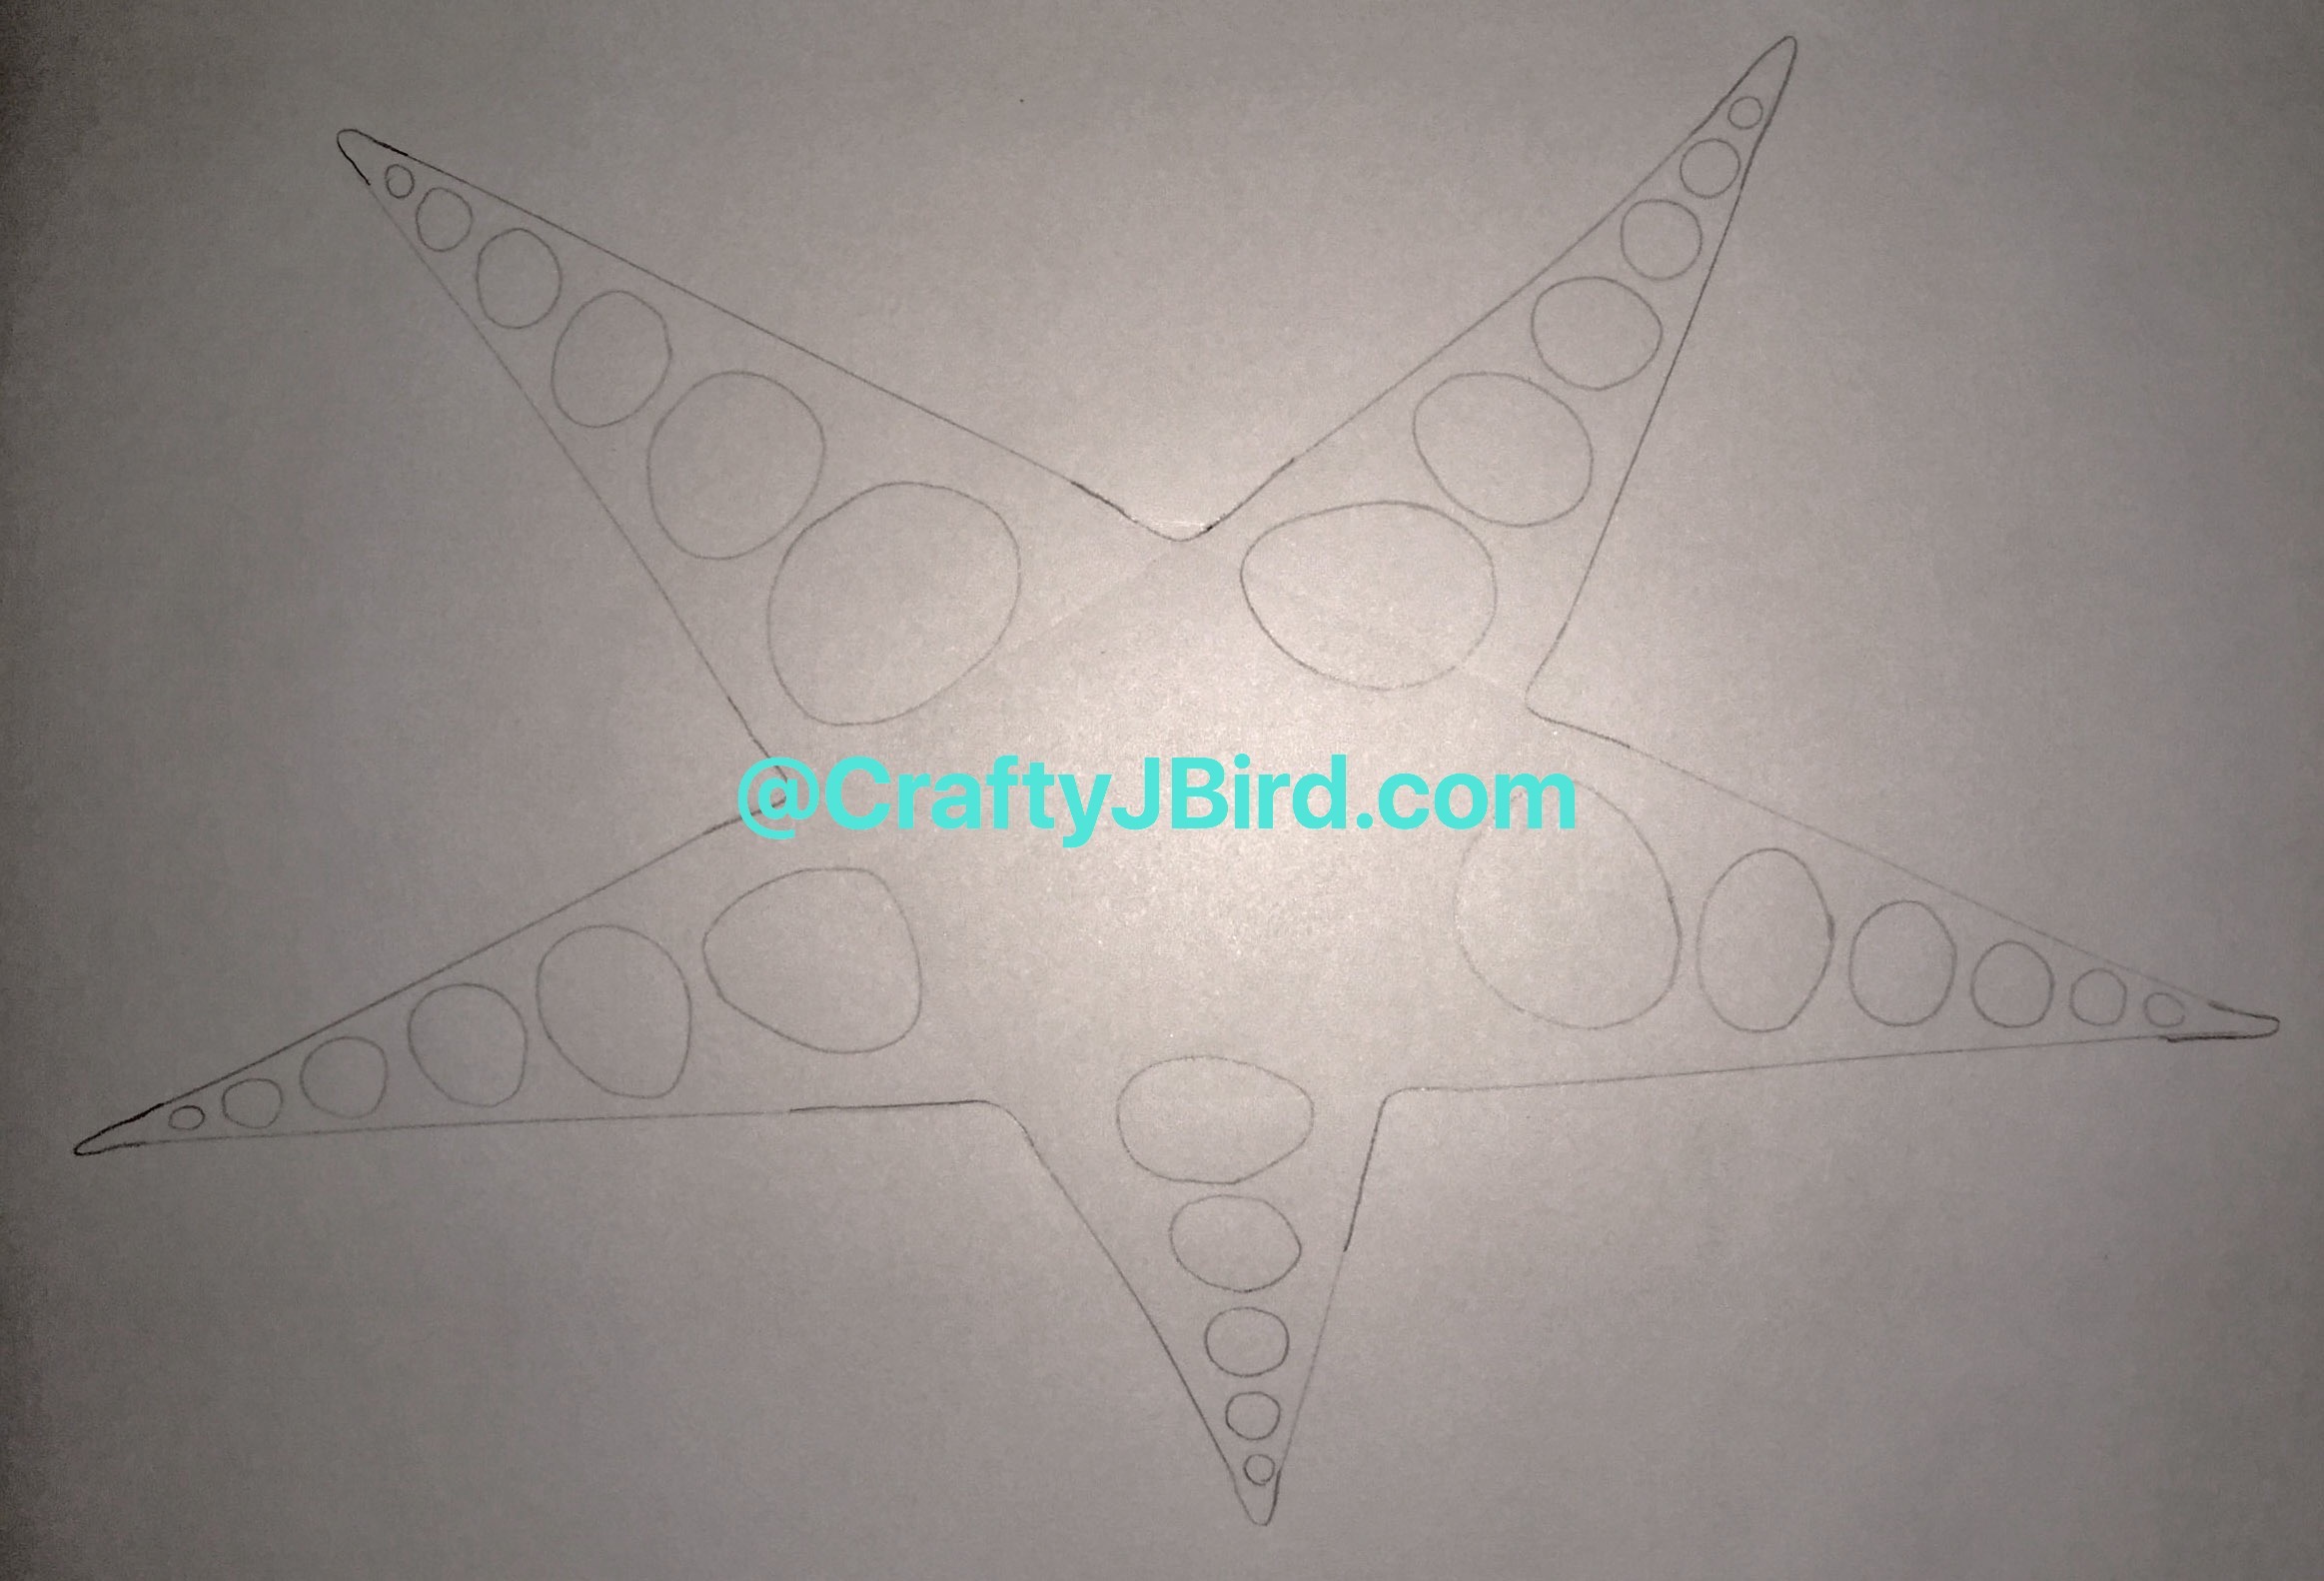
Finally, to give it more of a starfish look, I added the circles going down each arm of the starfish.
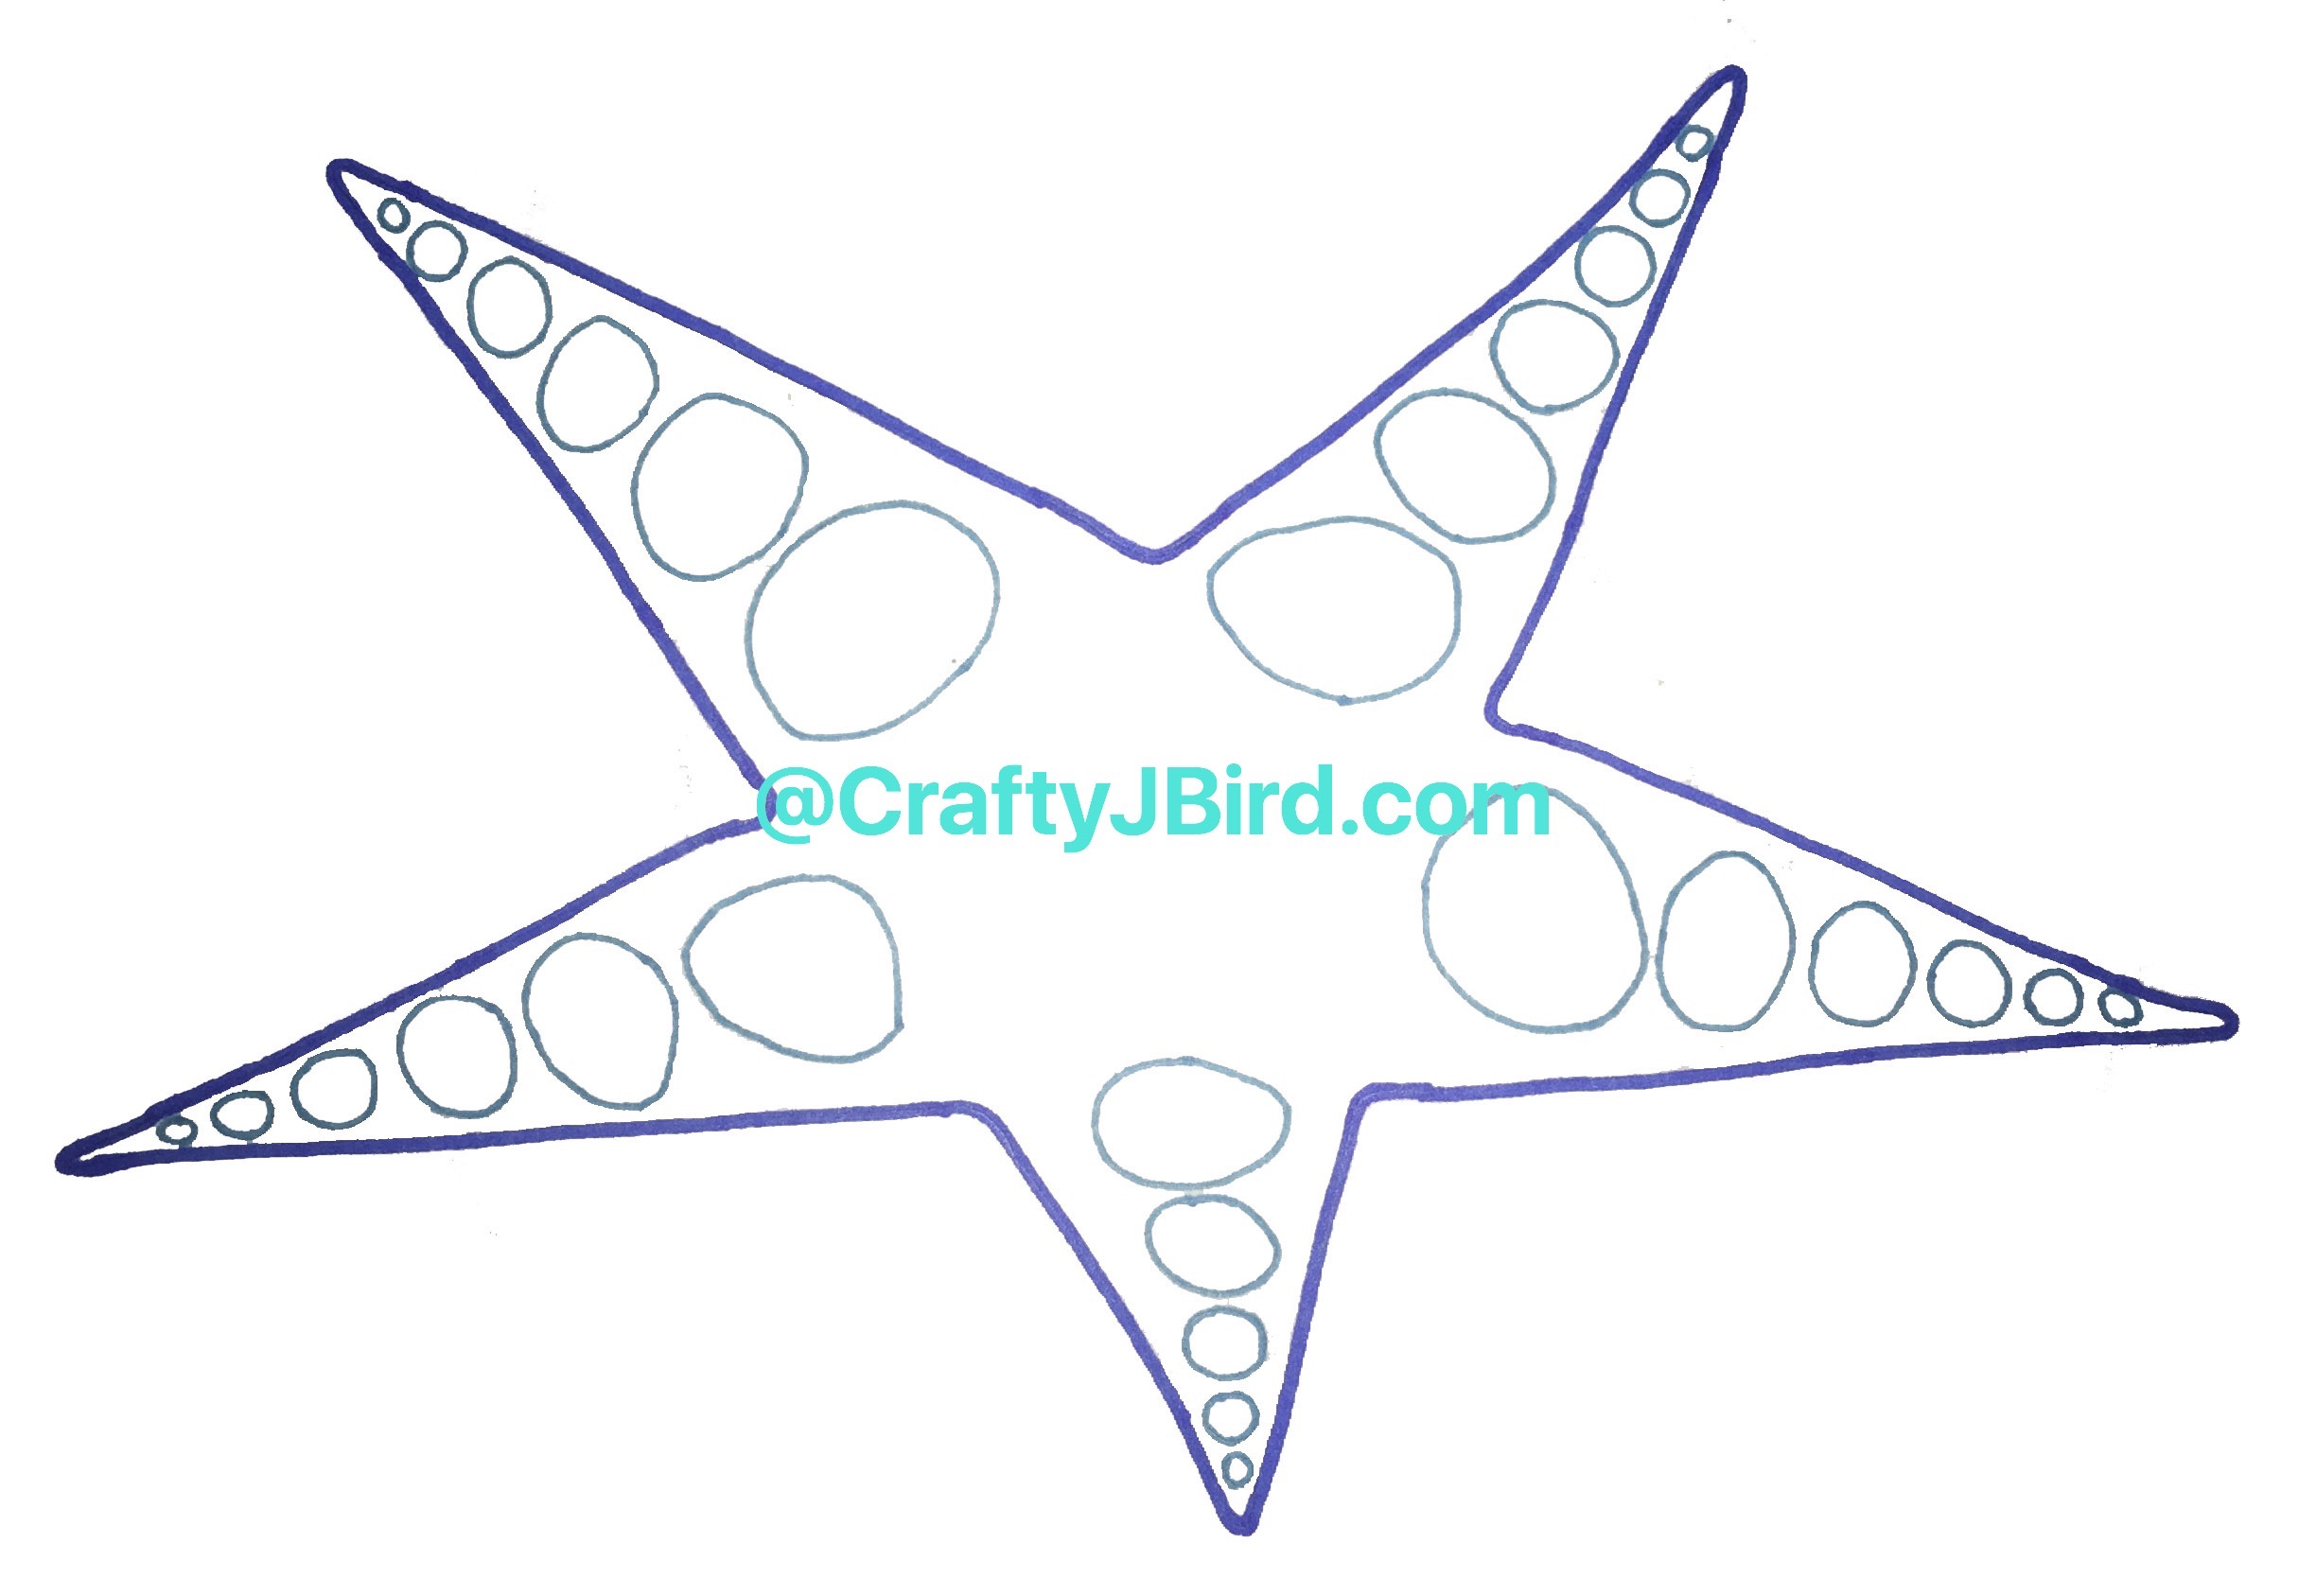 To finish out my drawing, I used two different blue sharpie pens. The dark blue fine point sharpie for the outside and the light blue ultra sharpie pen for the circles inside the starfish drawing.
There you go! An easy, quick way to draw a starfish. Hope you enjoyed! Be sure to share your drawing below in the comments and on Instagram! I would love to see them!
Looking for a place to make all your creatives projects? Check out Memory Lane Inn for a great get away!
Have any questions about today’s “Make It Monday” “Starfish Drawing?” Please feel free to comment below. Thanks for visiting! Hope to see you again!
Crafty JBird
**This post contains Affiliate Links**