
Happy Make It Monday Y’all!!
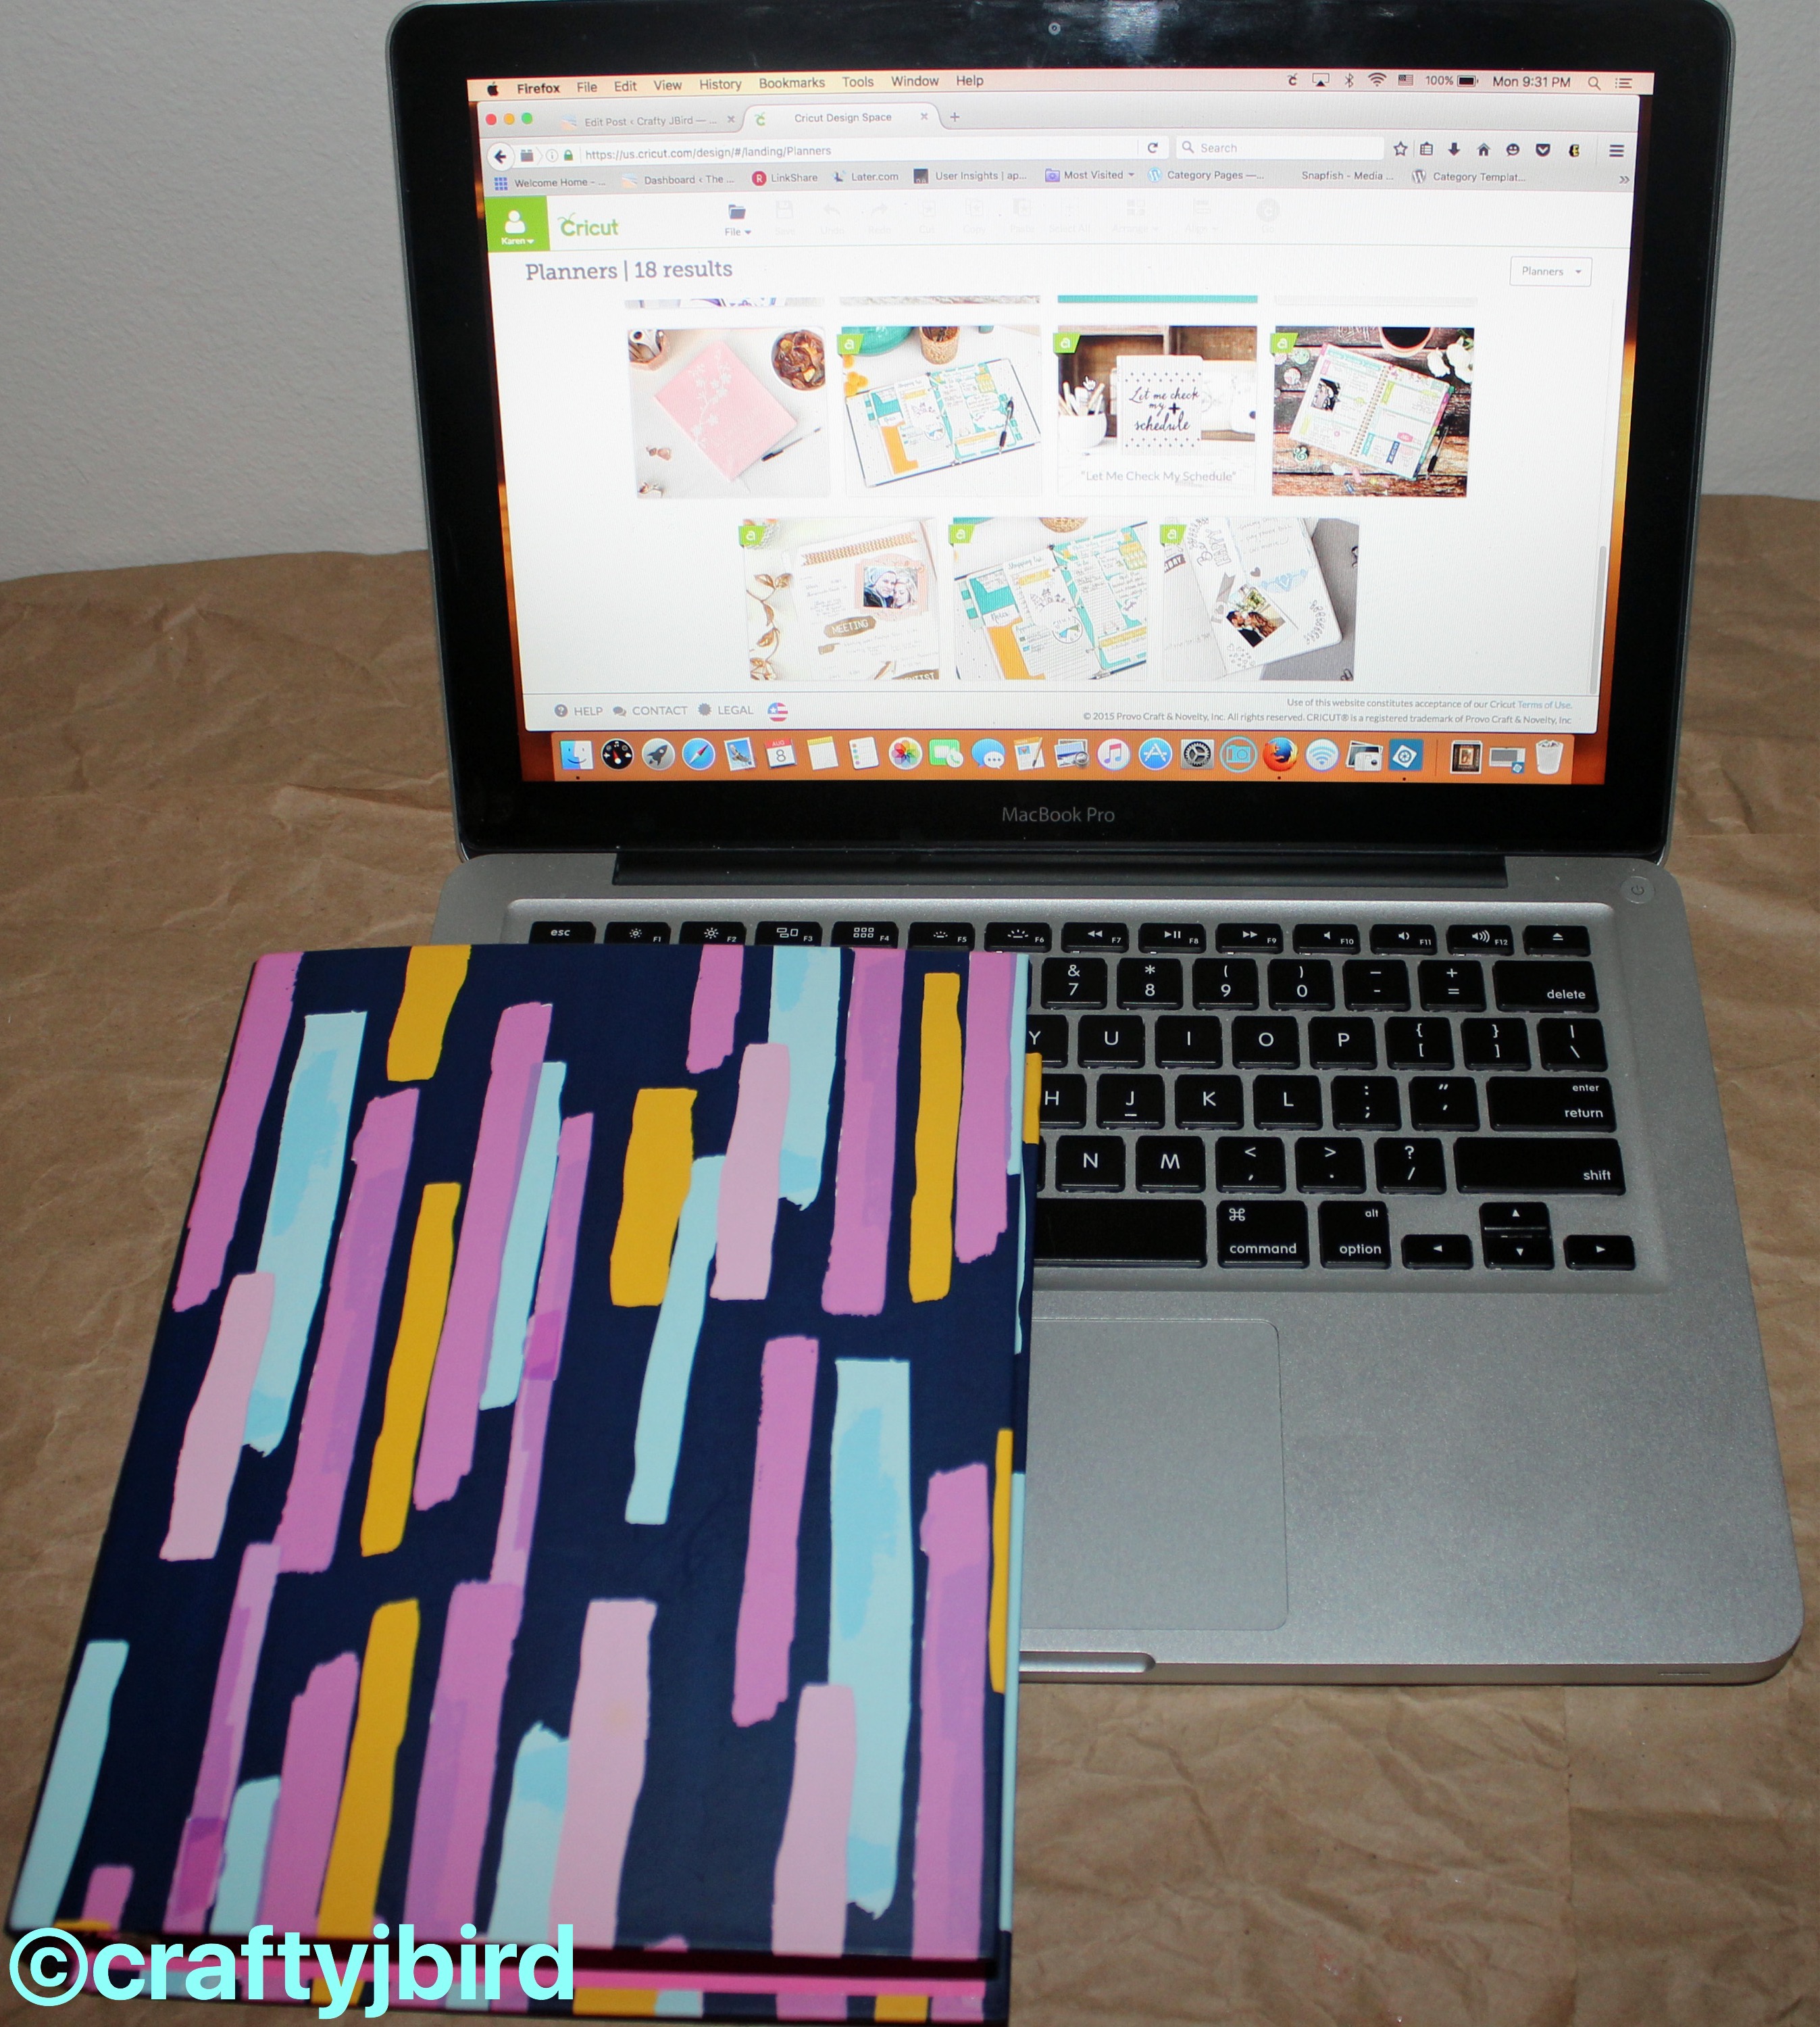
The weekend went a bit too fast for me but then again; it’s one day closer to Thursday! Come back to find out why! A couple of weeks ago I showed how to make Cricut’s Summer Planner Day-by-Day inserts. This week, I am going to show how to make Cricut’s Summer Planner Monthly Inserts and Stickers.
These are just as easy as the day-to-day inserts just takes a little more time for the monthly inserts to finish since they are split into two sides making 24 sheets of cardstock to be printed and cut. For the stickers, you can choose to make them actual stickers or just cut them on cardstock.
Cricut’s Summer Planner Monthly Inserts and Stickers
Monthly Inserts
Things You’ll Need:
- Explore or Explore Air
- Design Space
- Mat
- Paper Scorer
- White Cardstock
- Printer
- Binder used for Day-by-Day inserts
Step #1:
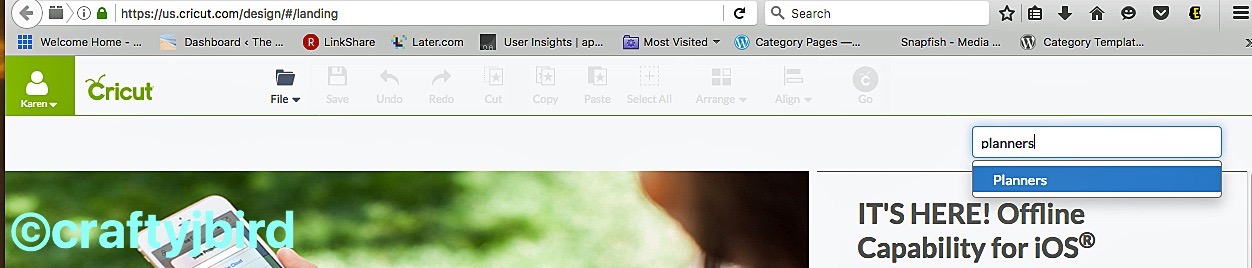
Sign into Design Space and find the Summer Planner Monthly Inserts. Right now, these around 8-10 rows down. You can also type ‘planners’ in the search box.
Step #2:
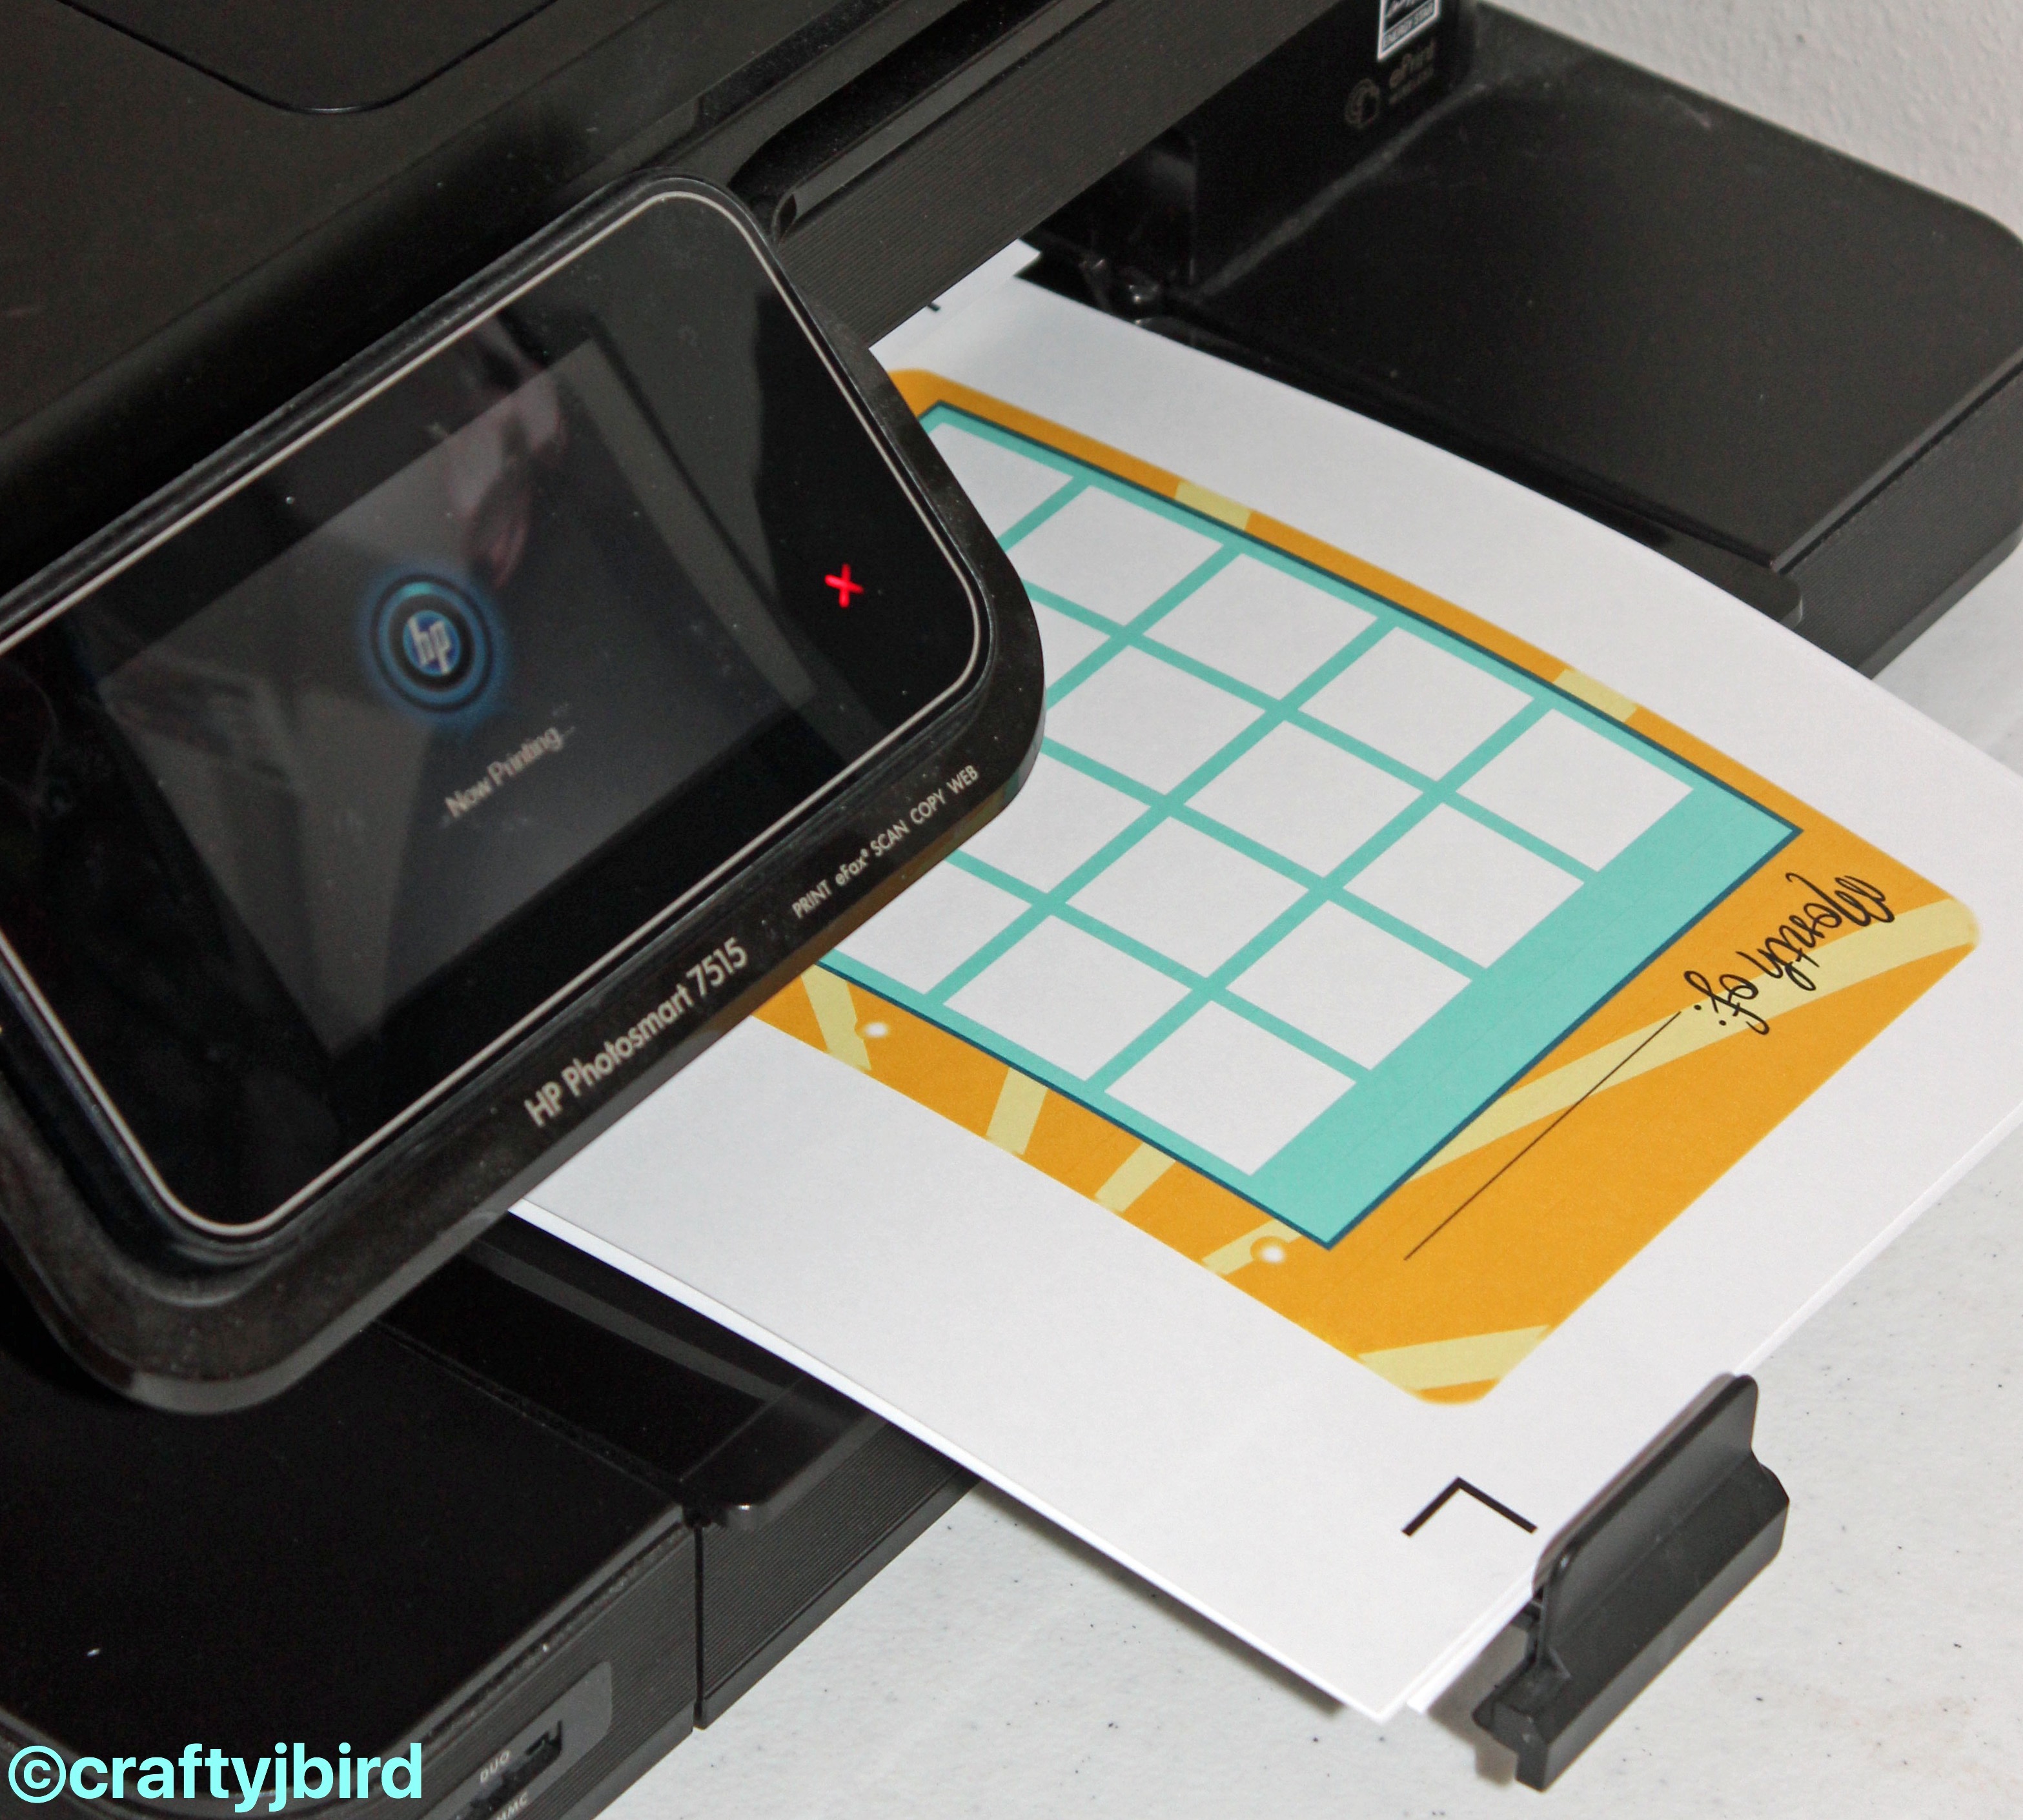

First, print 12 each of each side of the Monthly Insert – see videos here and here. Then, print the ‘tabs’ available for printing and cutting too — see videos here.
Step #3:
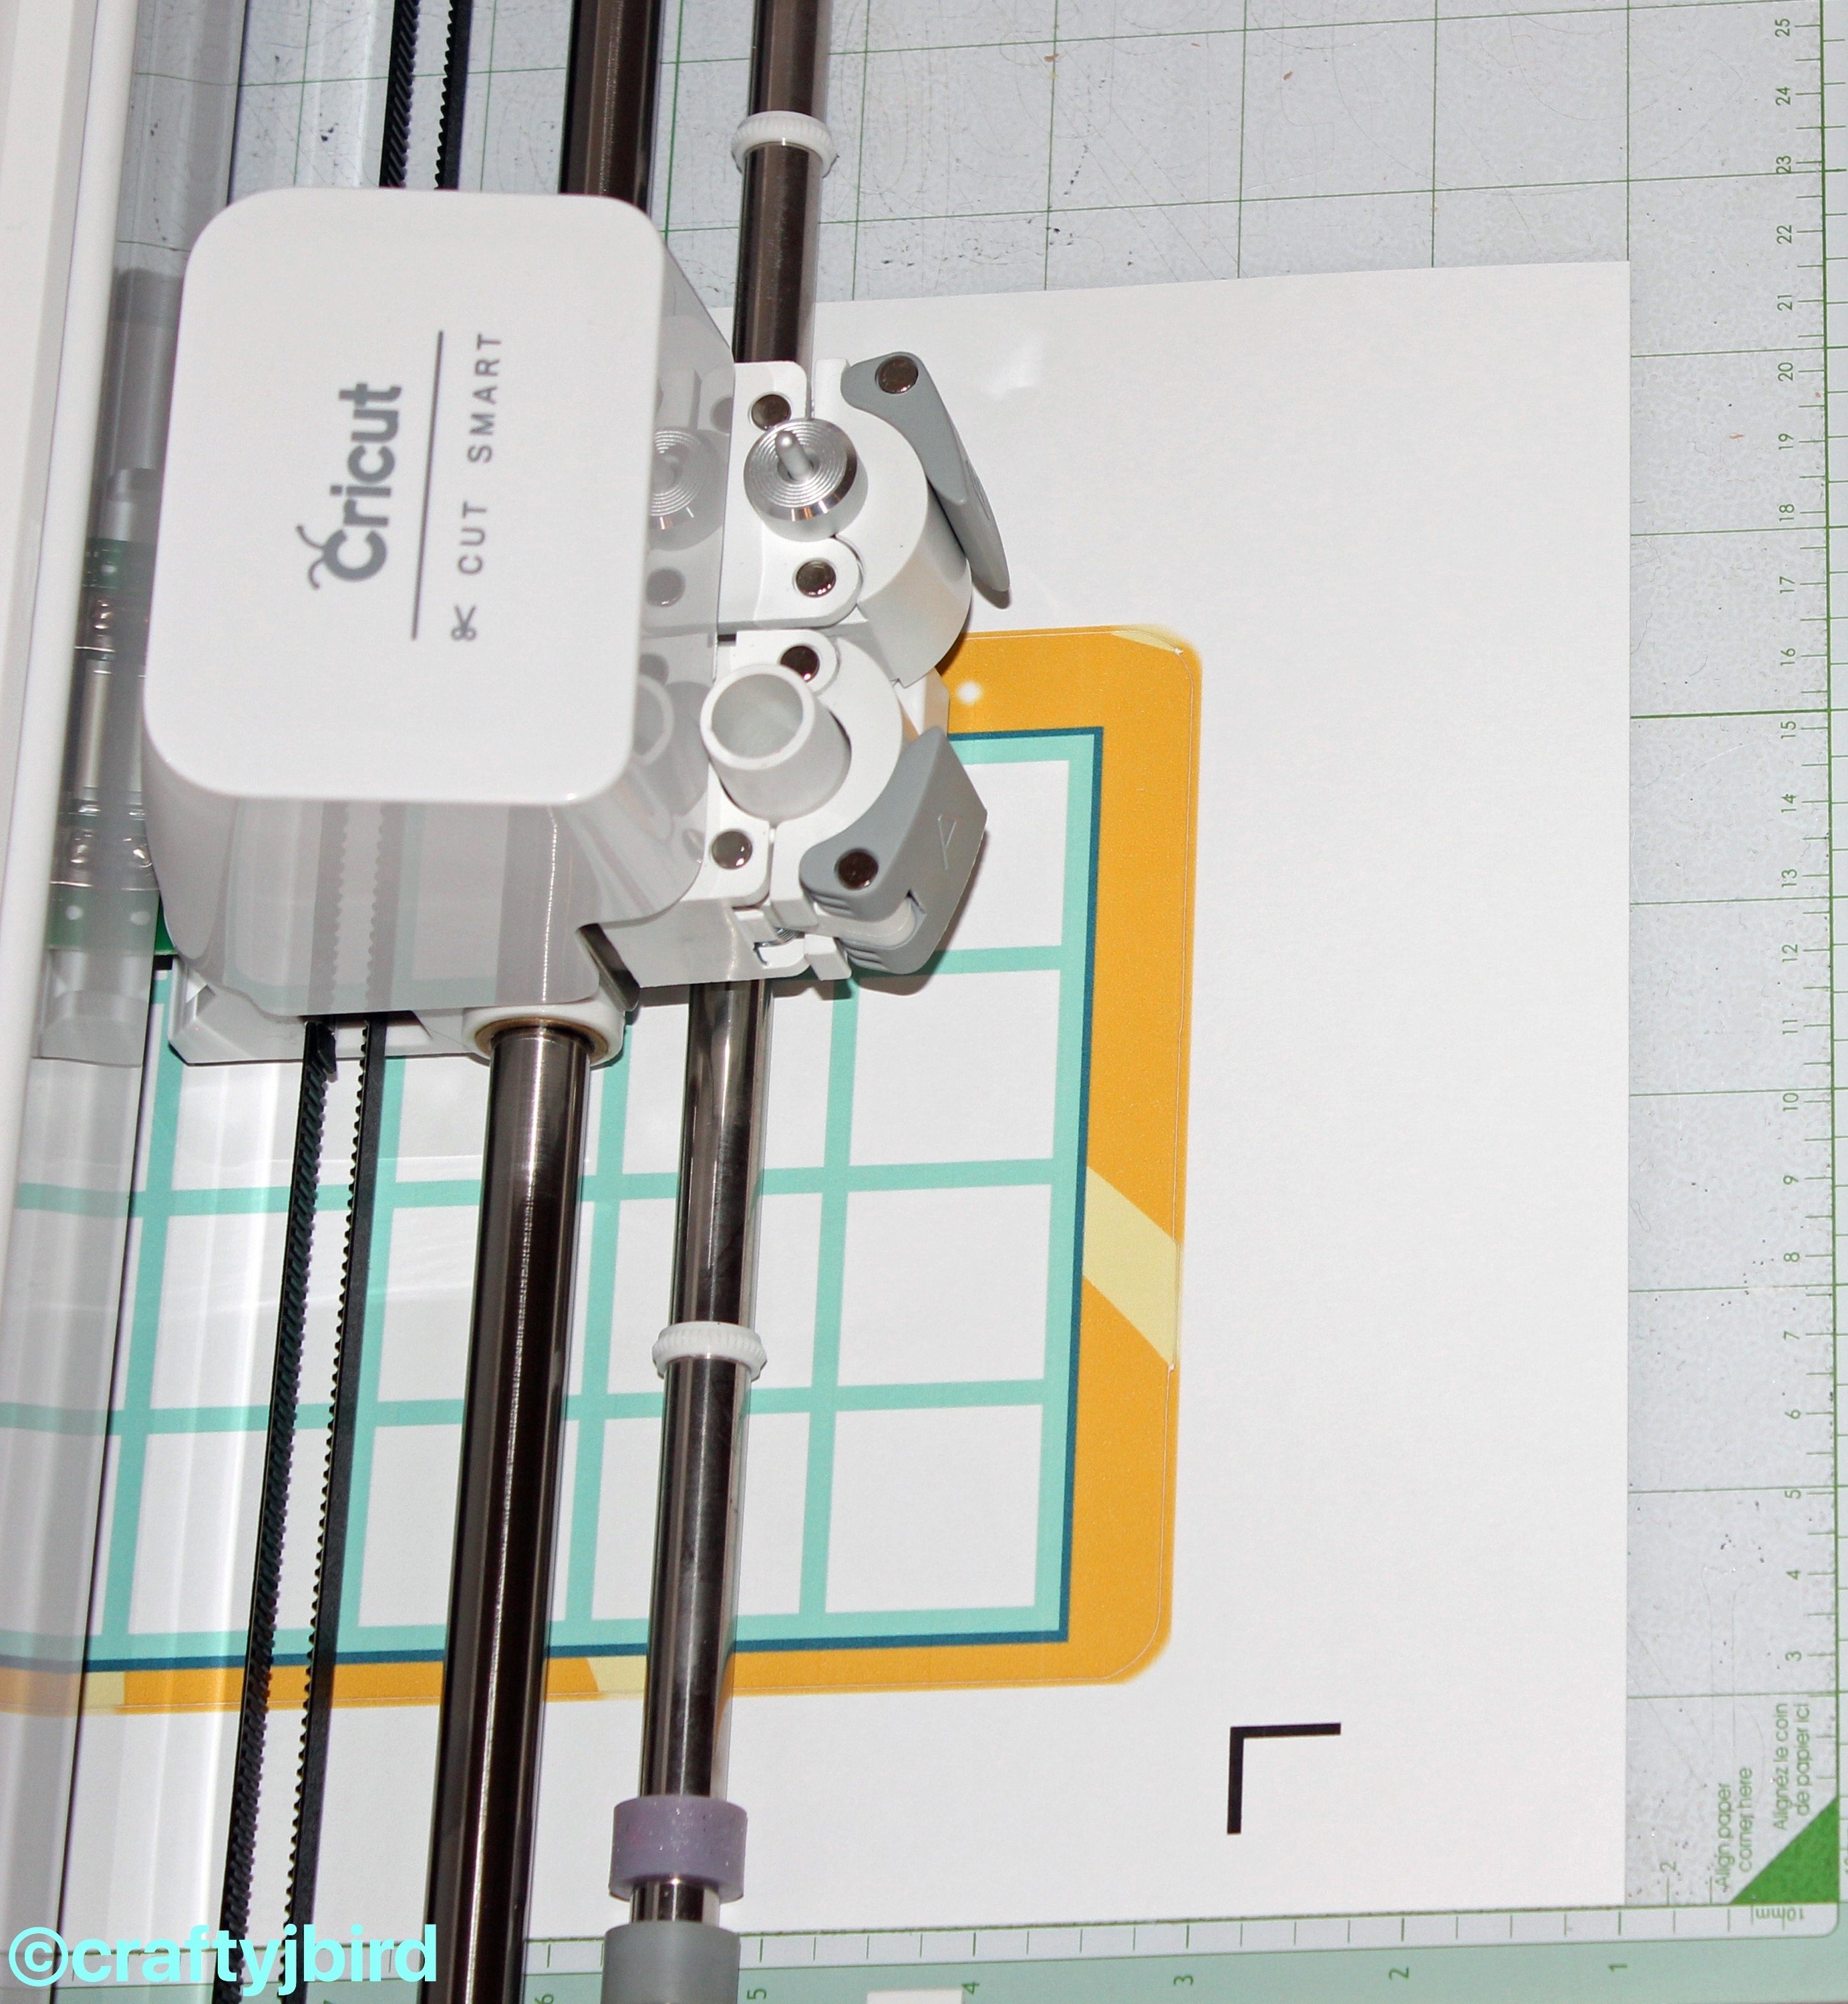
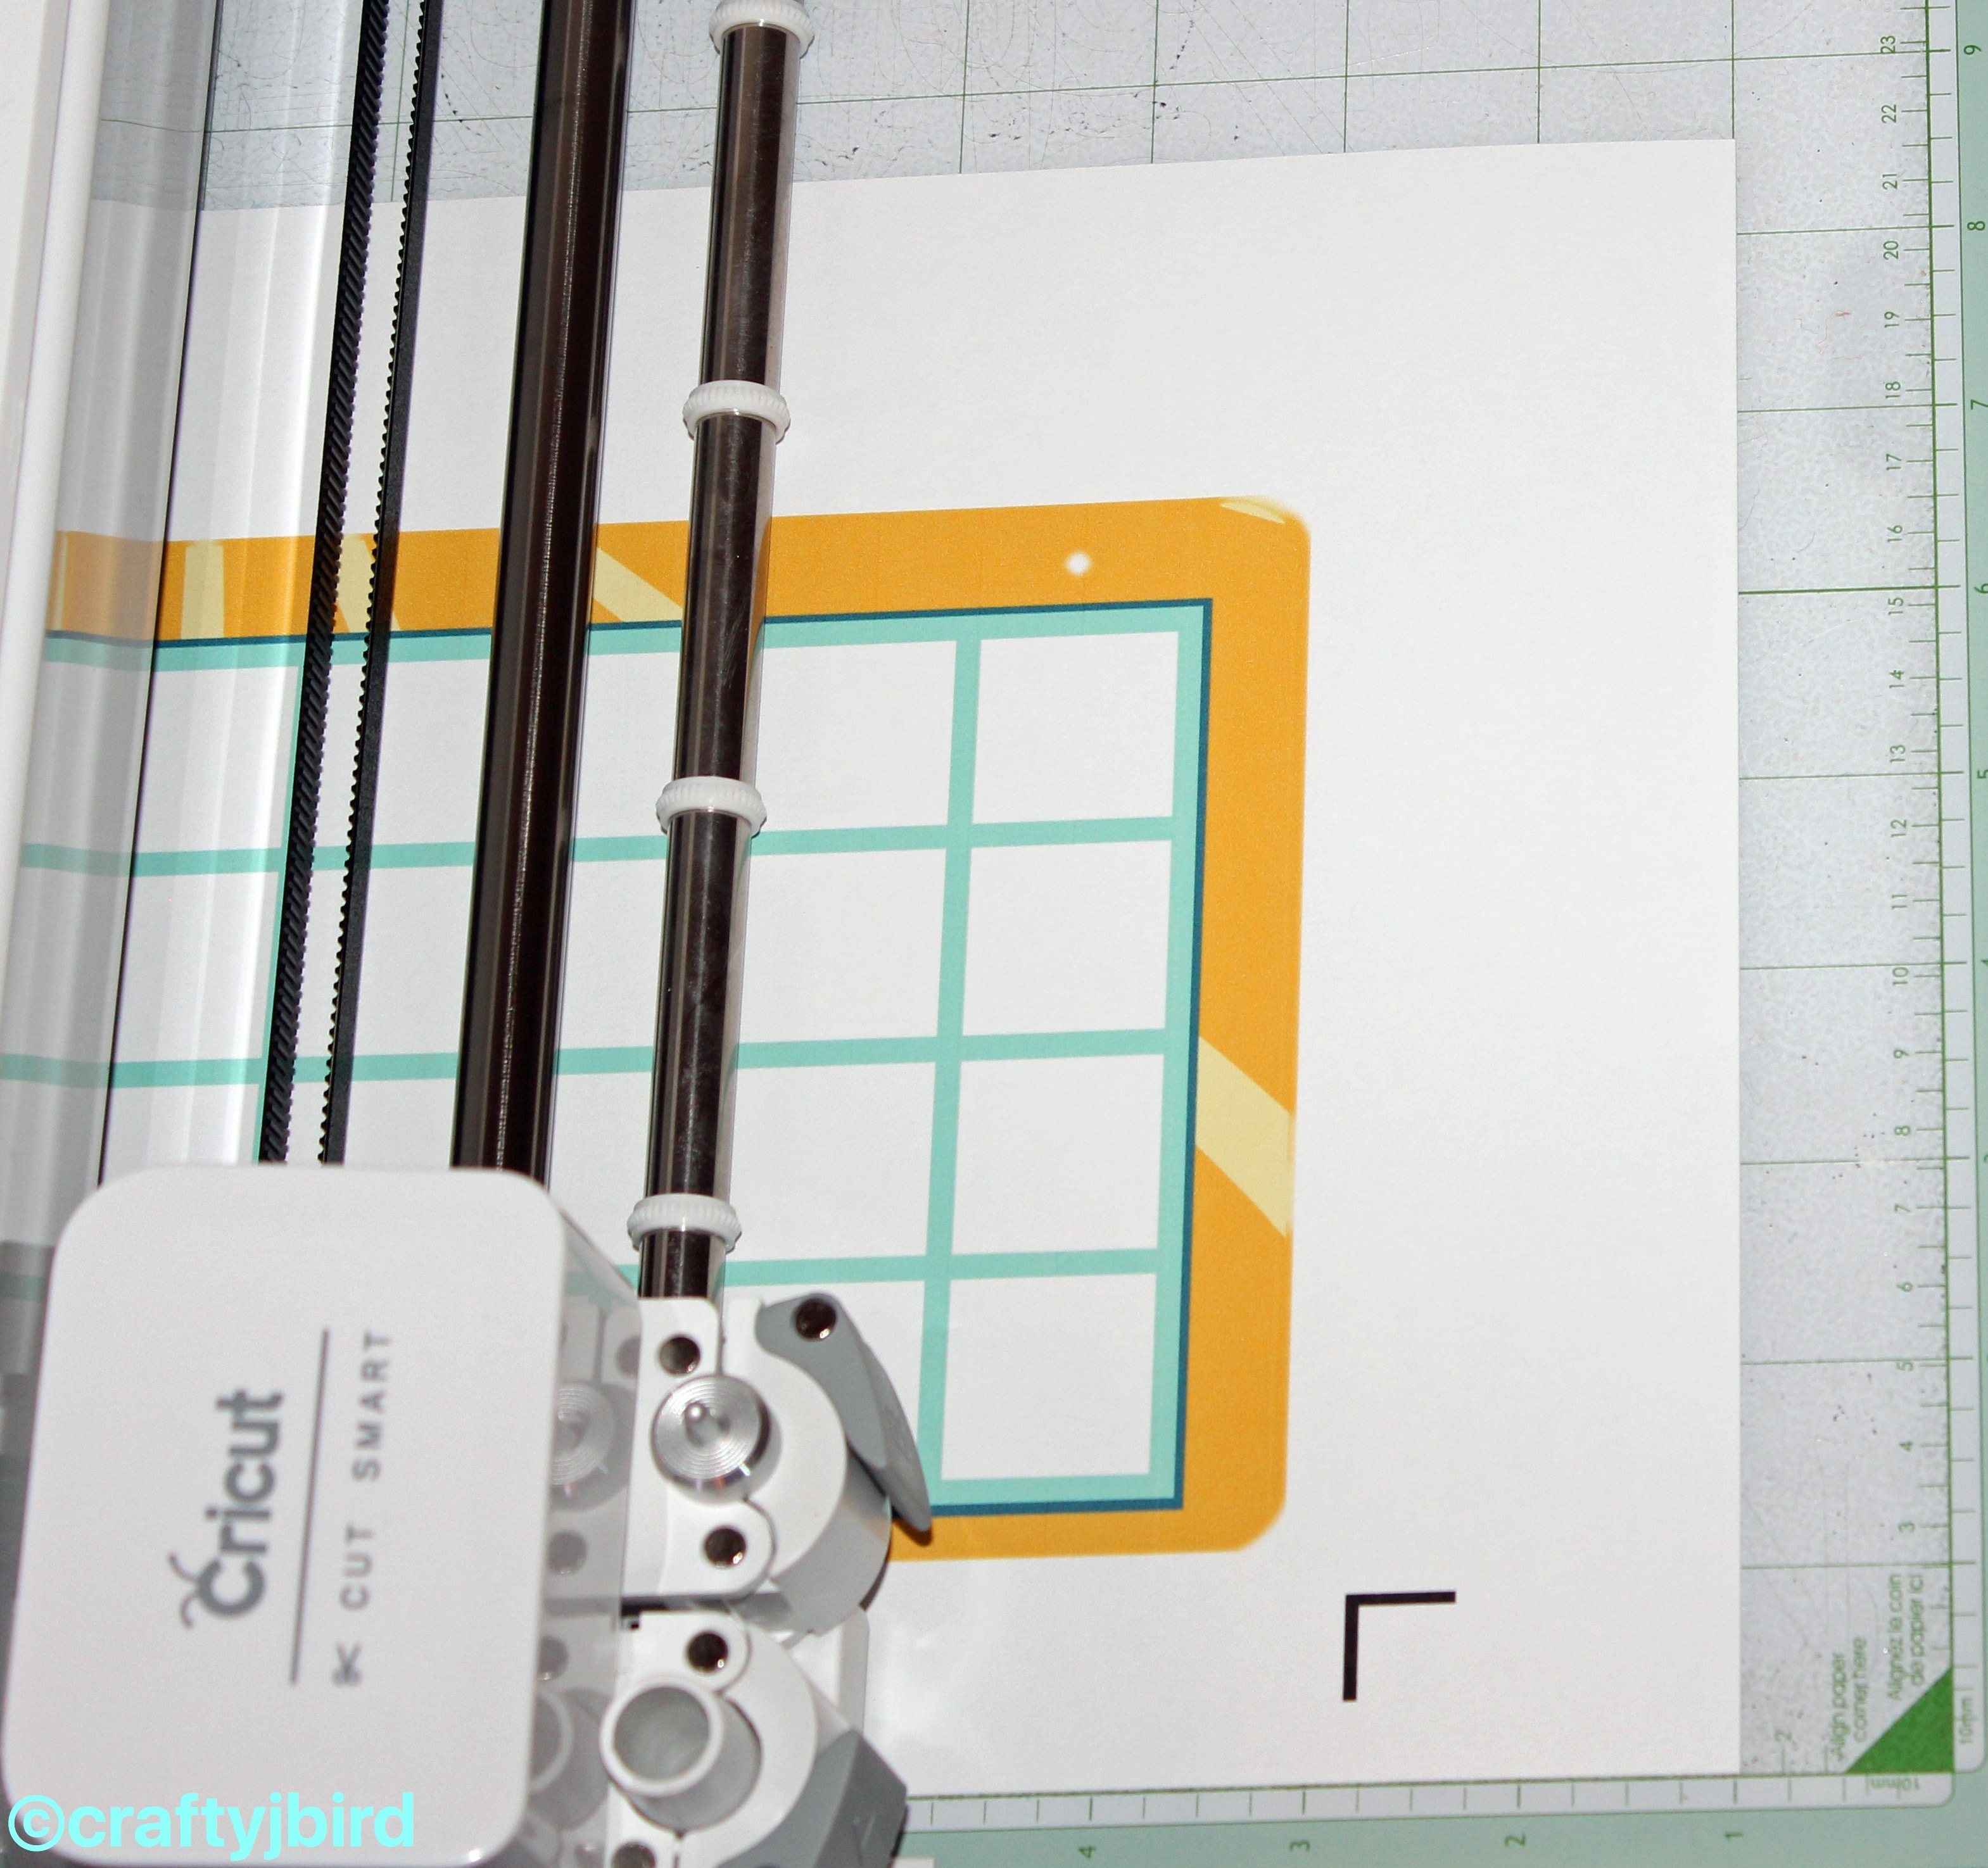
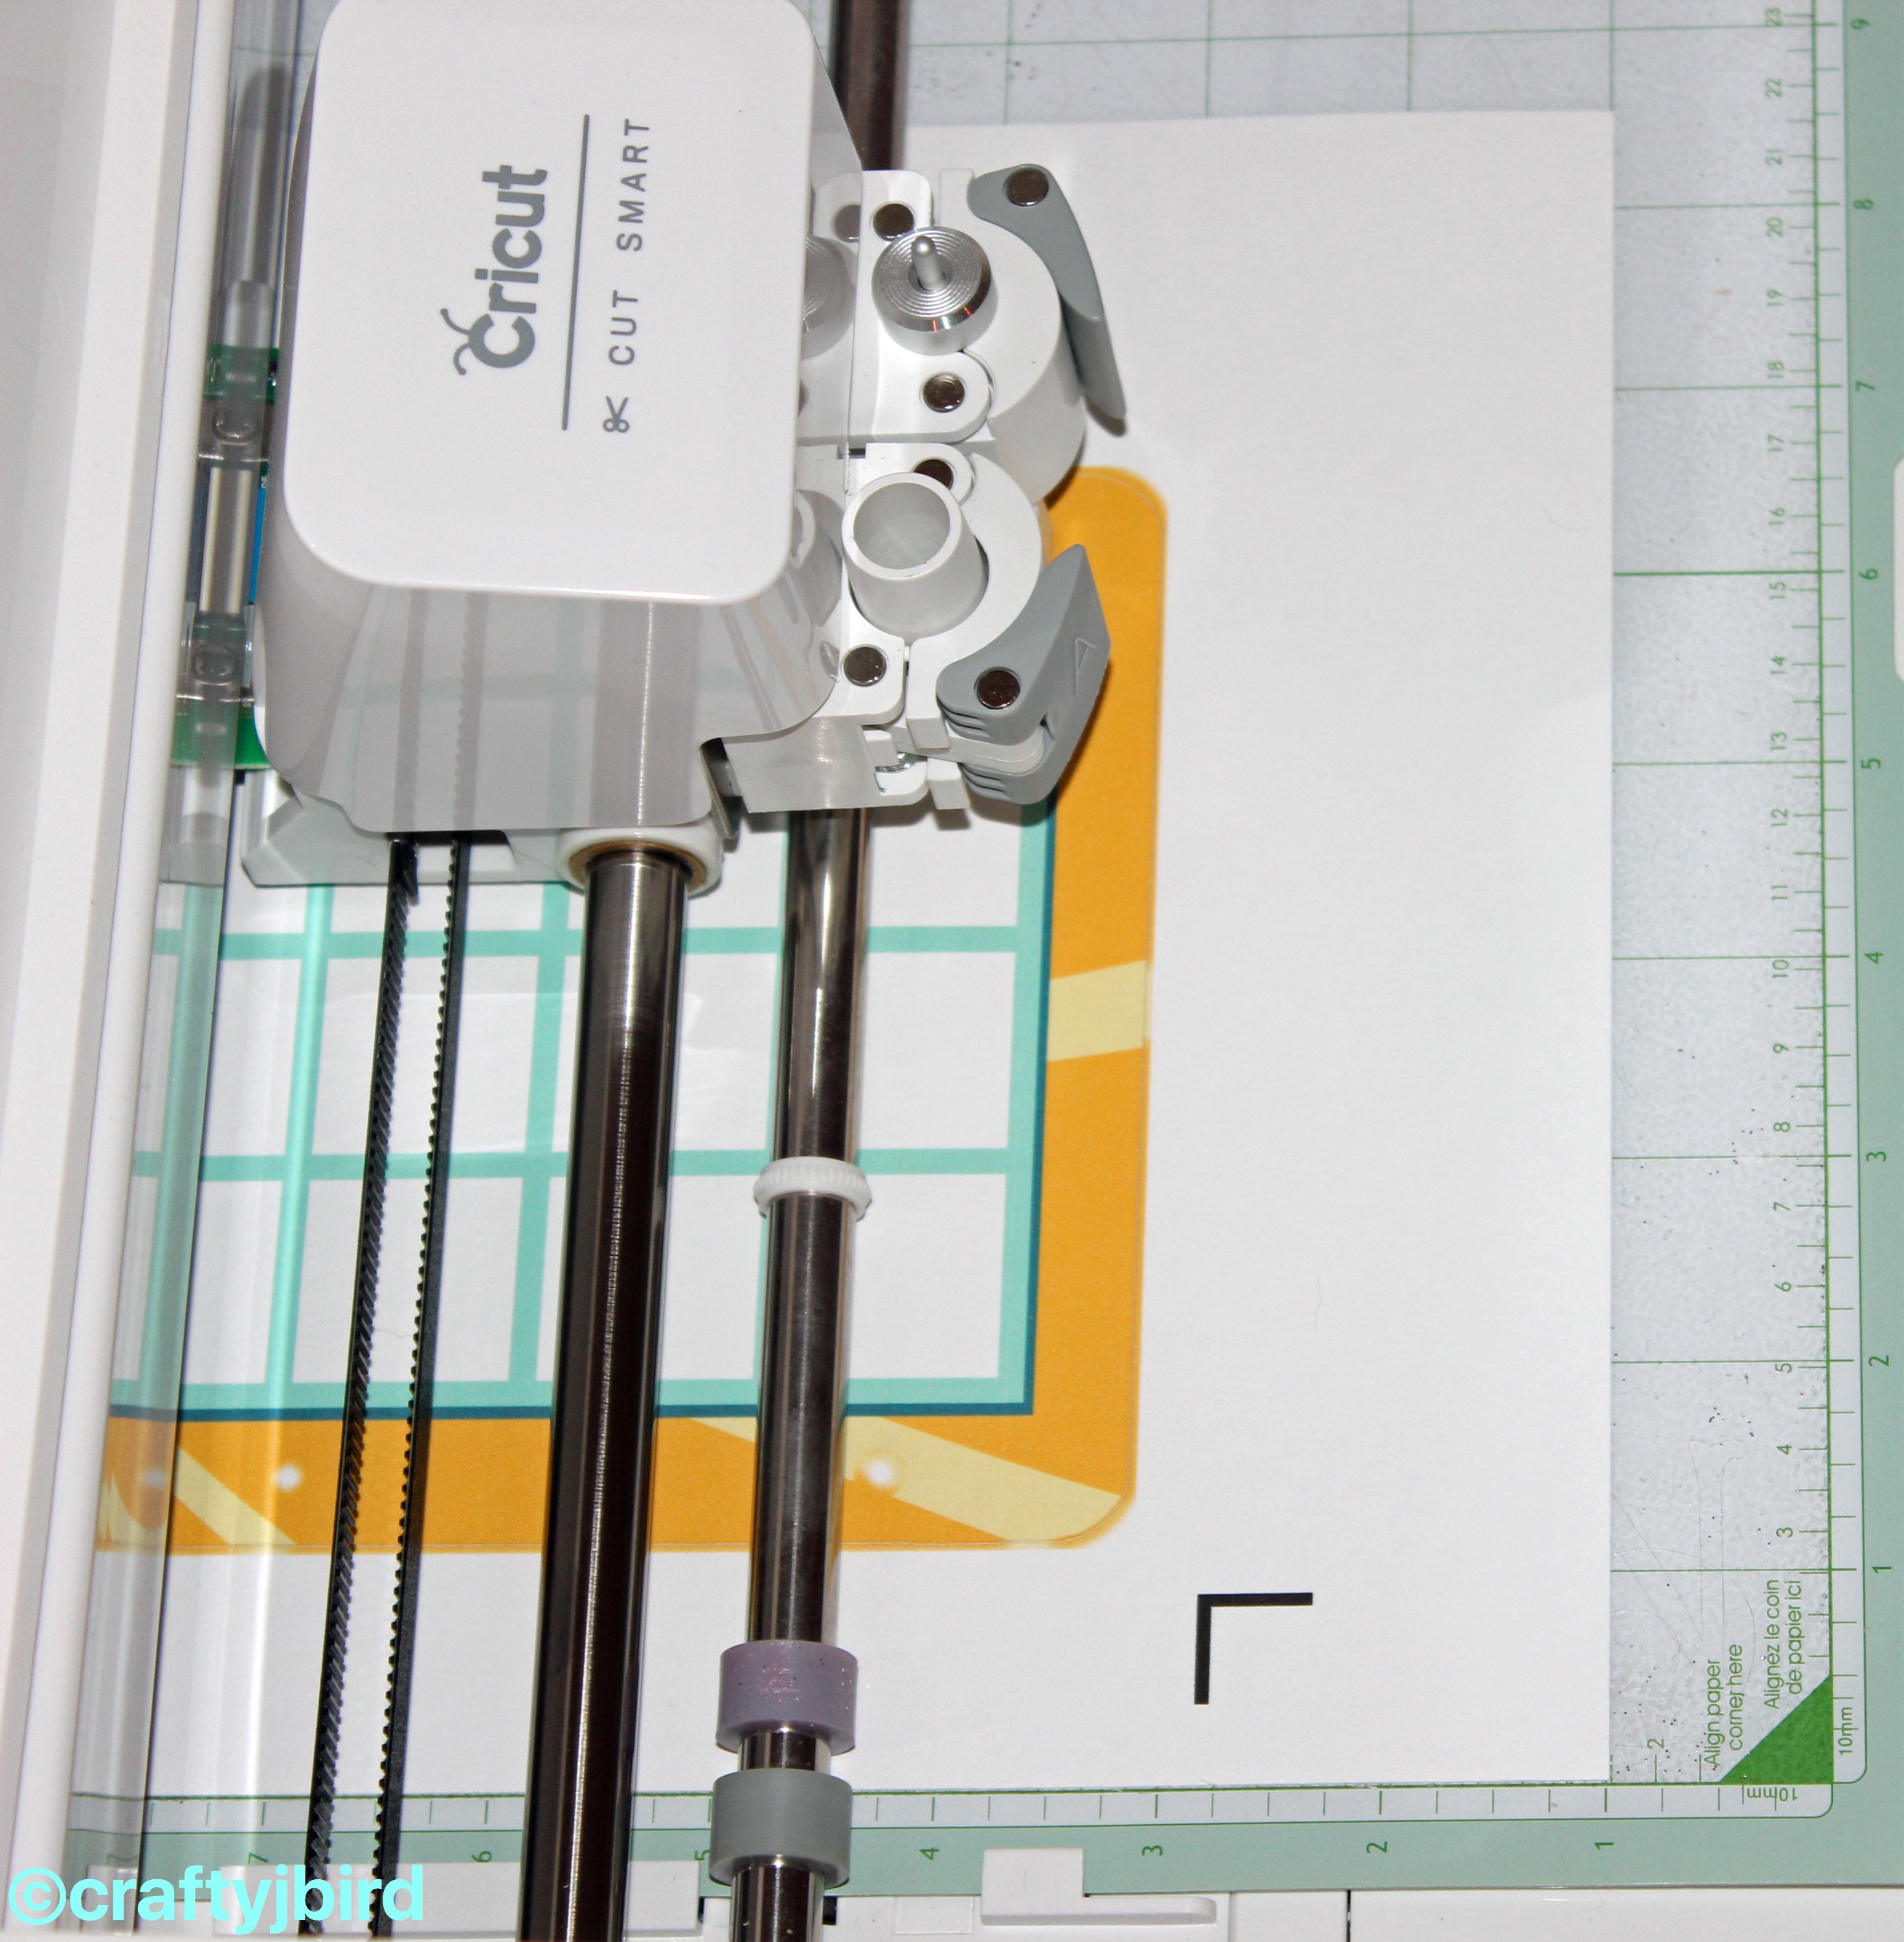
After everything is printed, start by putting a sheet on your Mat and start cutting. Cutting 24 total sheets will take a while; so you could always do 3-4 now and then a few more when you have more time. If you prefer to have them all ready, make sure you have something to watch on the T.V.
Step #4:
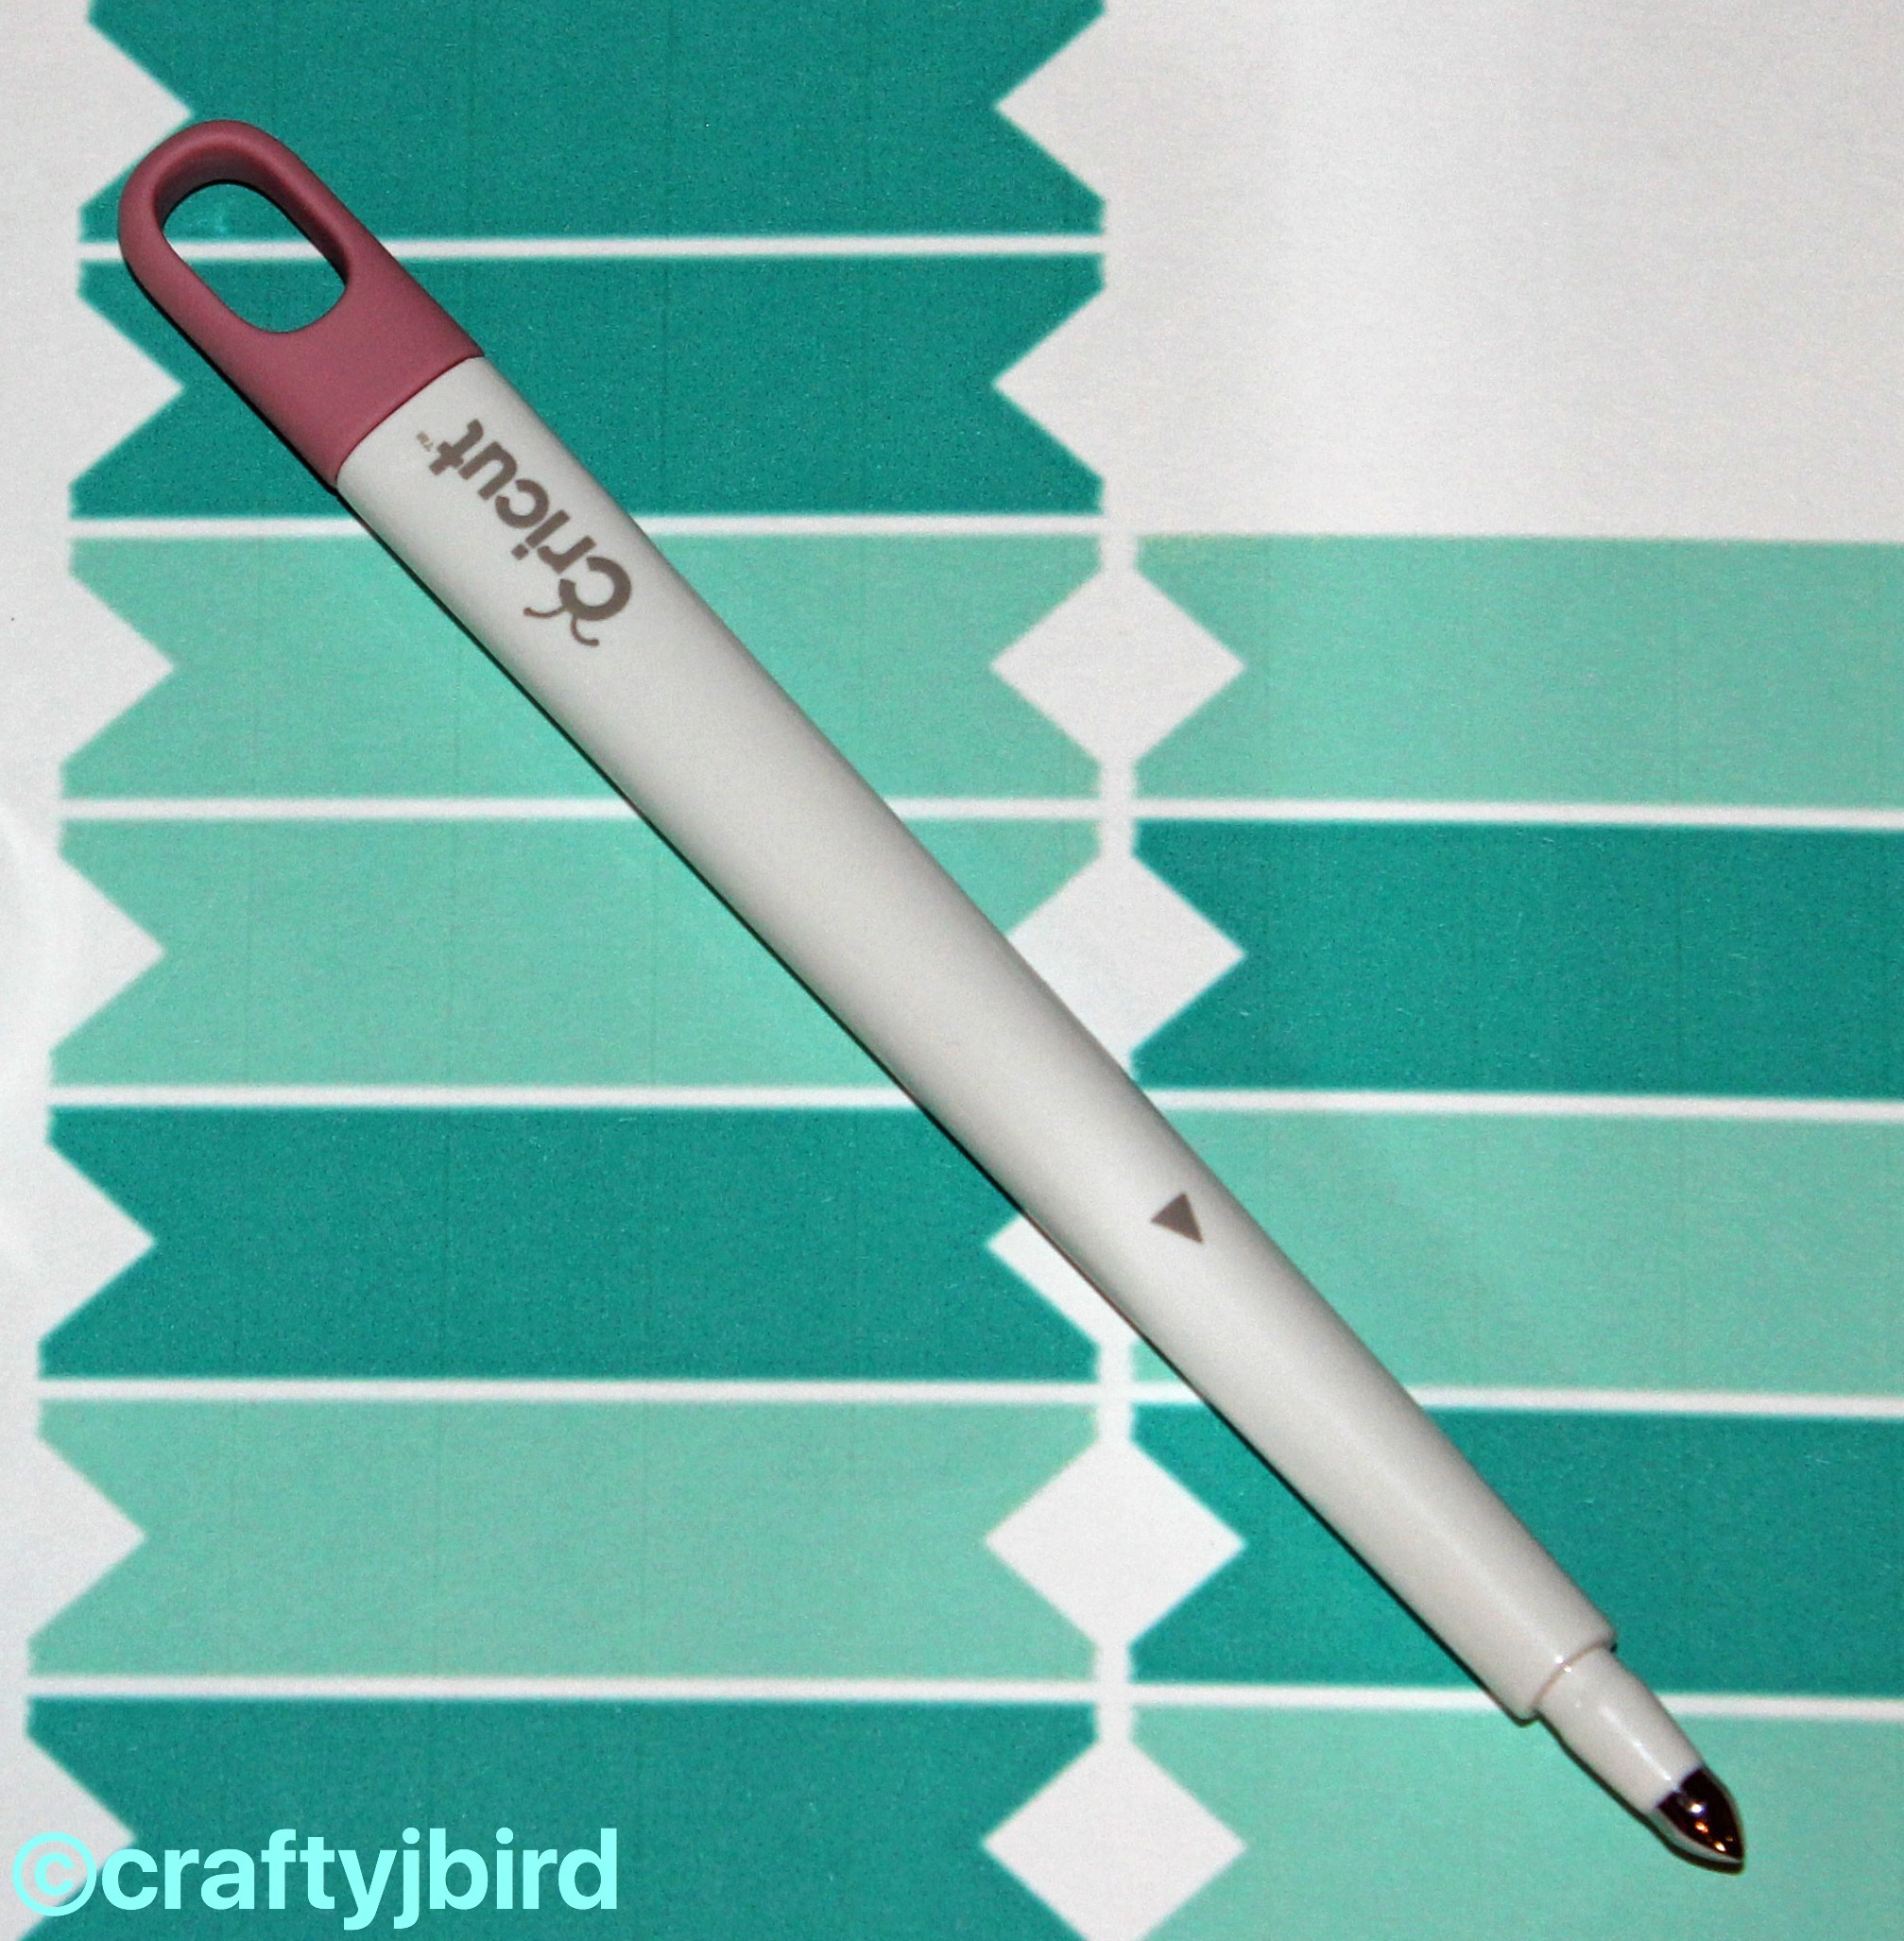
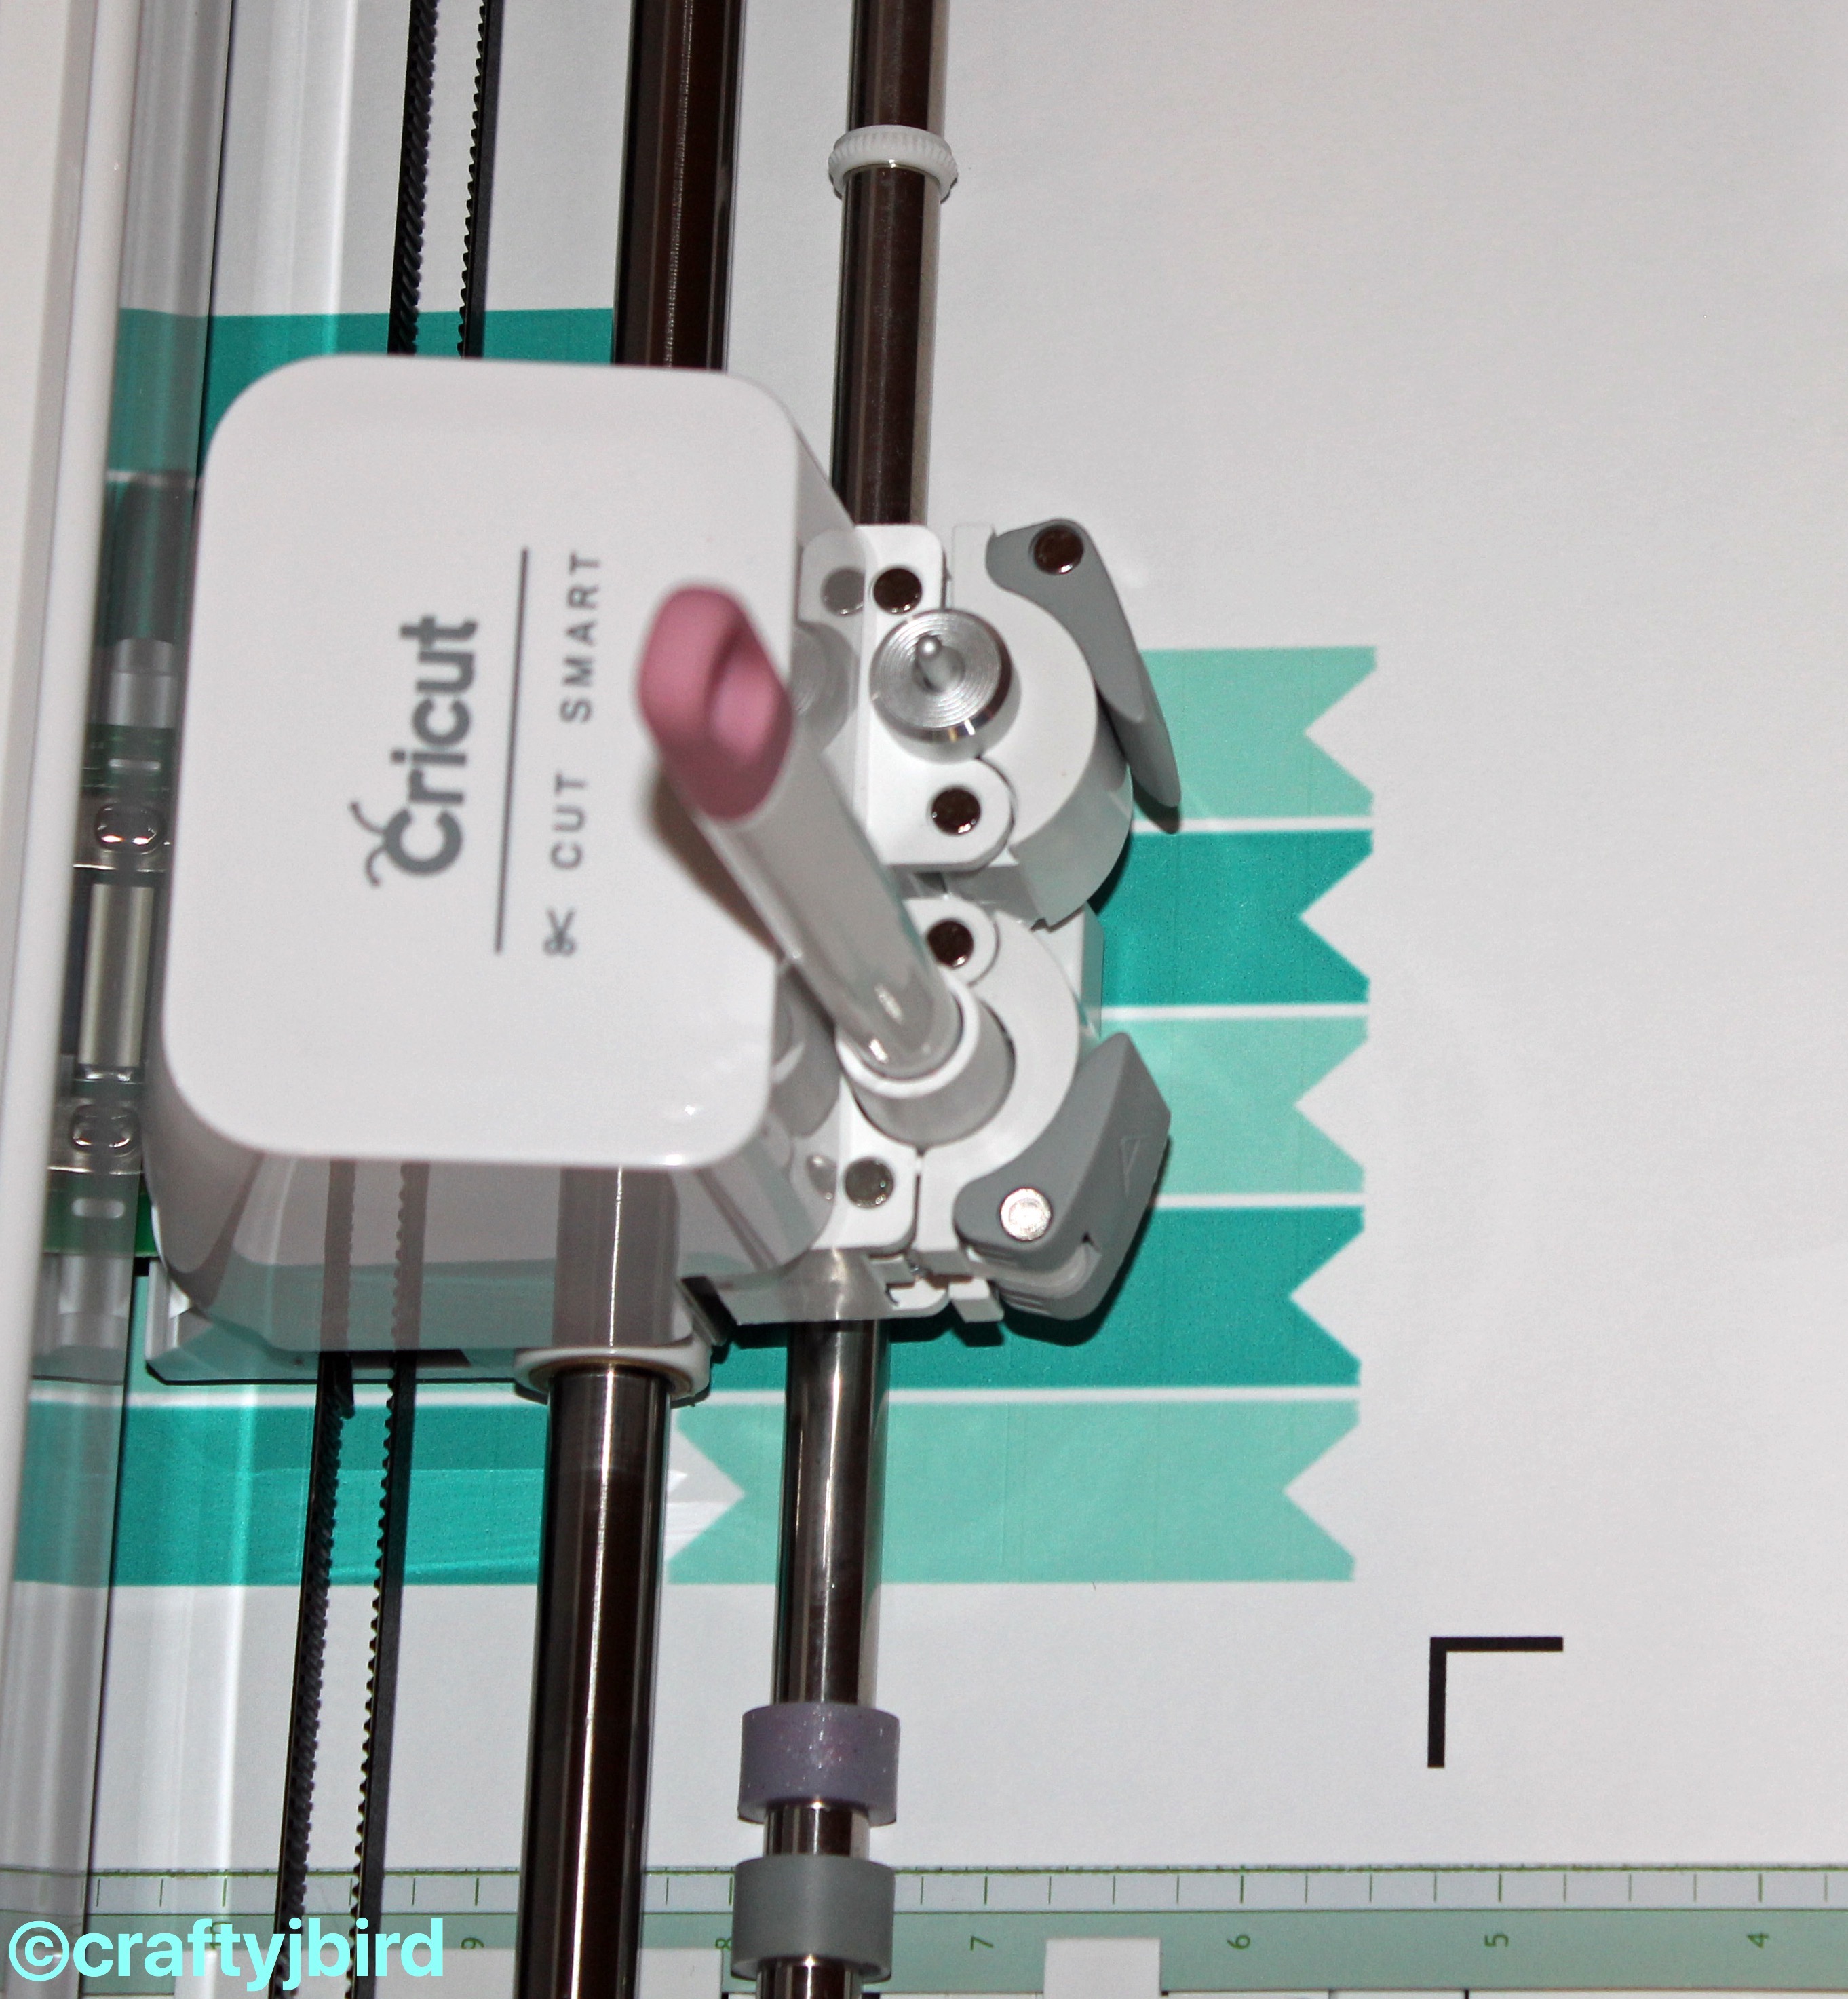
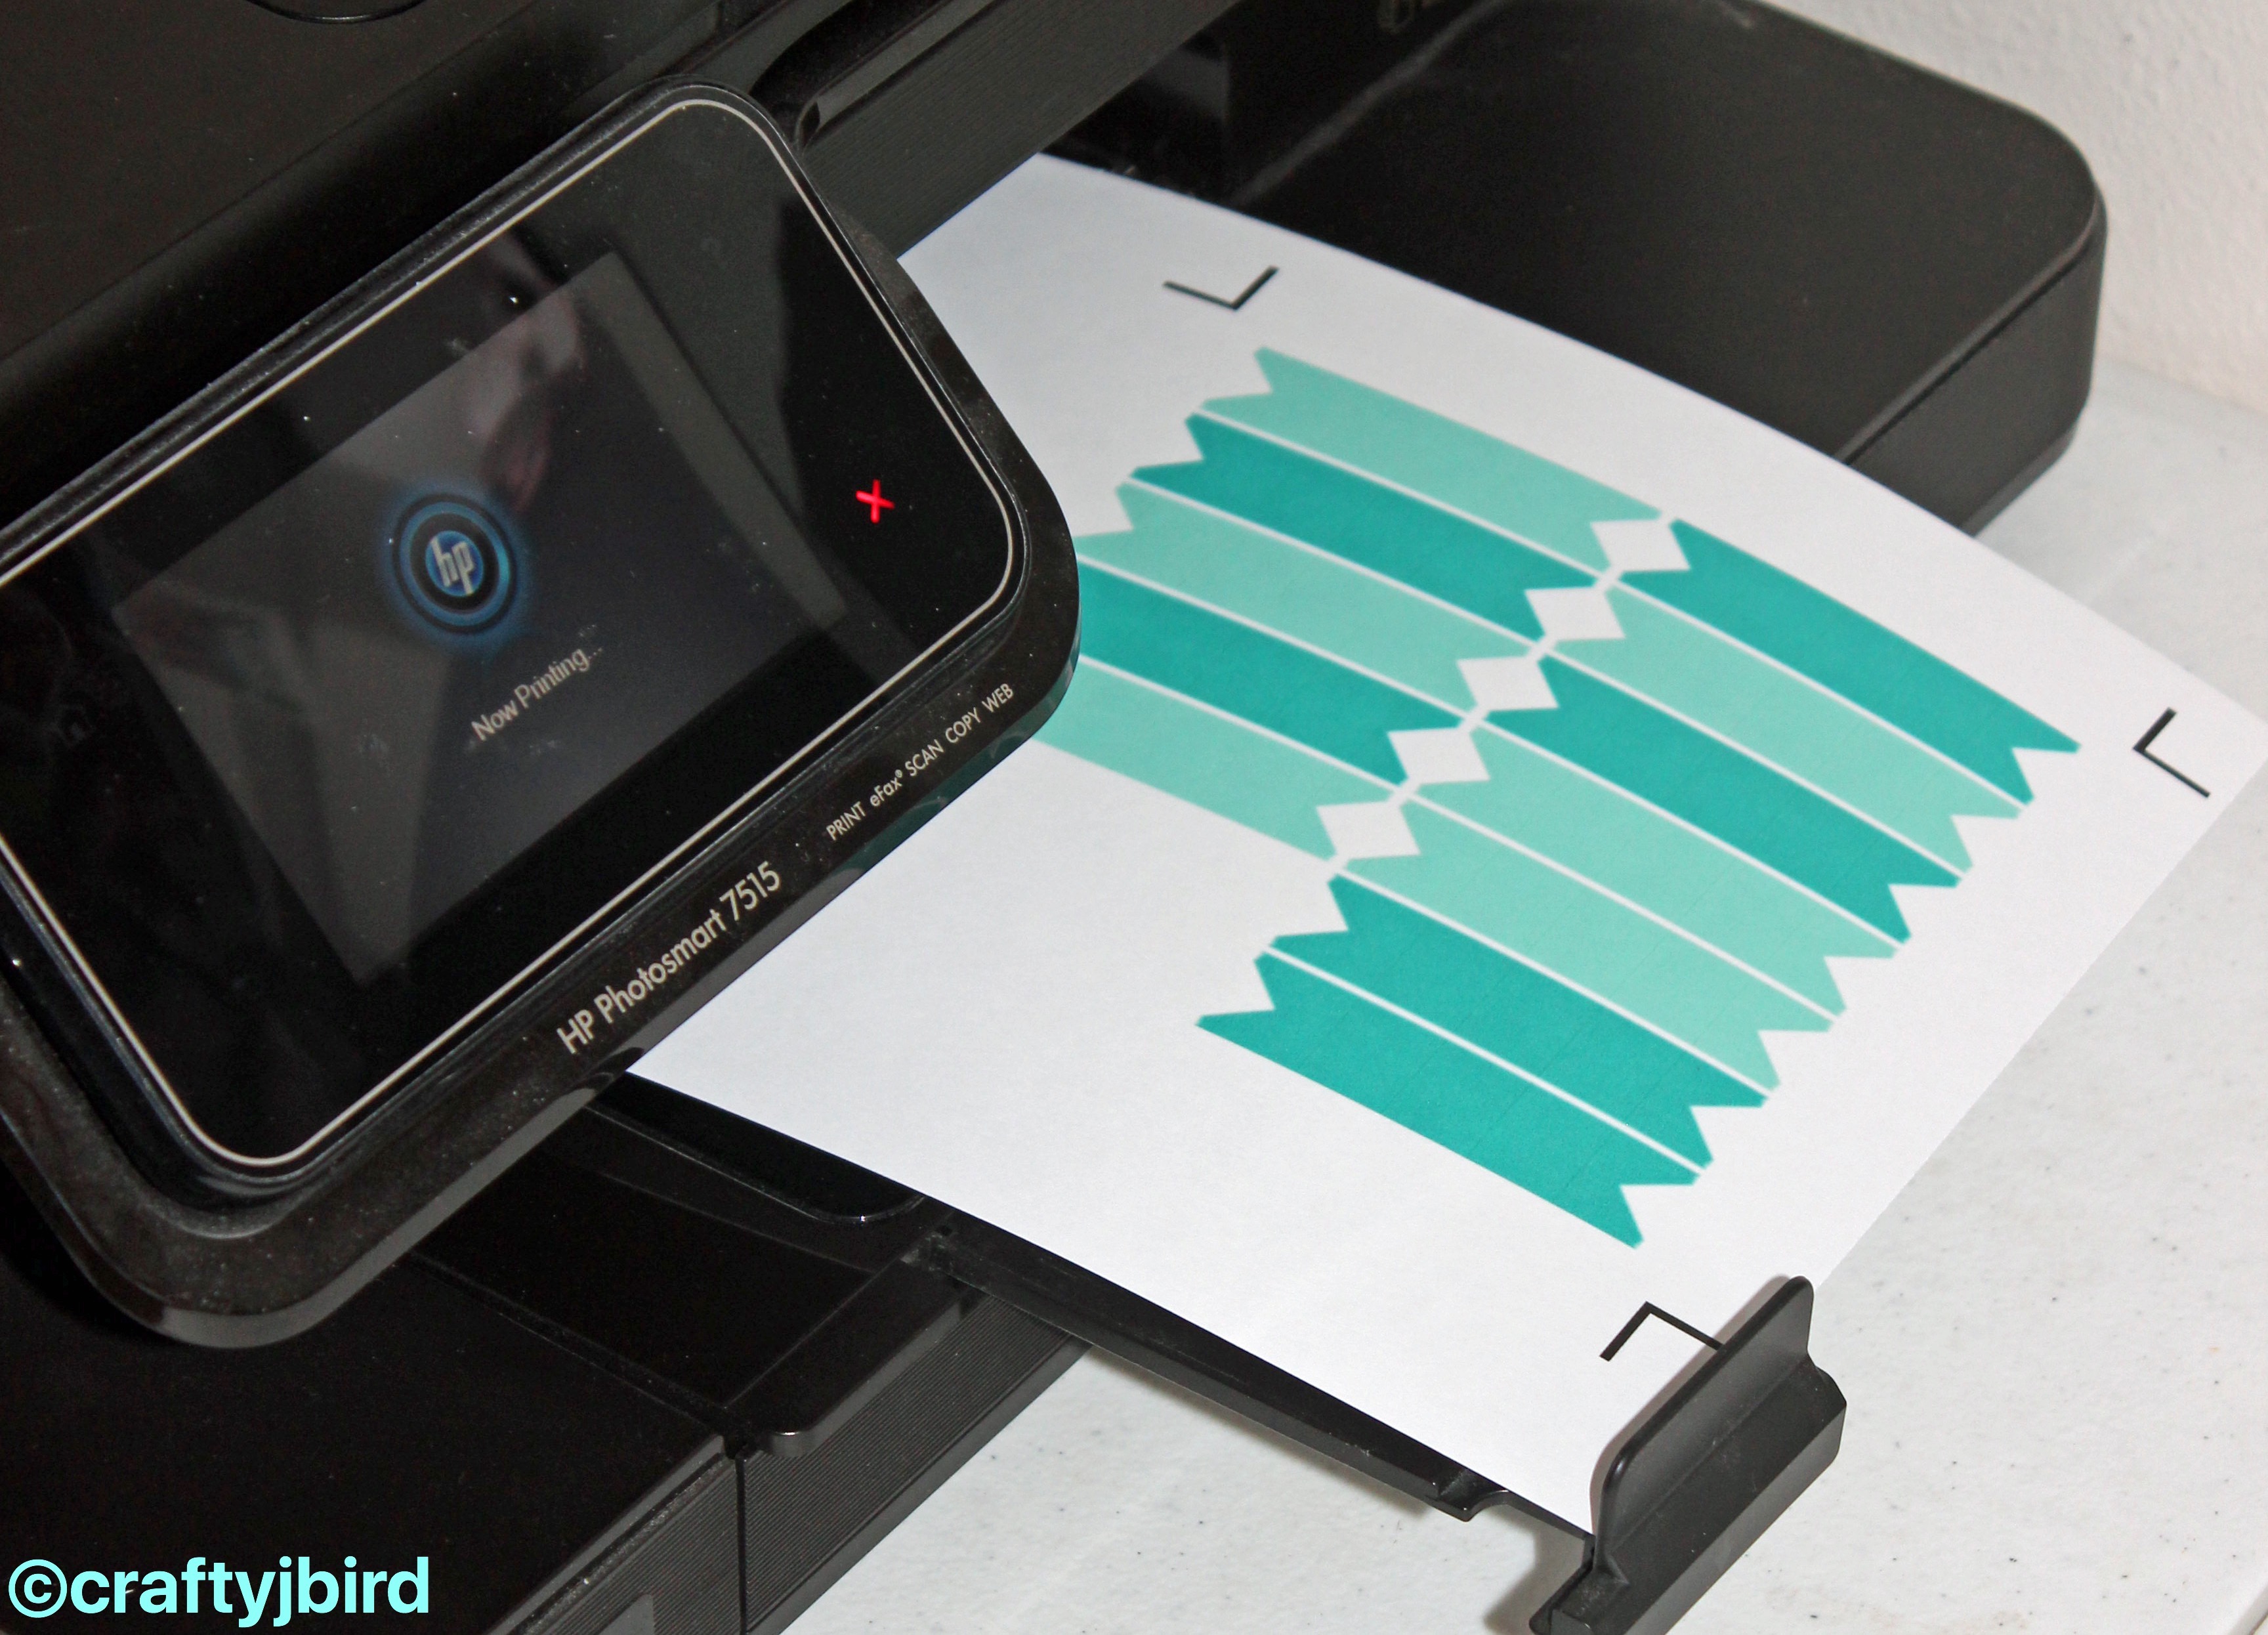
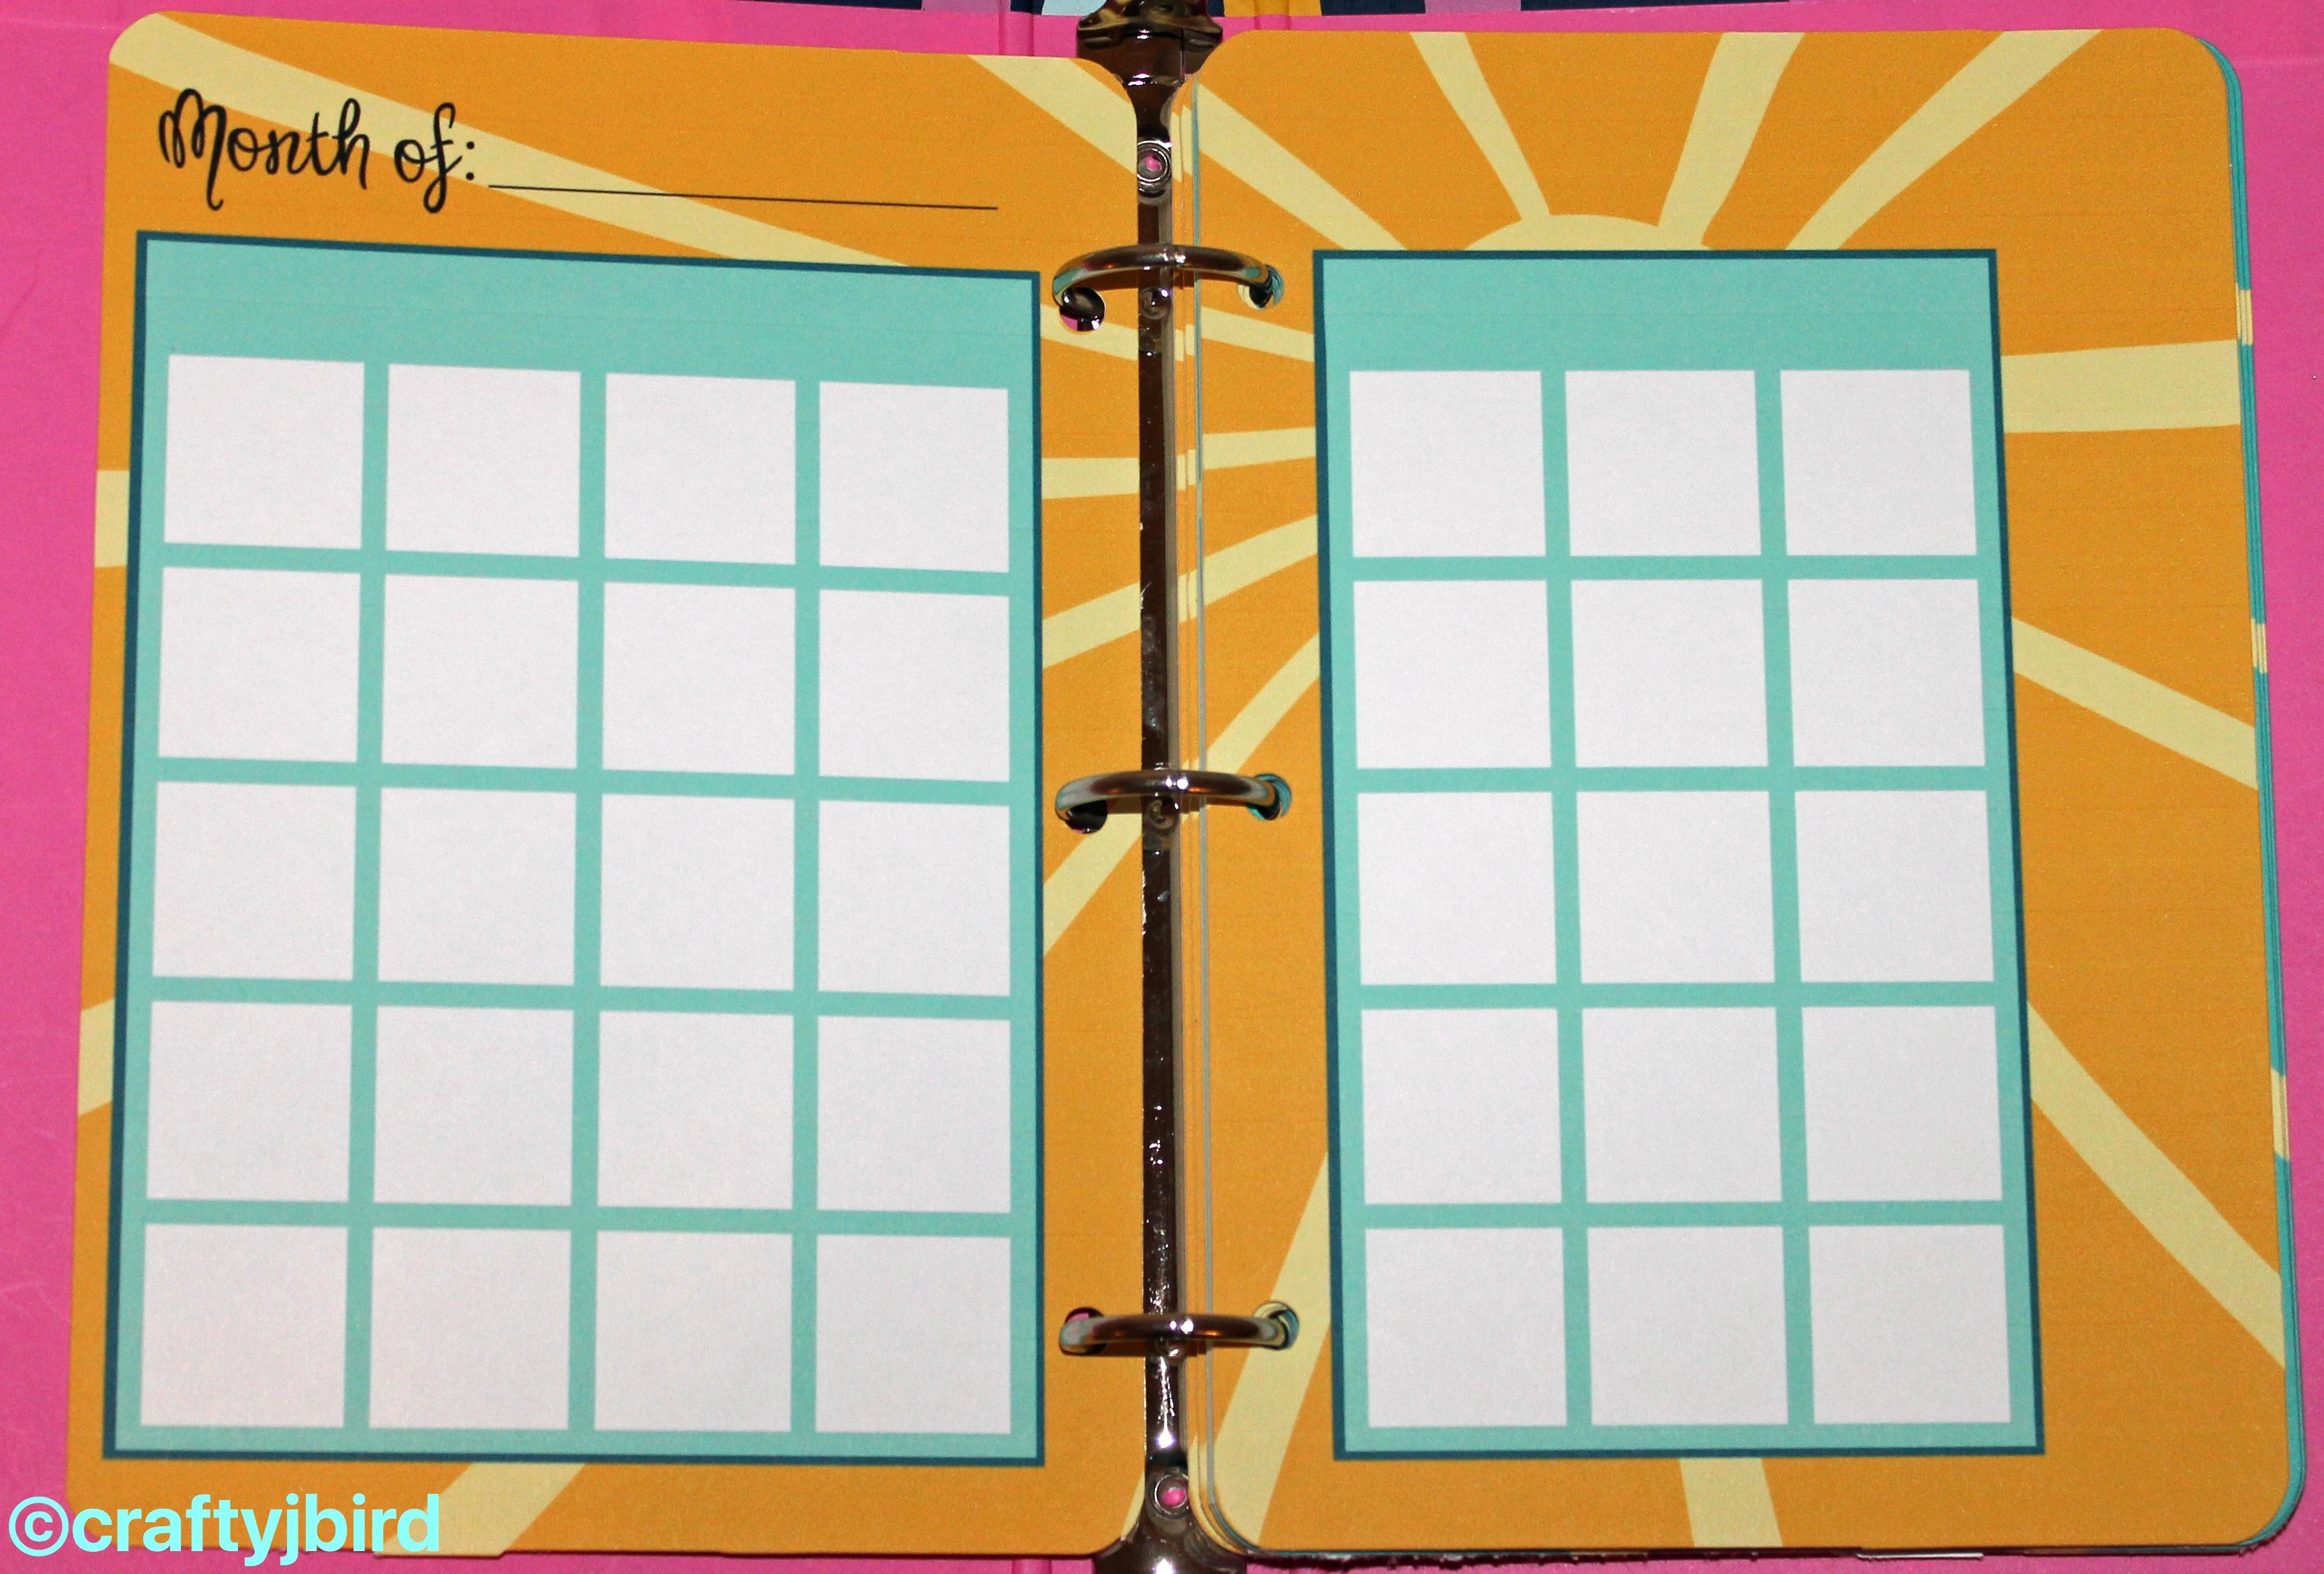
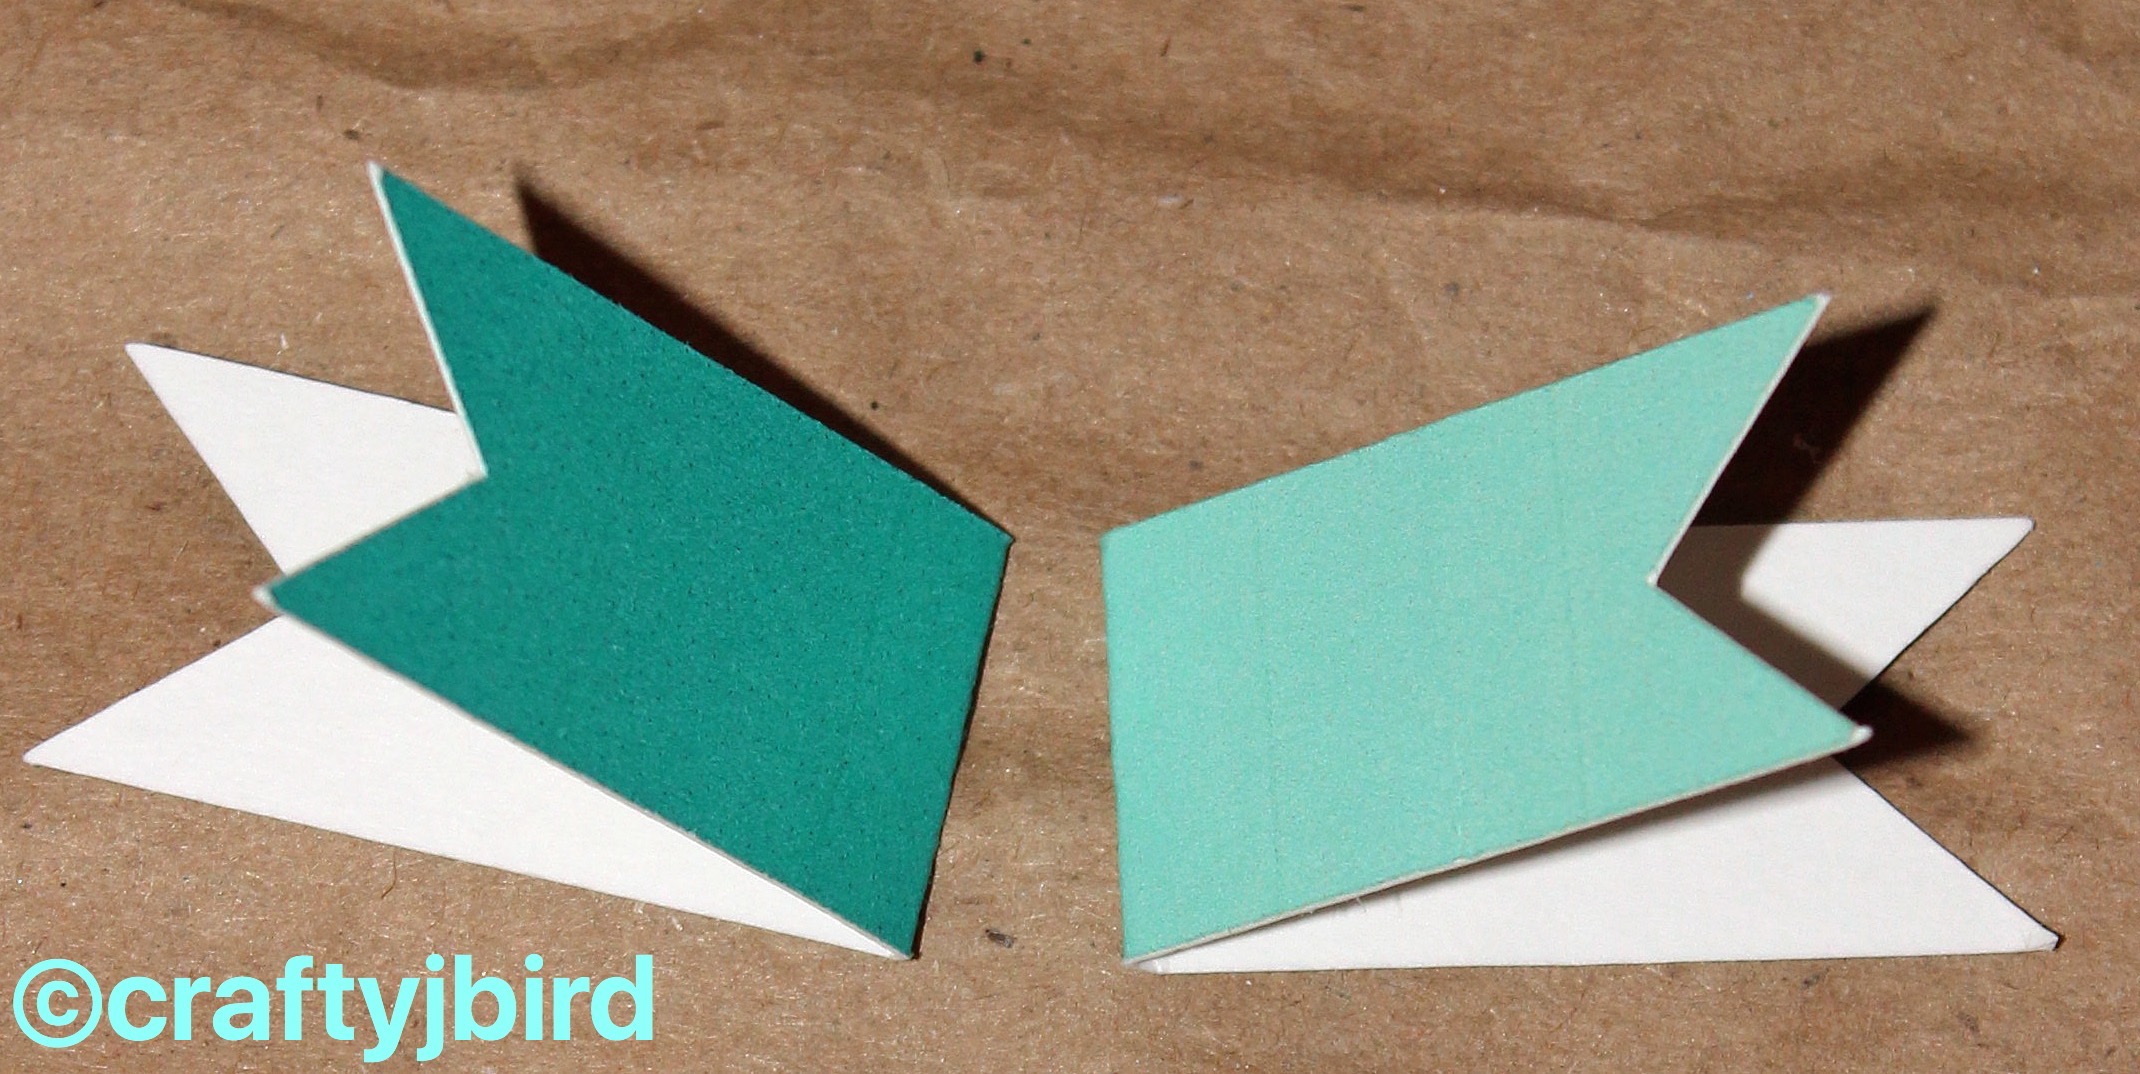
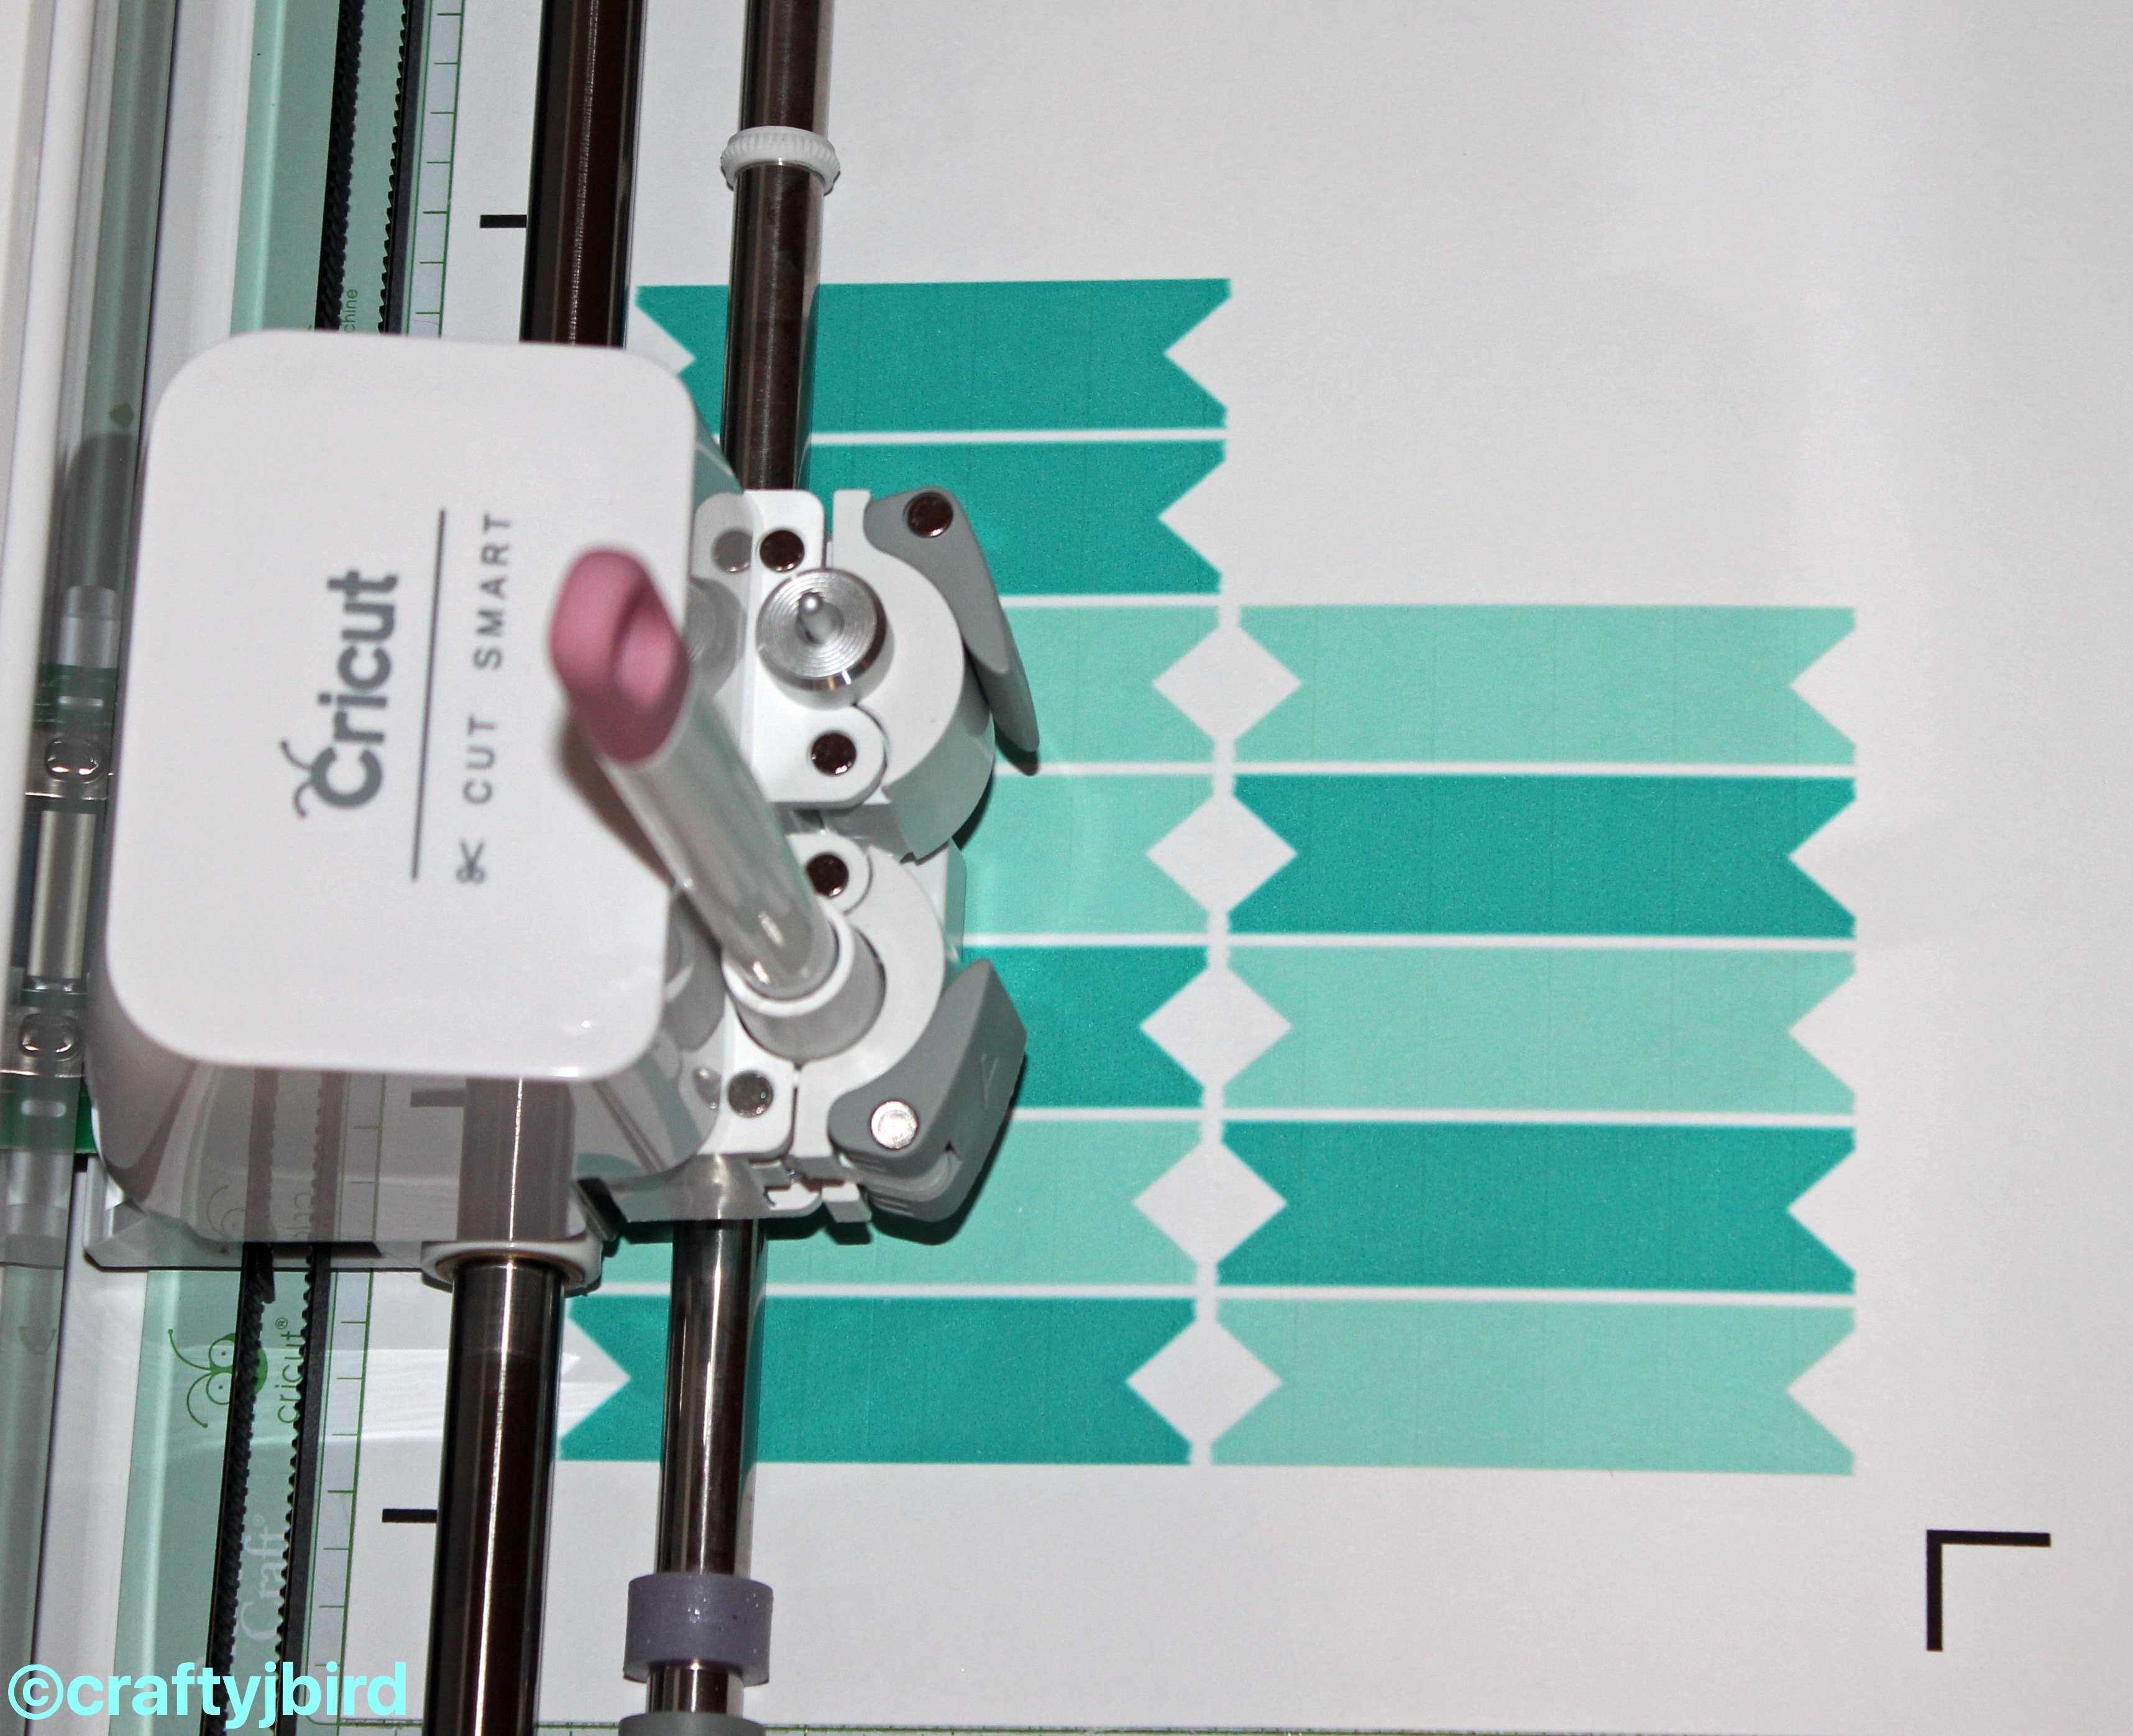 For the ‘tabs’ it will only take a couple of minutes to for those to be scored and cut — see videos here and here. There’s no writing on mine yet as I decided I’m going to use my calligraphy pens to write in the months.
Once everything is cut out, you are now ready to print and cut out the stickers.
Stickers:
Things You’ll Need:
- Explore or Explore Air
- Design Space
- Vinyl Sticker pack or White Cardstock
- Printer
- Adhesive (if using cardstock)
- Binder
Step #1
Sign into Design Space and find the Summer Planner Stickers. Right now, these too are around 8-10 rows down. You can also type ‘planners’ in the search box.
Step #2:
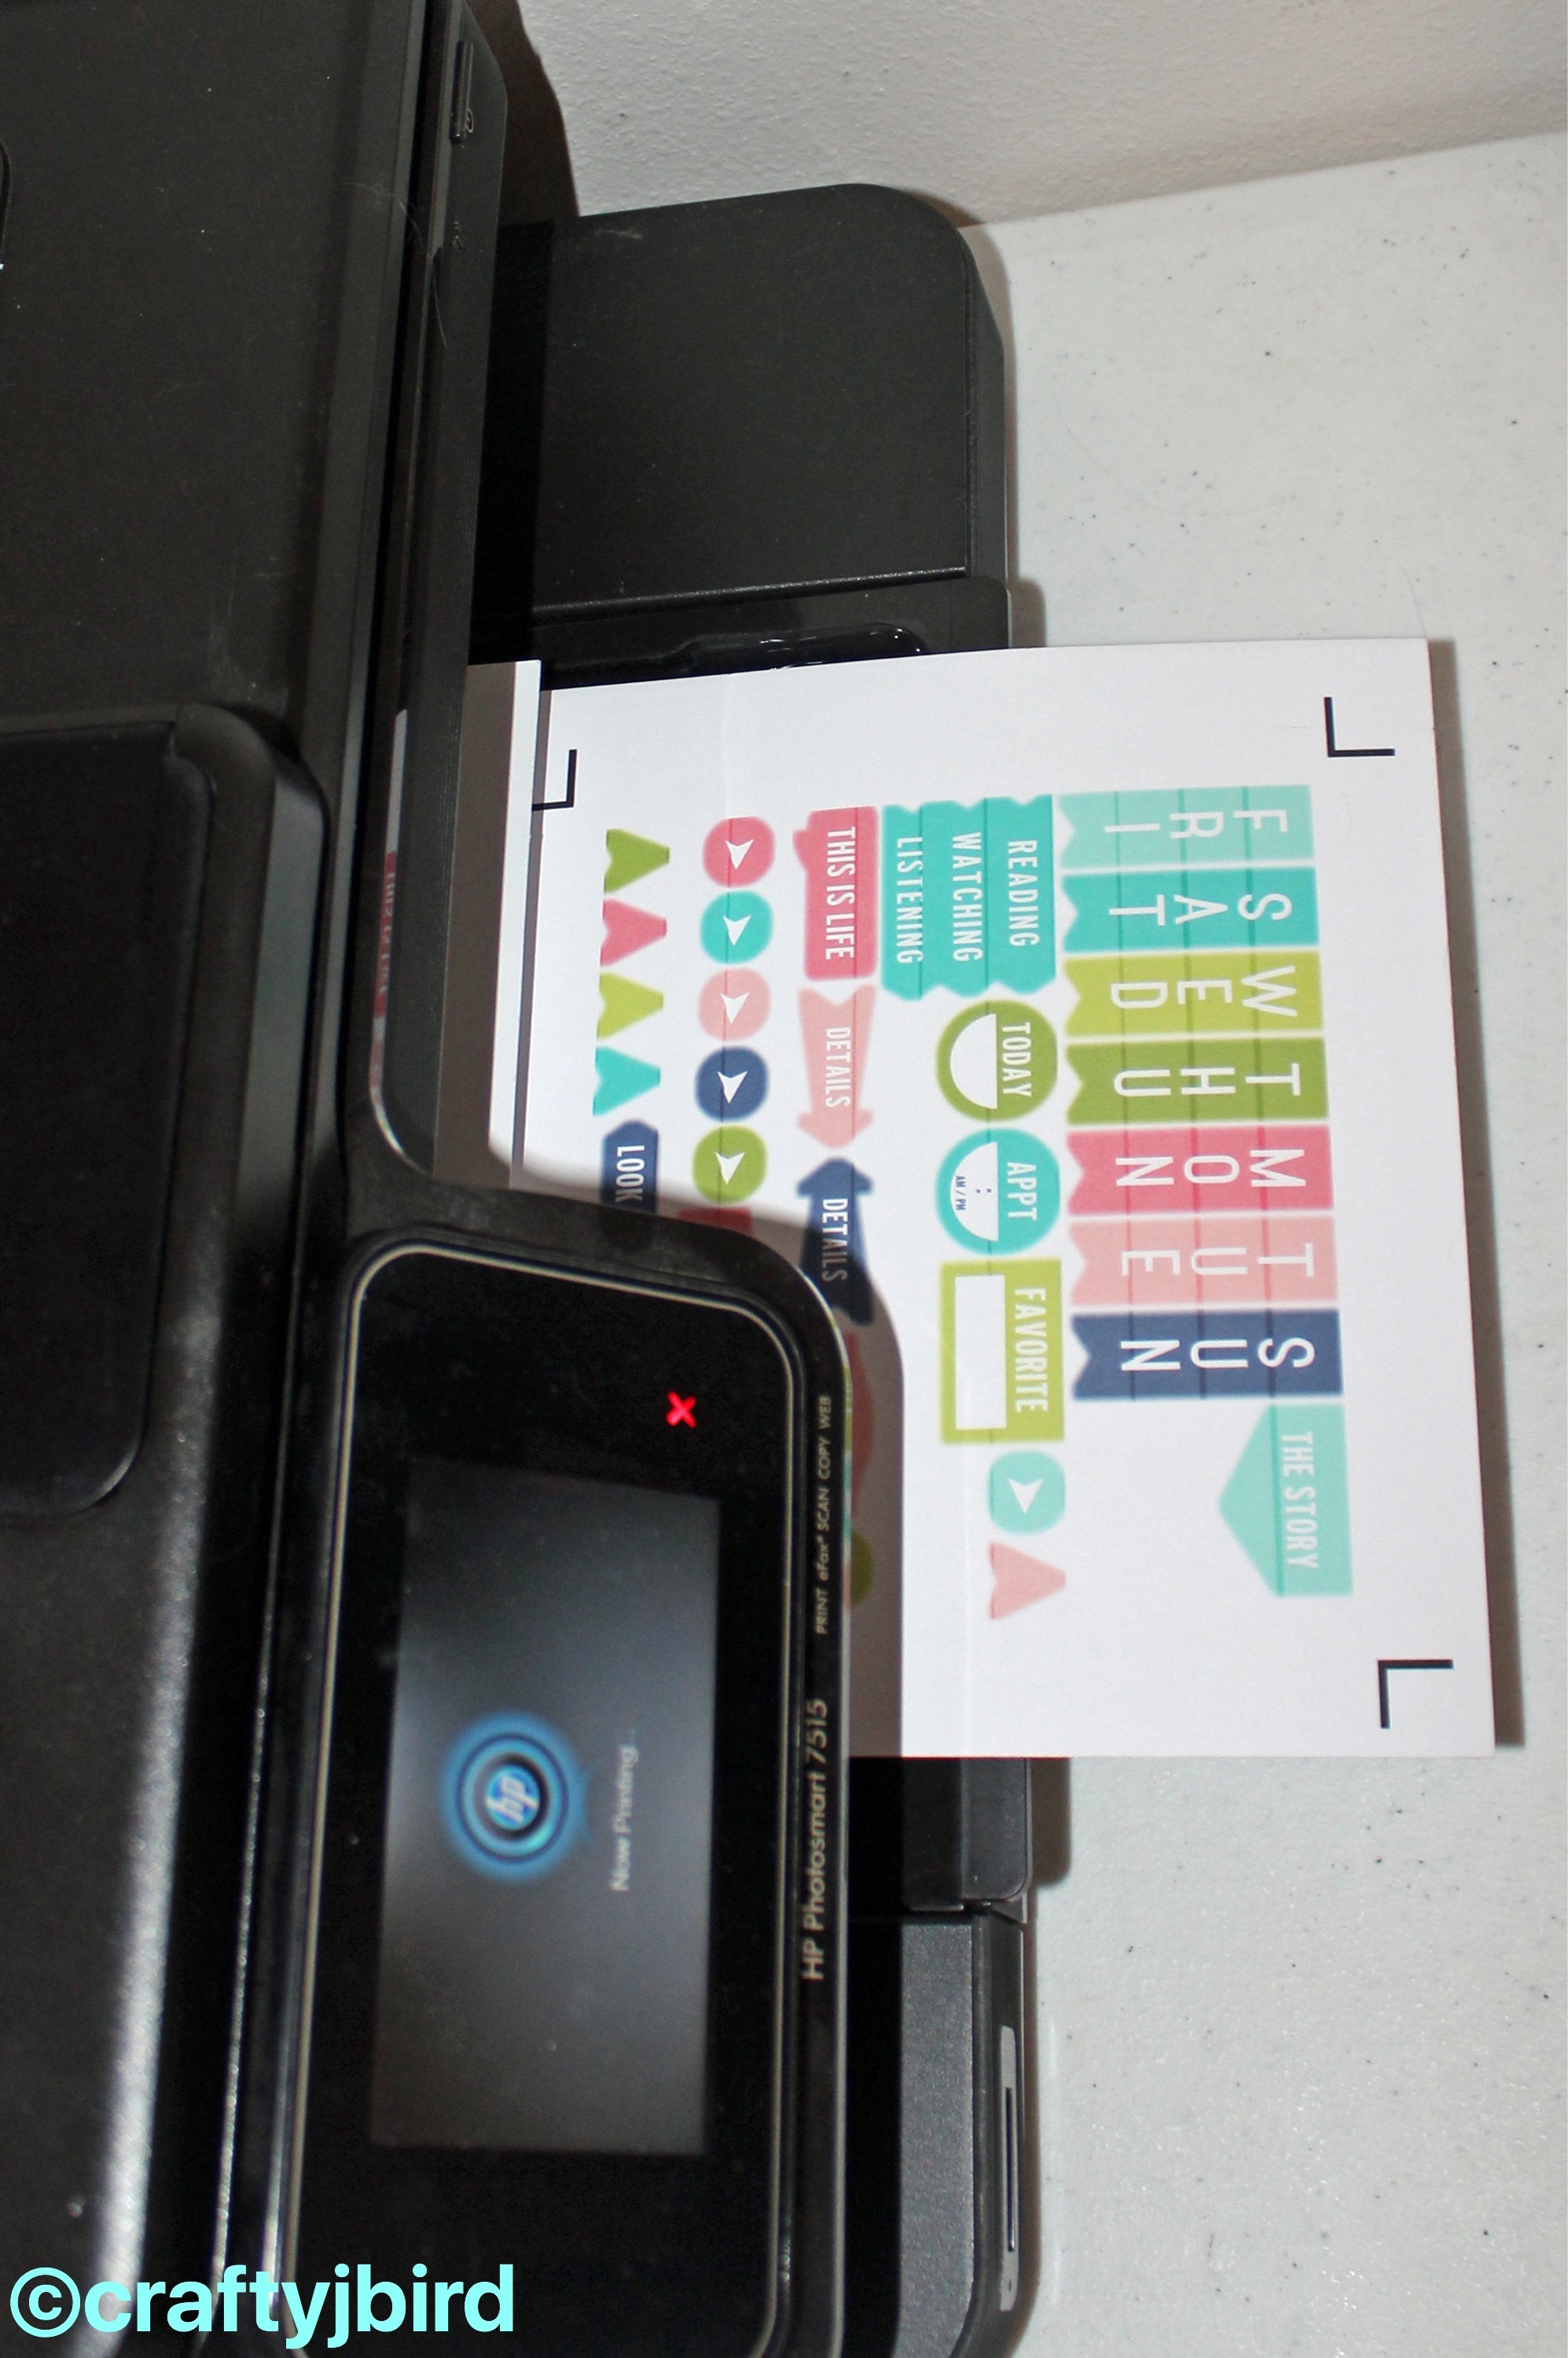
Using either Sticker Vinyl or White Cardstock, print out ever many sets of the ‘stickers’ you want or think you may use for your planner. For now, I only printed out one set.
Step #3:
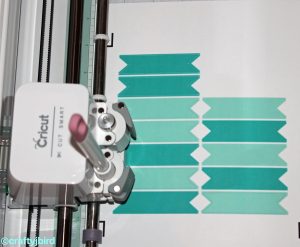
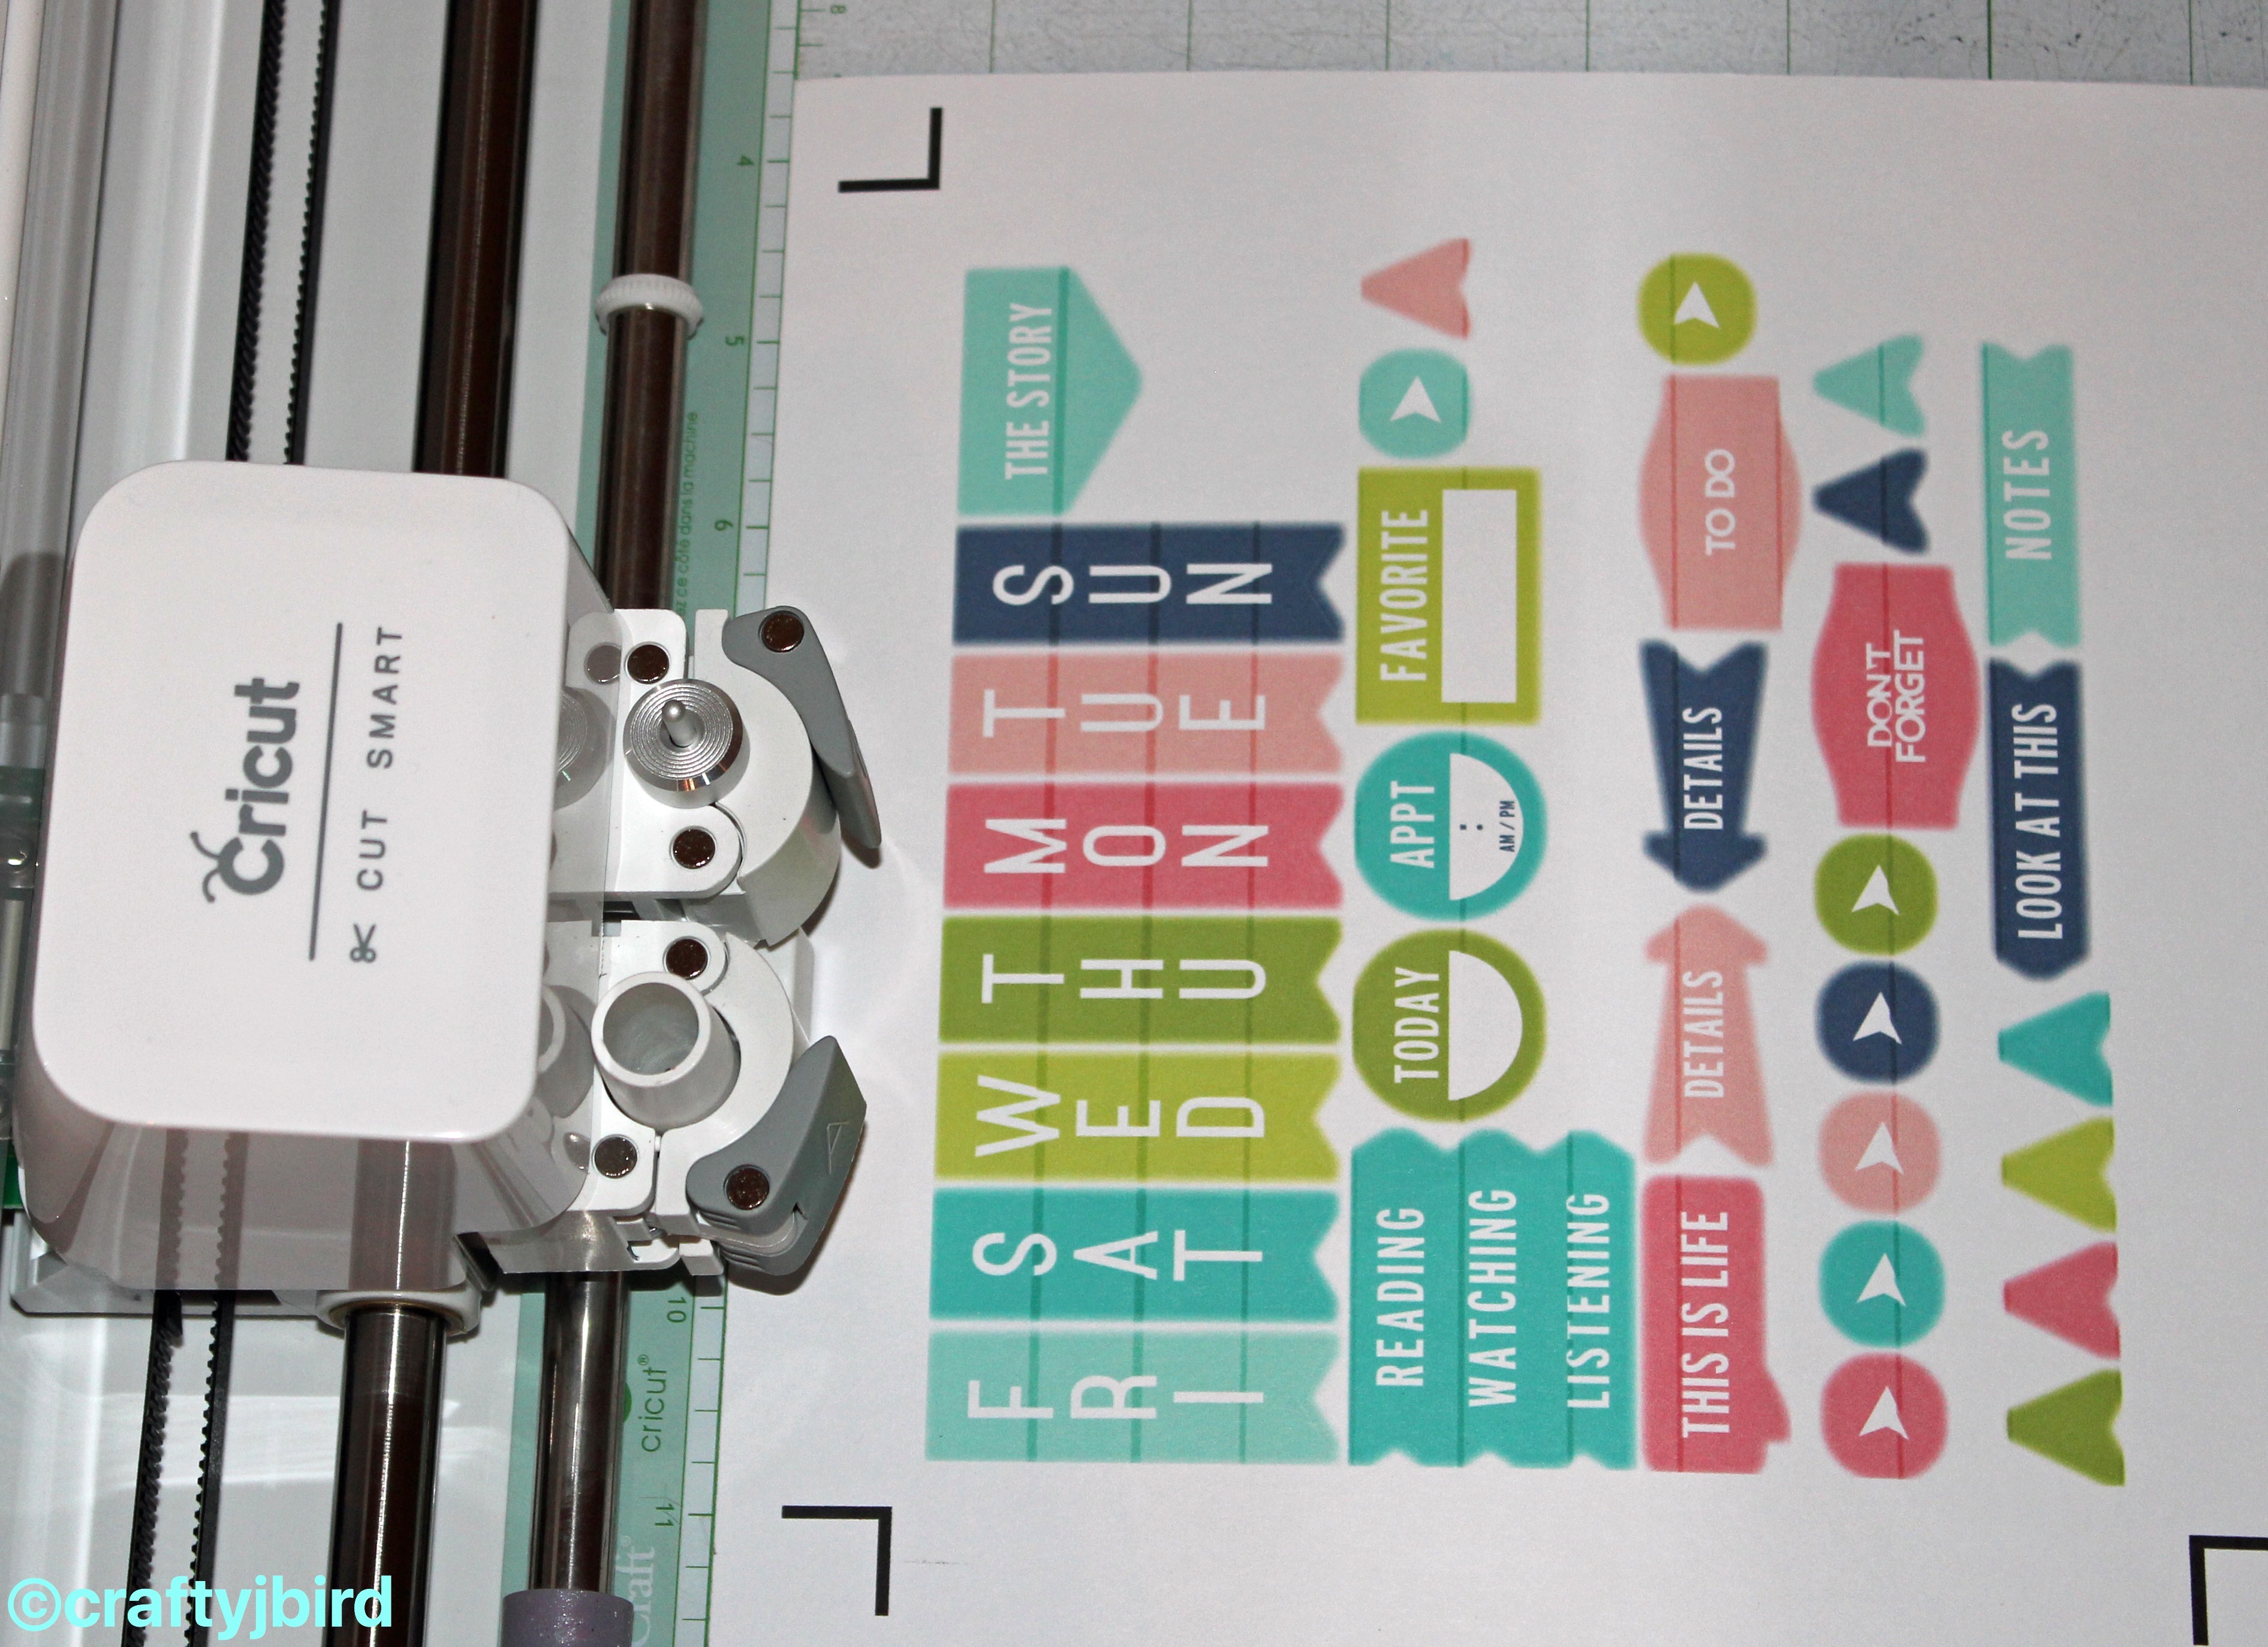 Back on your Explore, place a sheet on your mat and start cutting the ‘stickers’ out.
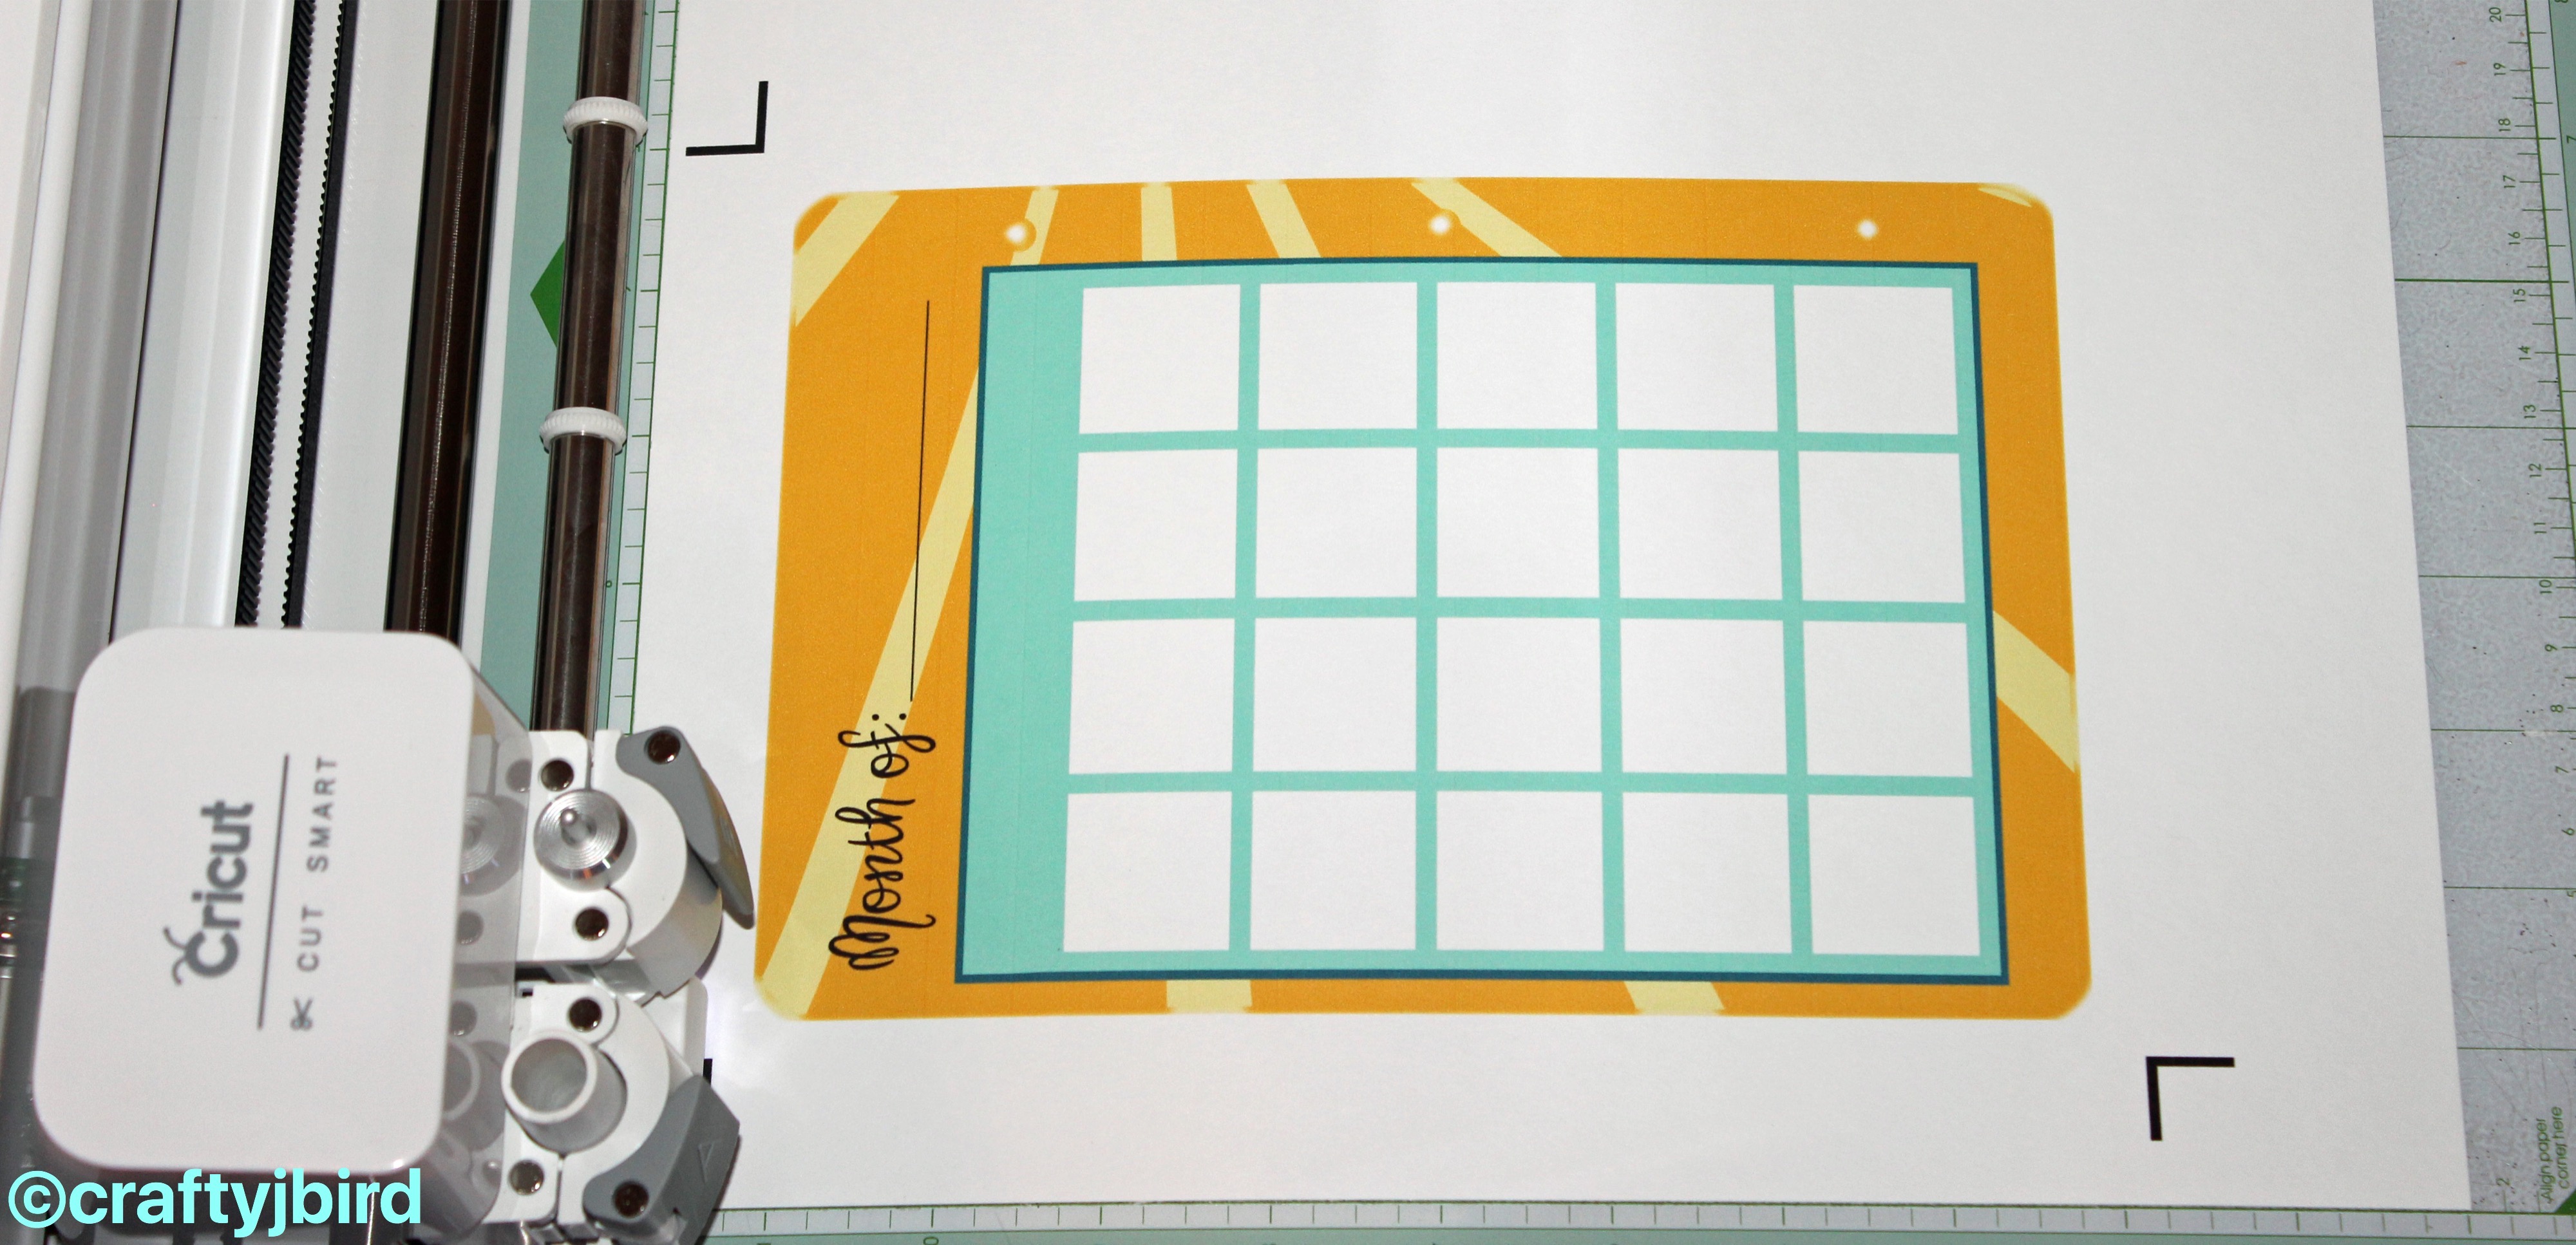
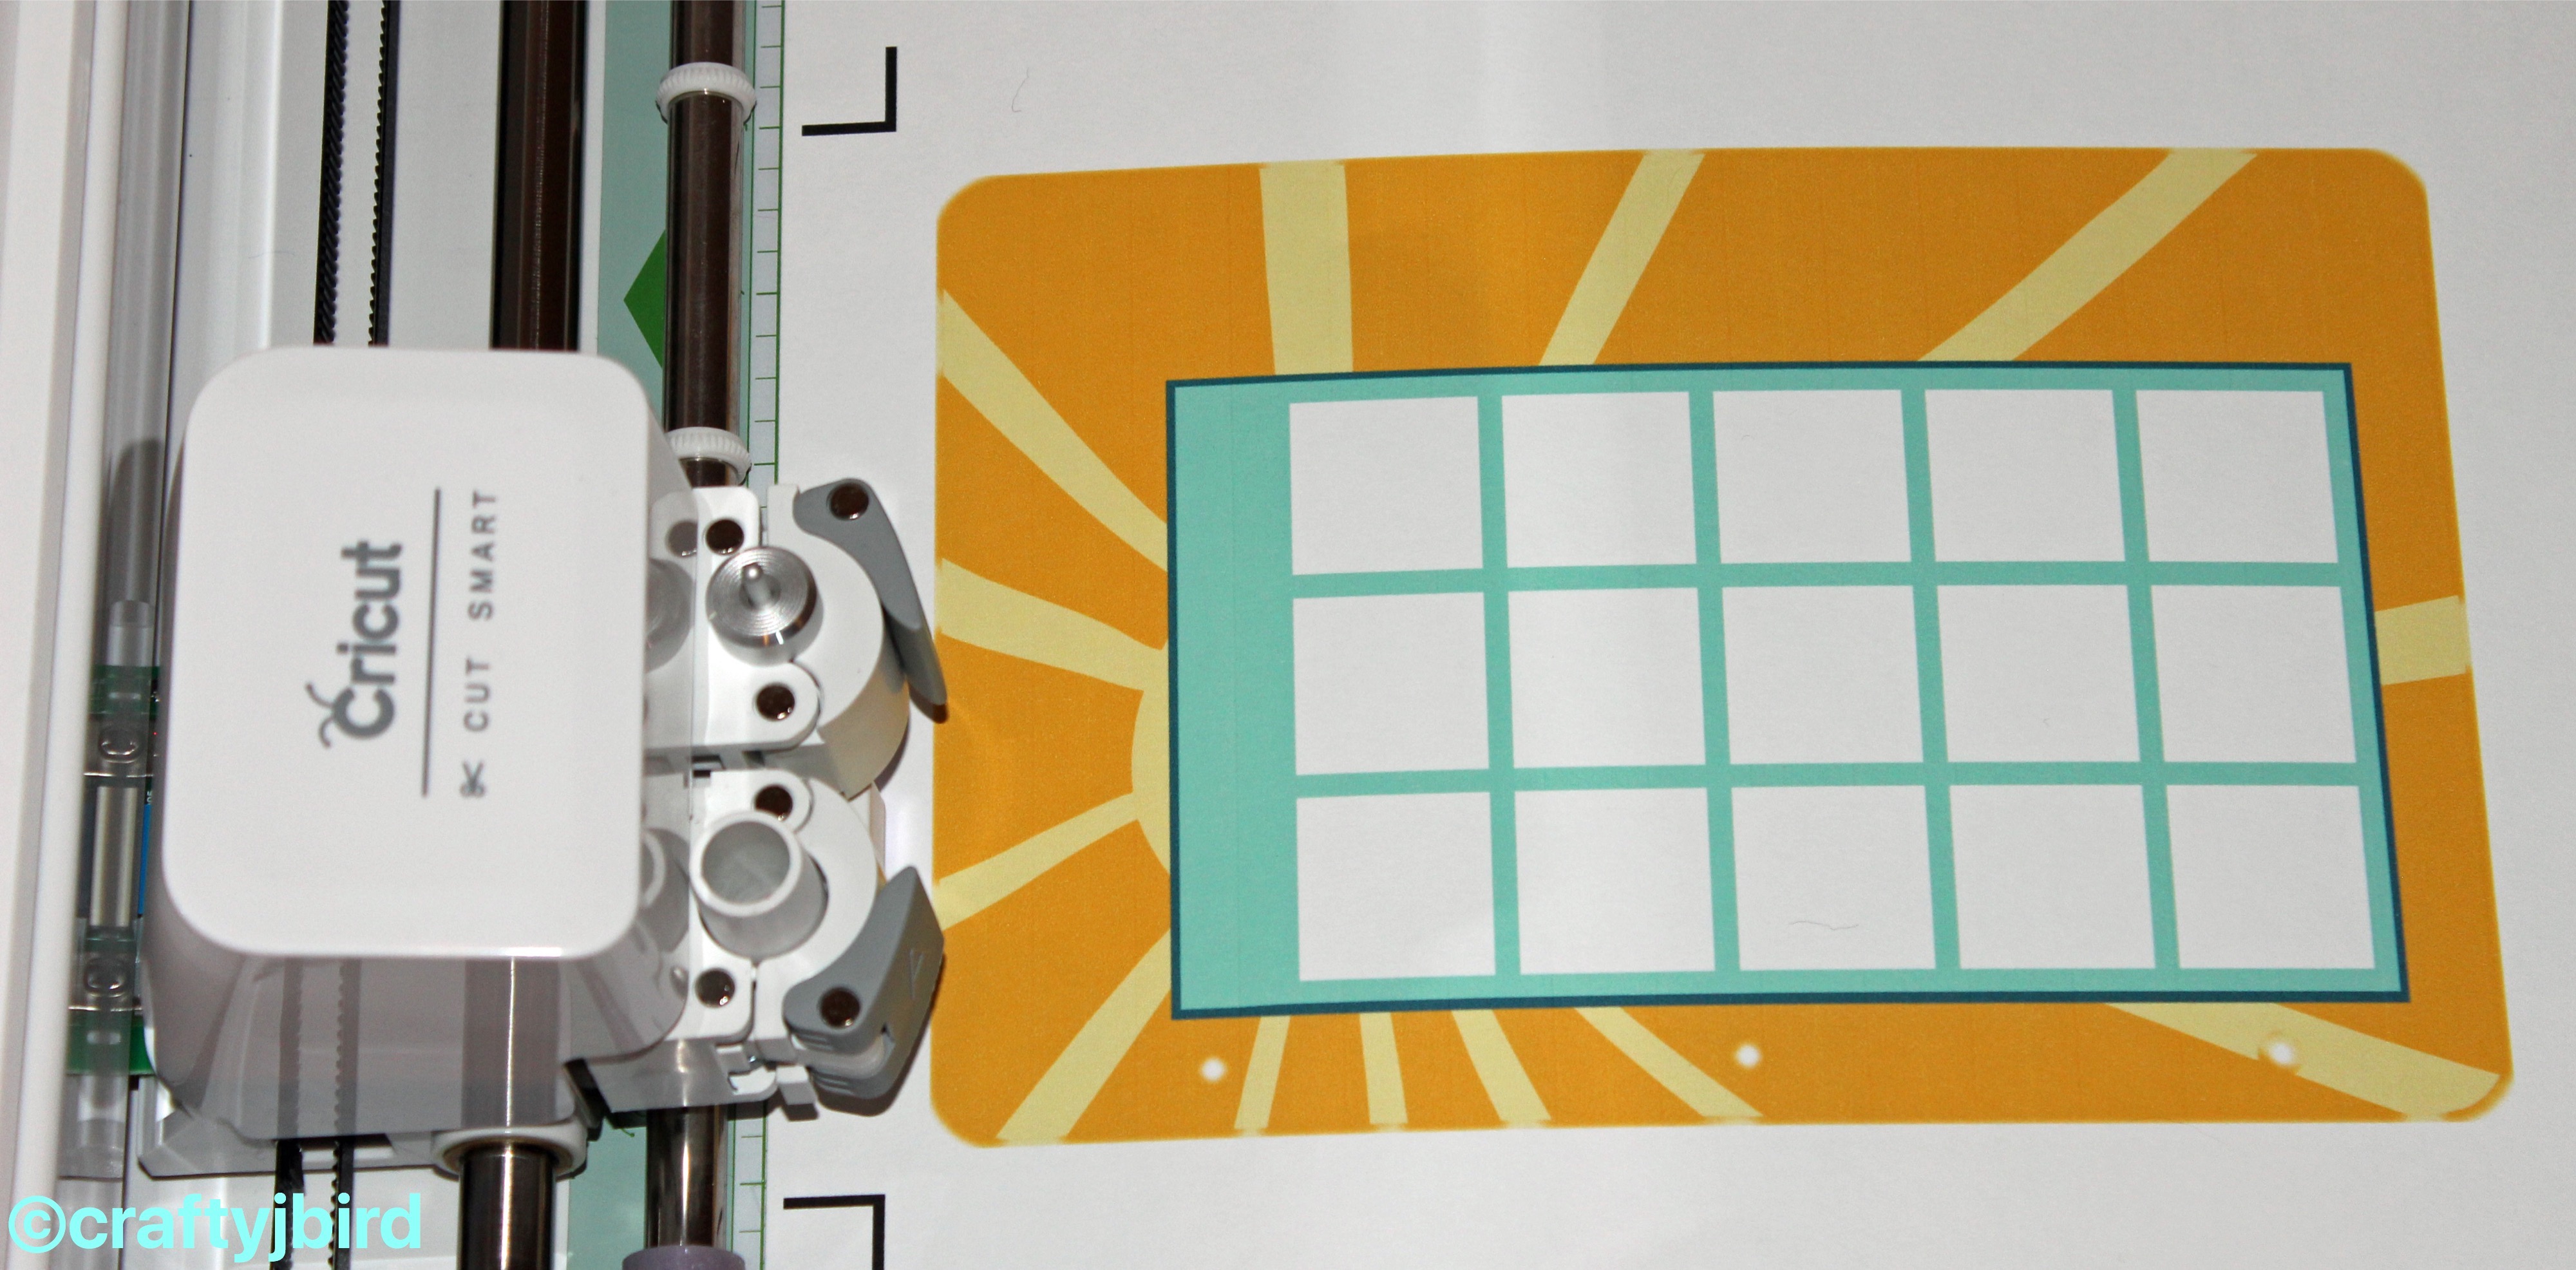
Step #4:
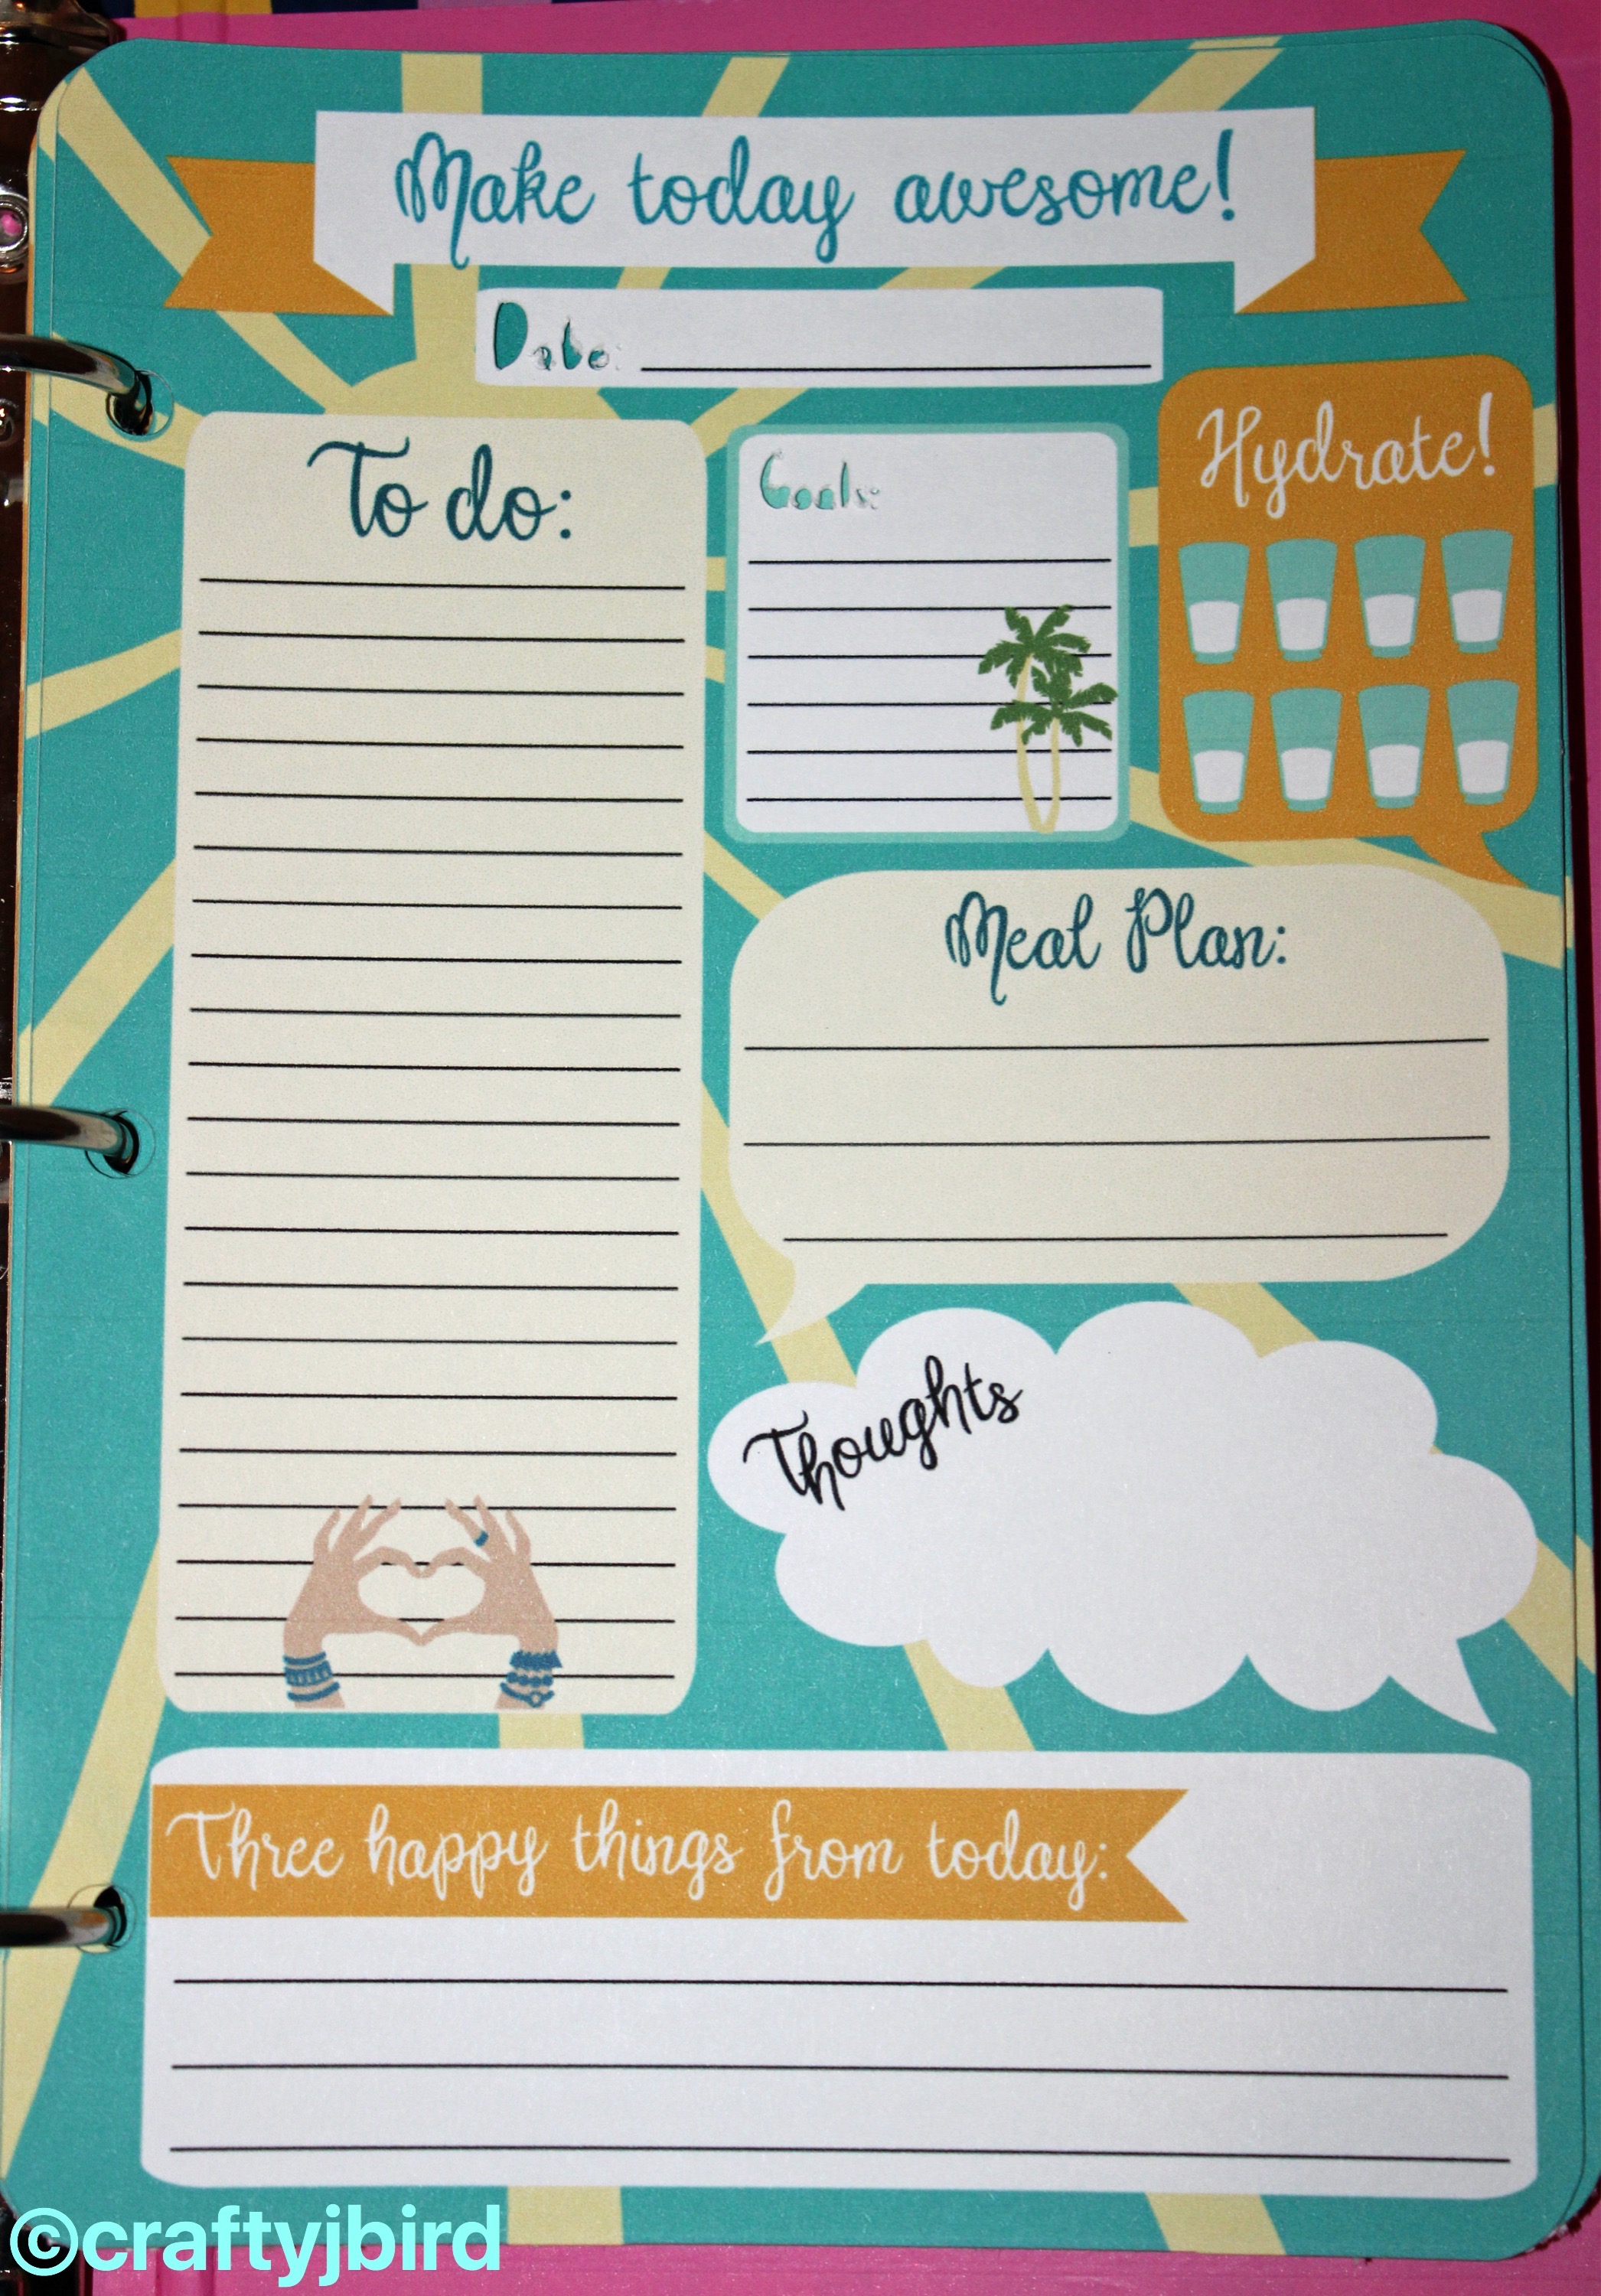
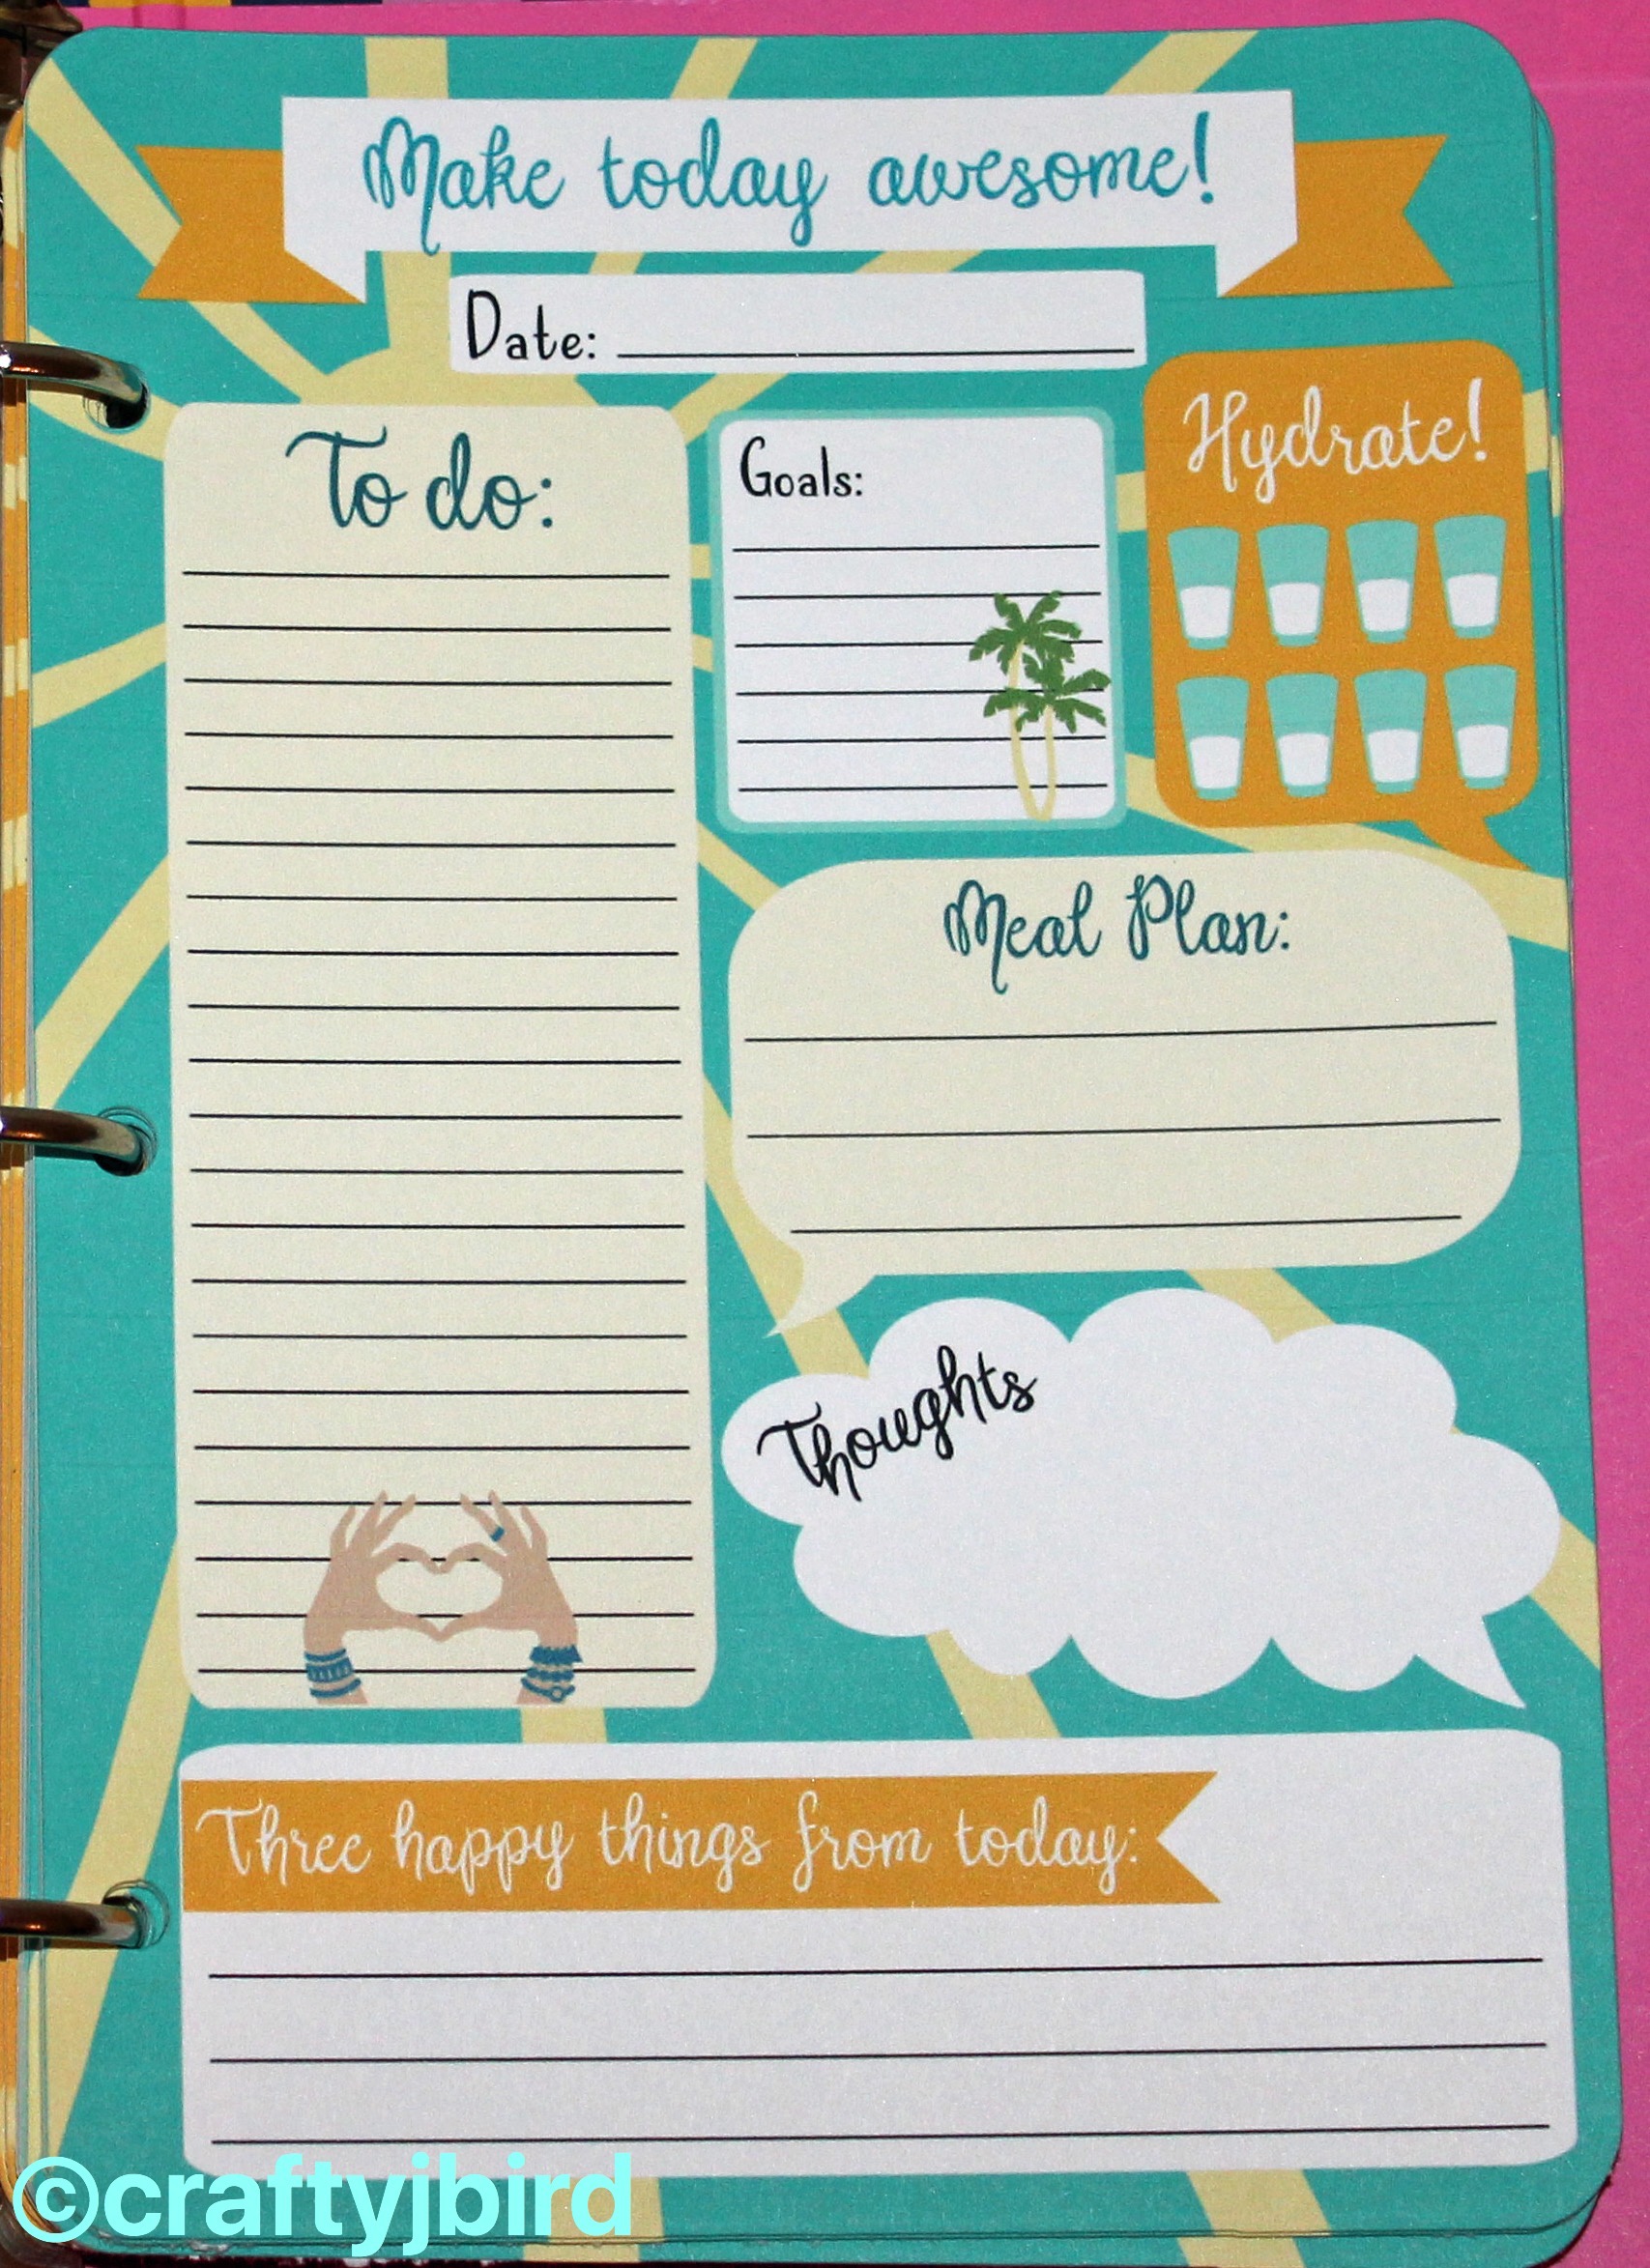
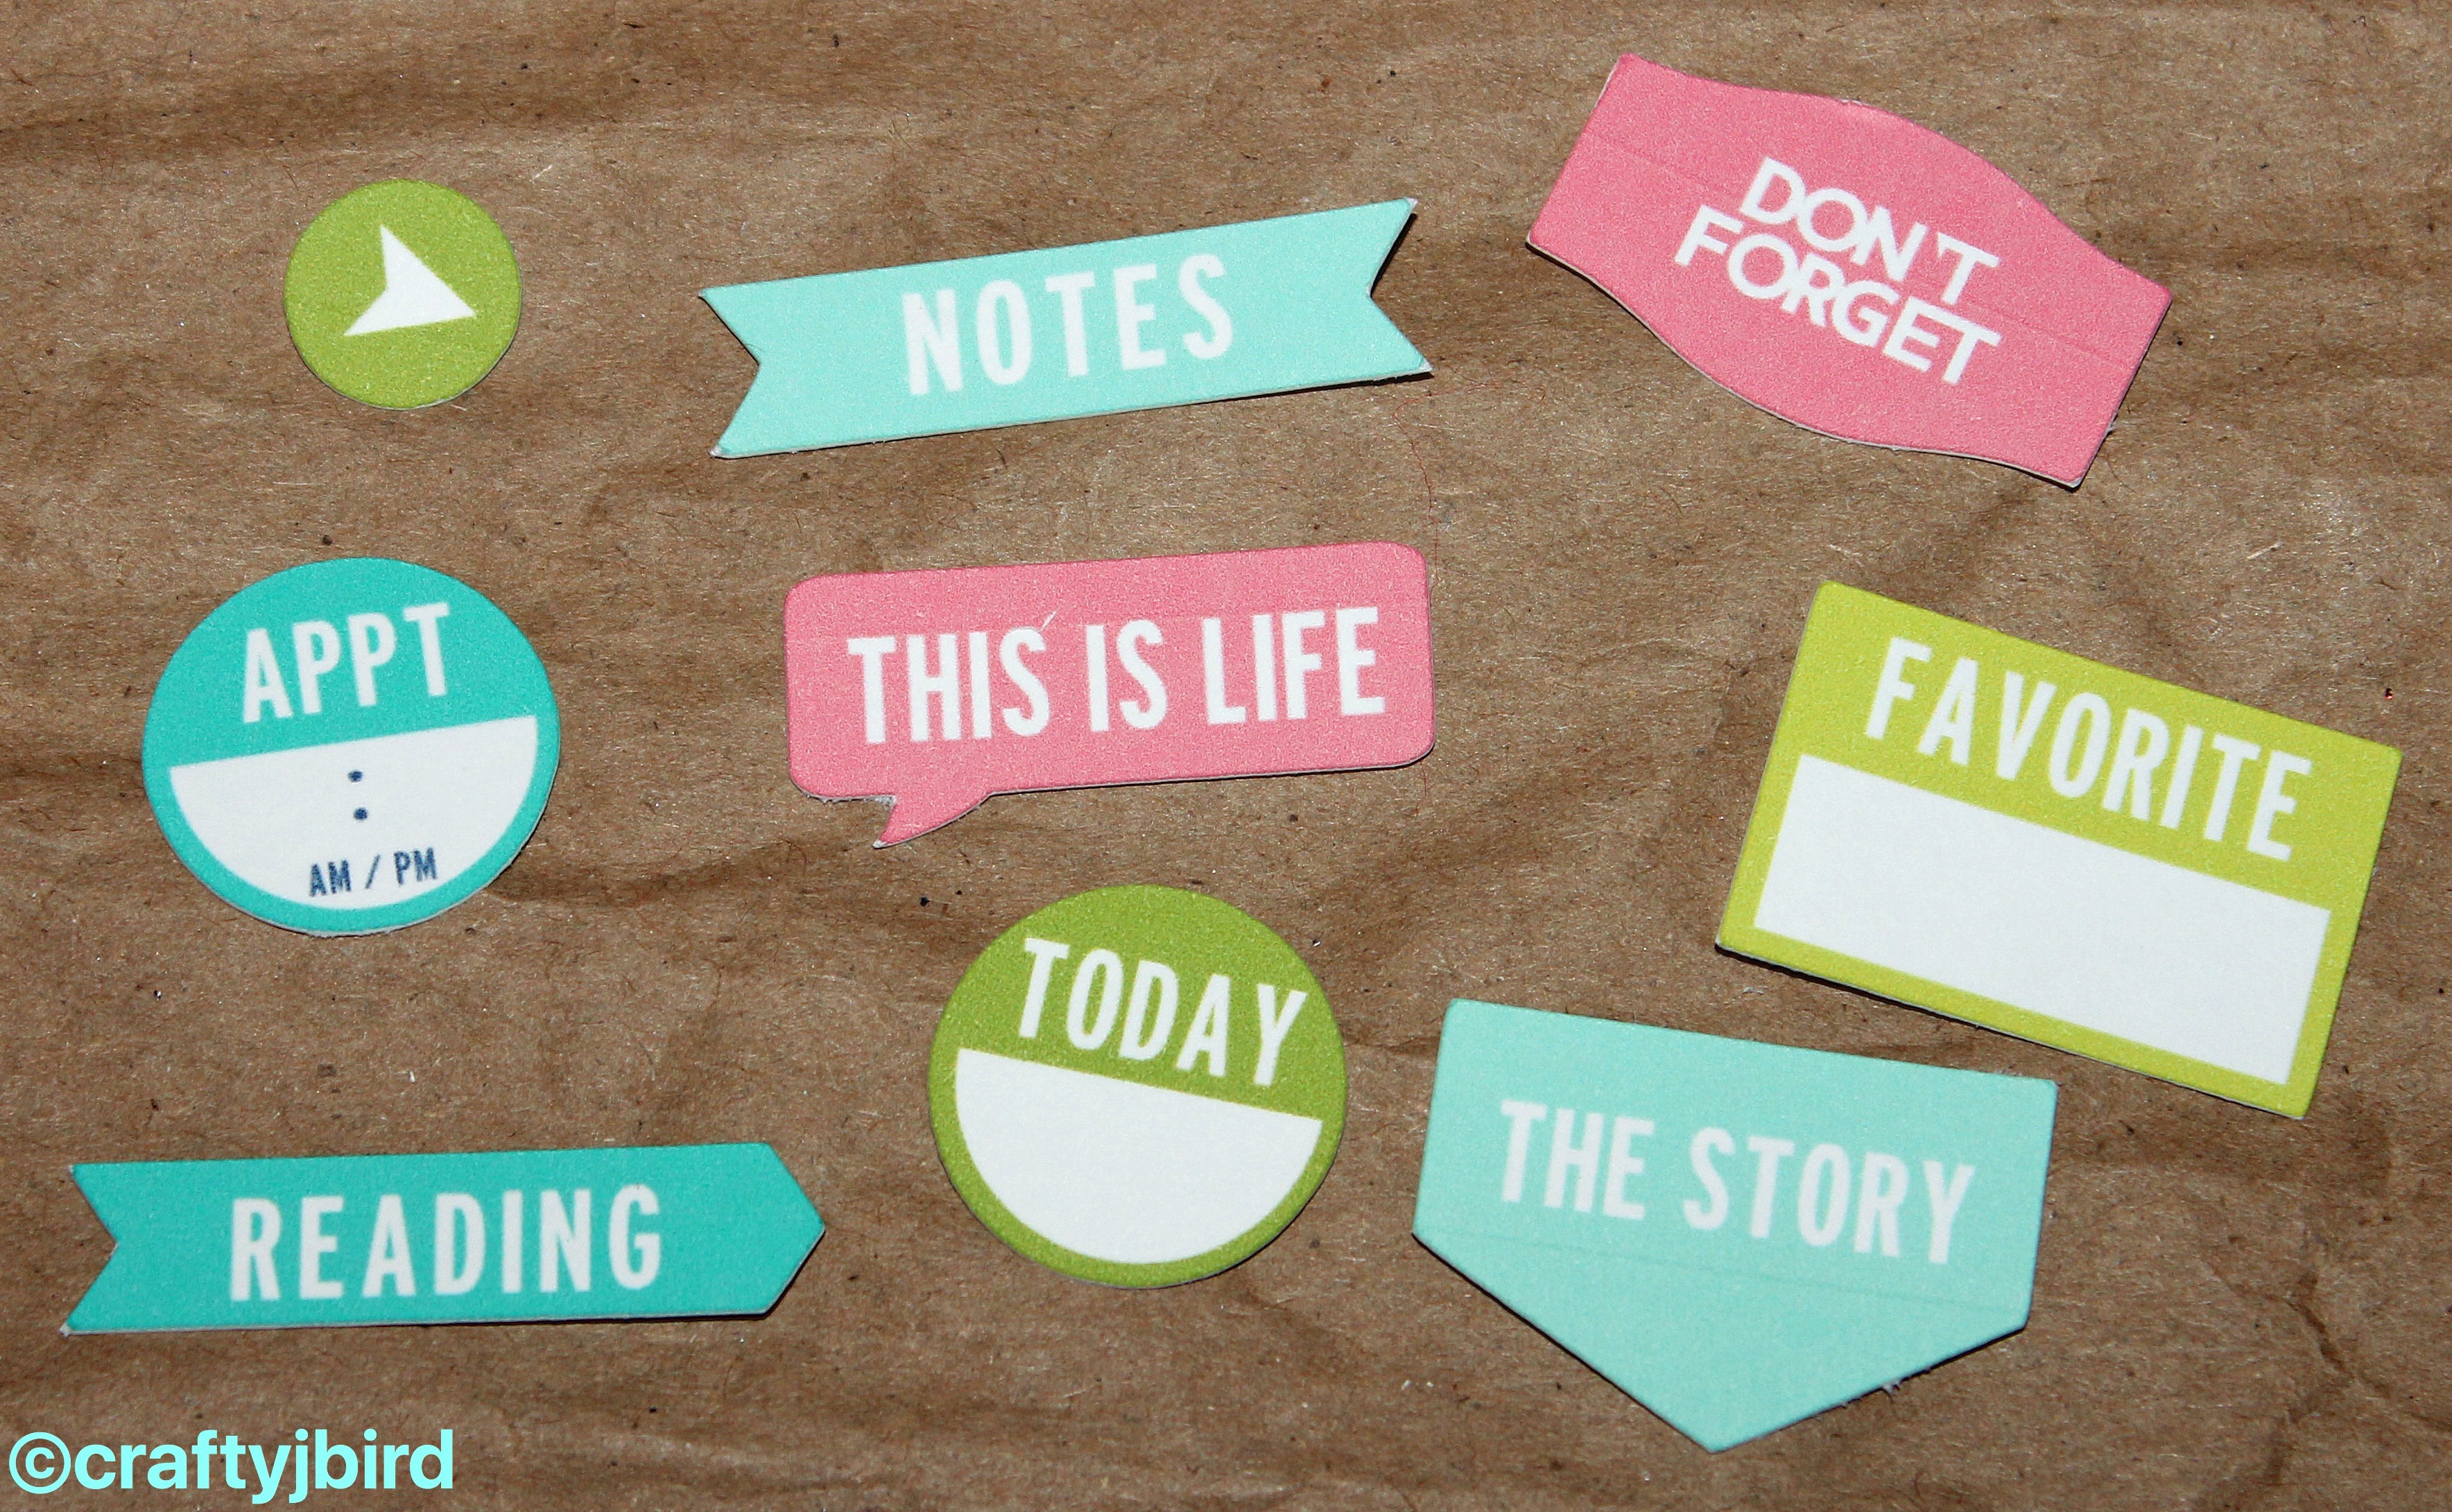
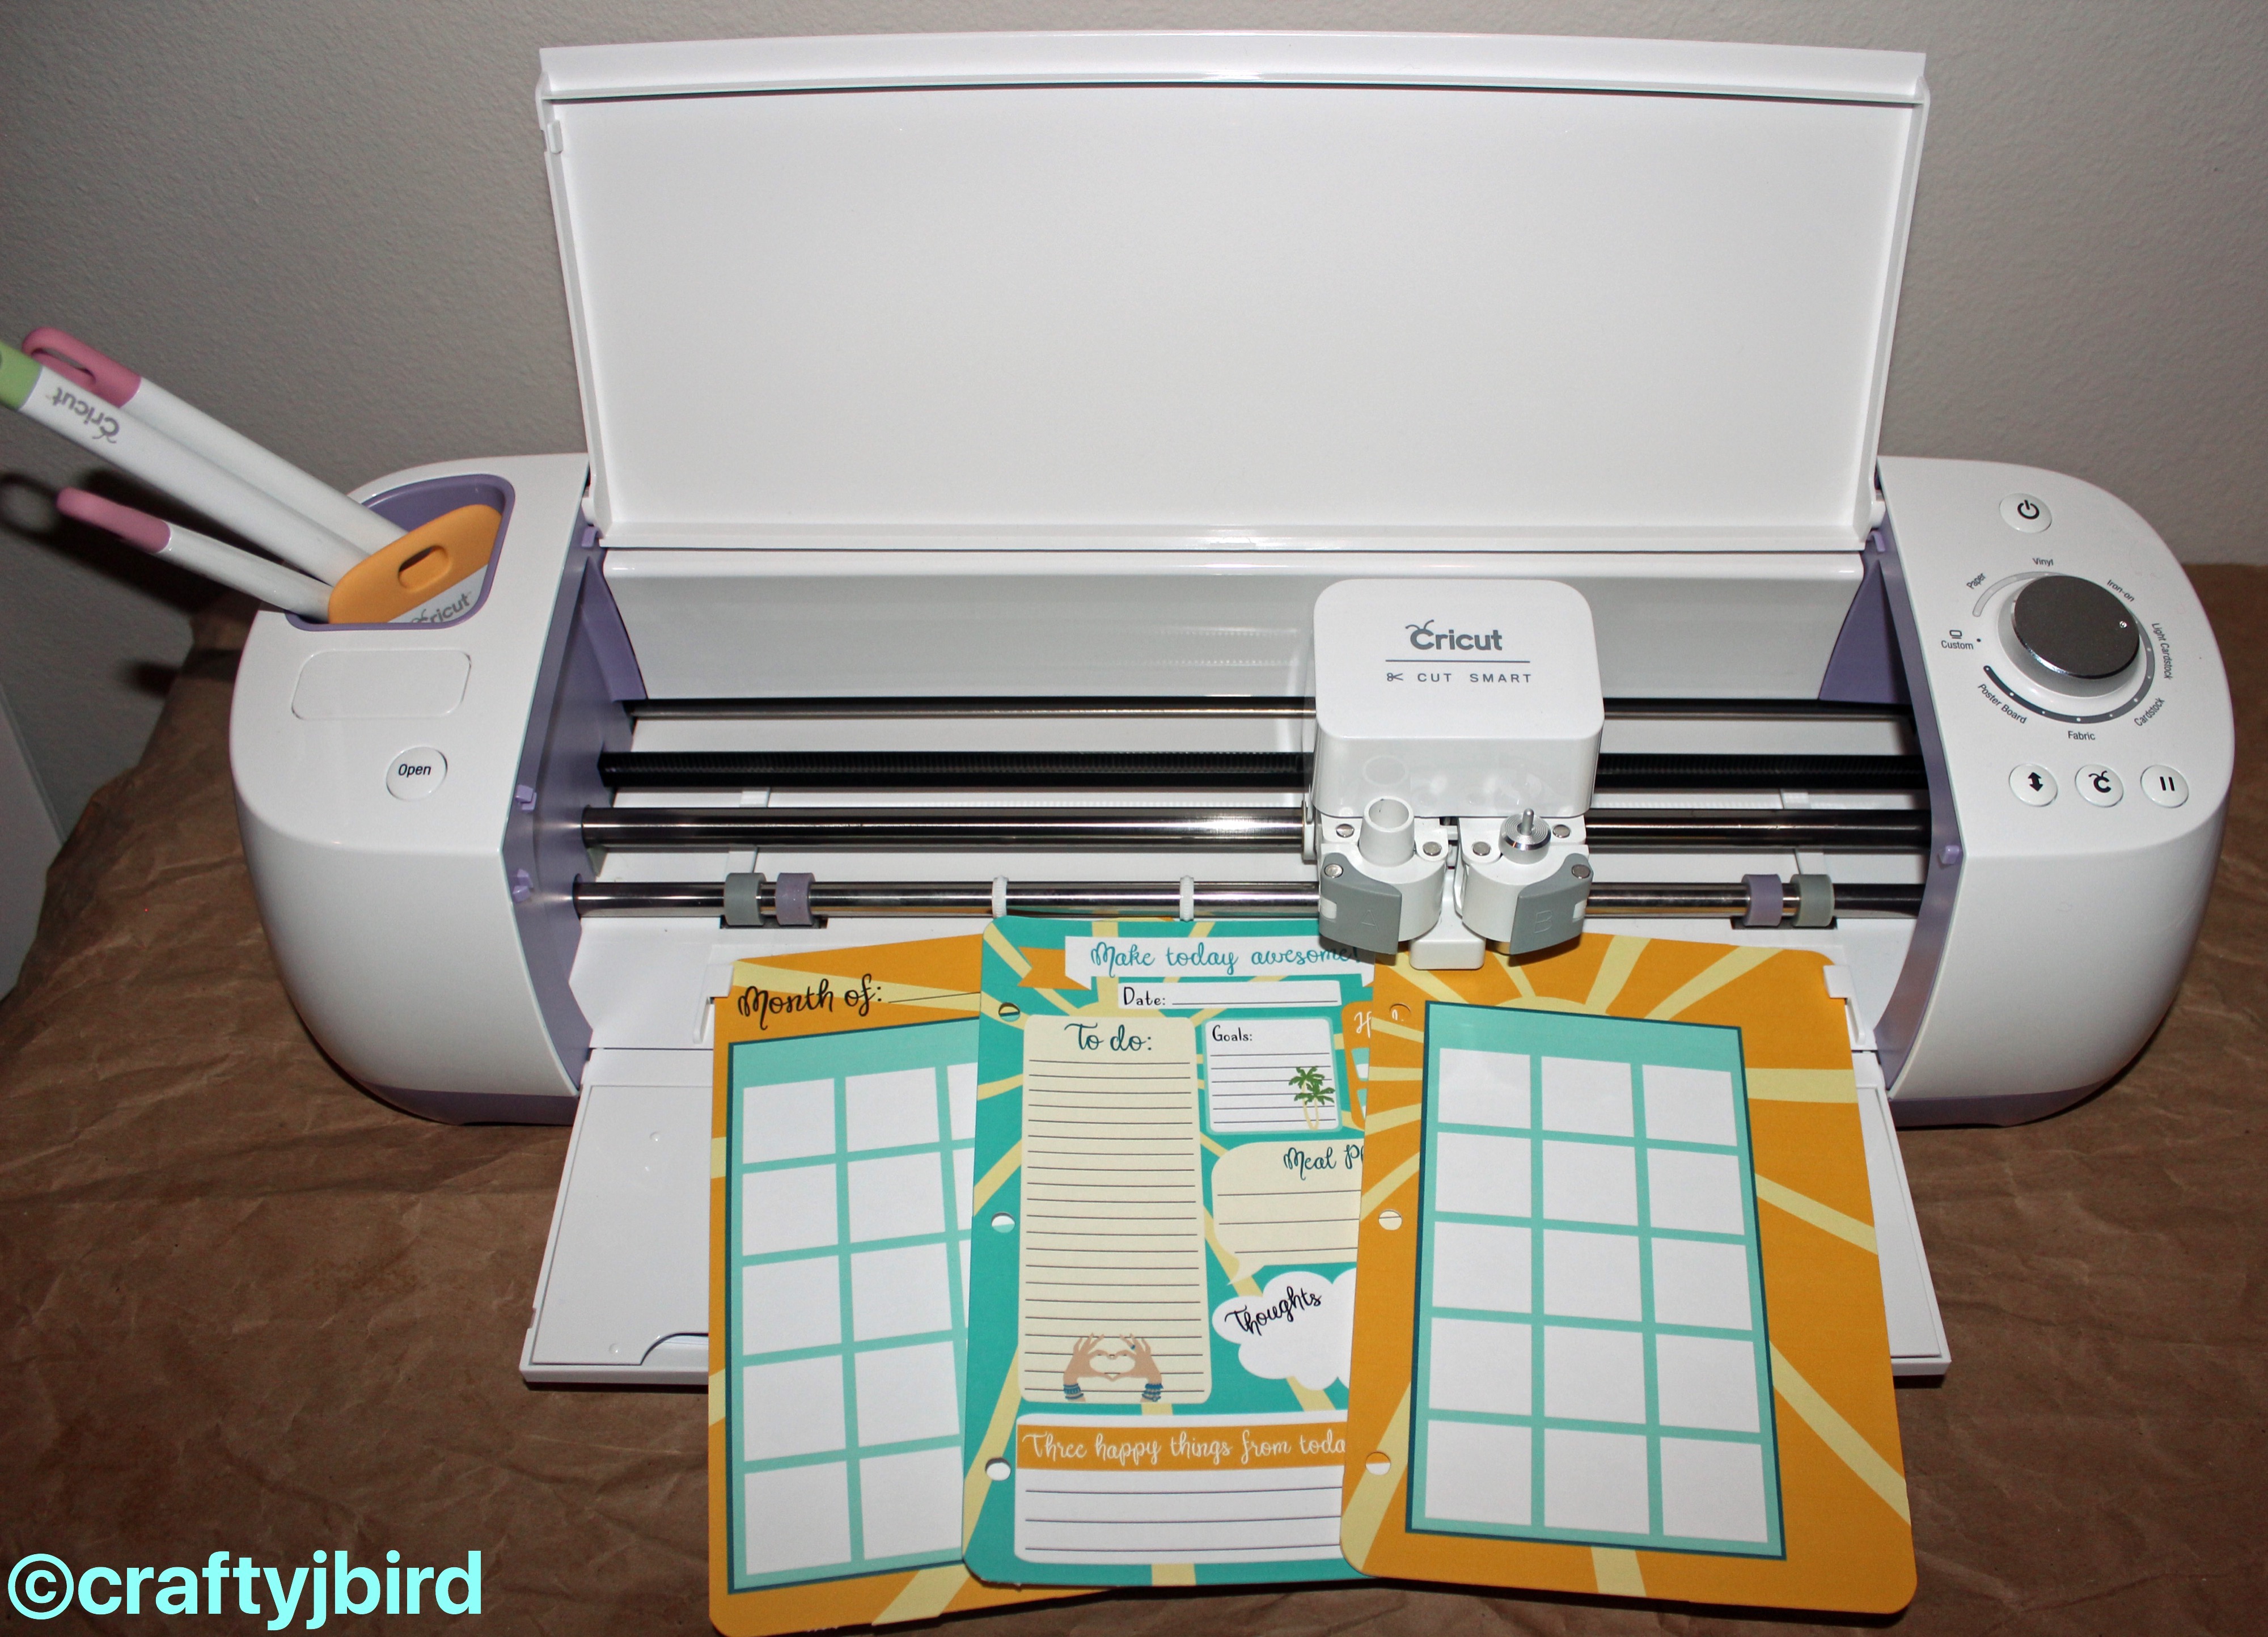
Putting it all together — I haven’t taken the time yet to write in the months and whatnot on everything but here is what each insert, tabs, and stickers will look like when you are finished. As I stated in the post for the Day-by-Day inserts, I didn’t really like the cutting out the words ‘date’ and ‘goals’ so I changed them from cutting to printing.
***In my previous post I showed you would need different colored cardstock; I decided against the add-ins Cricut has using those. However, they are there if you want to obviously.***
Hope you enjoyed this project!!
Have any questions about the project? Please feel free to comment below and I’ll try to respond back as soon as possible! Thanks for visiting! Hope to see you again soon!
Please be sure to check out my other posts for each day of the week if you have not done so yet. Also, be sure to sign up for my e-mails at the bottom of this page.
Have a great day!
Don’t forget to Follow me on Instagram @craftyjbird and Twitter (link at bottom) as well as ‘Like’ me on Facebook (link at bottom).
Thanks again!