
It’s Scrap It Friday again!
The Weekend is HERE!!
I LOVE the beach (in case you haven’t noticed!), in fact; I plan to one day (hopefully sooner, rather than later) have my wedding on a beach. So today I made a double page layout with a beachy theme. Since today is my parent’s wedding anniversary, I thought it would be just right to do a wedding type layout; but make it for someone who plans or has had a beach wedding, like me. The layout’s name is “You are the Anchor to my Heart.” I also thought this would be a nice layout type for two sets of people I know who got married this summer either on a cruise or somewhere on a beach.
You are the Anchor to my Heart
Lets get started….
Things you will need:
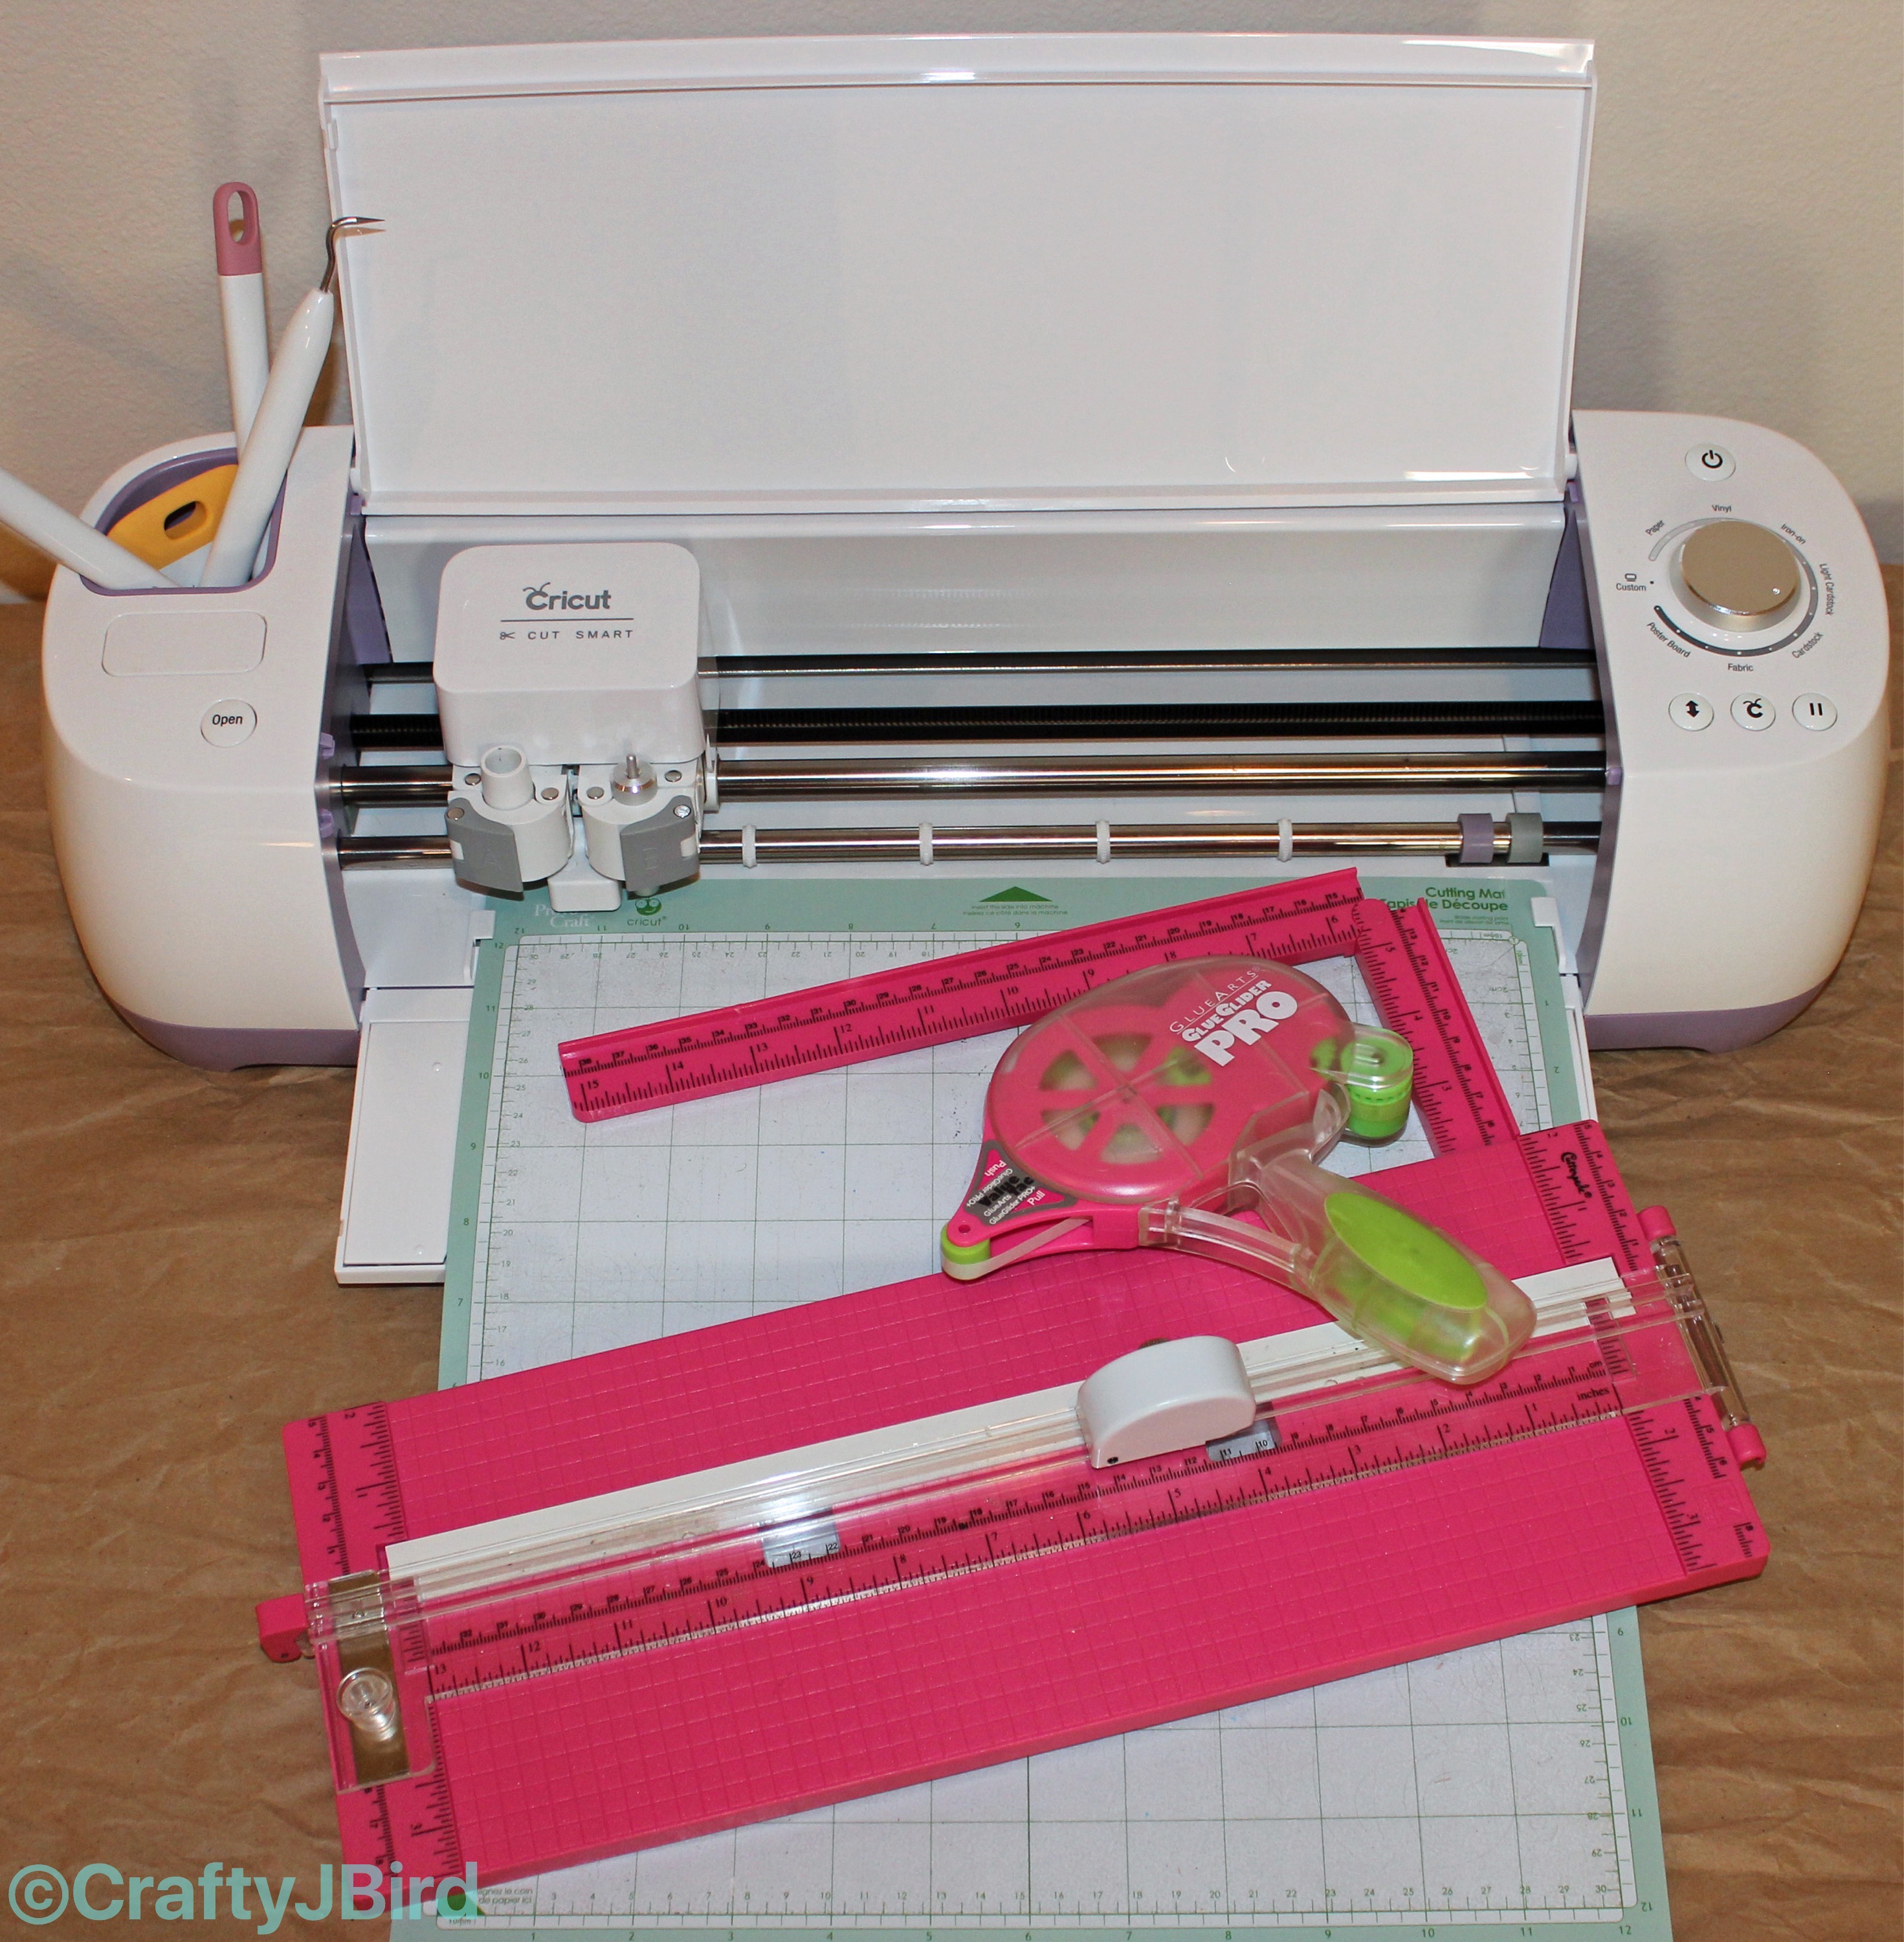
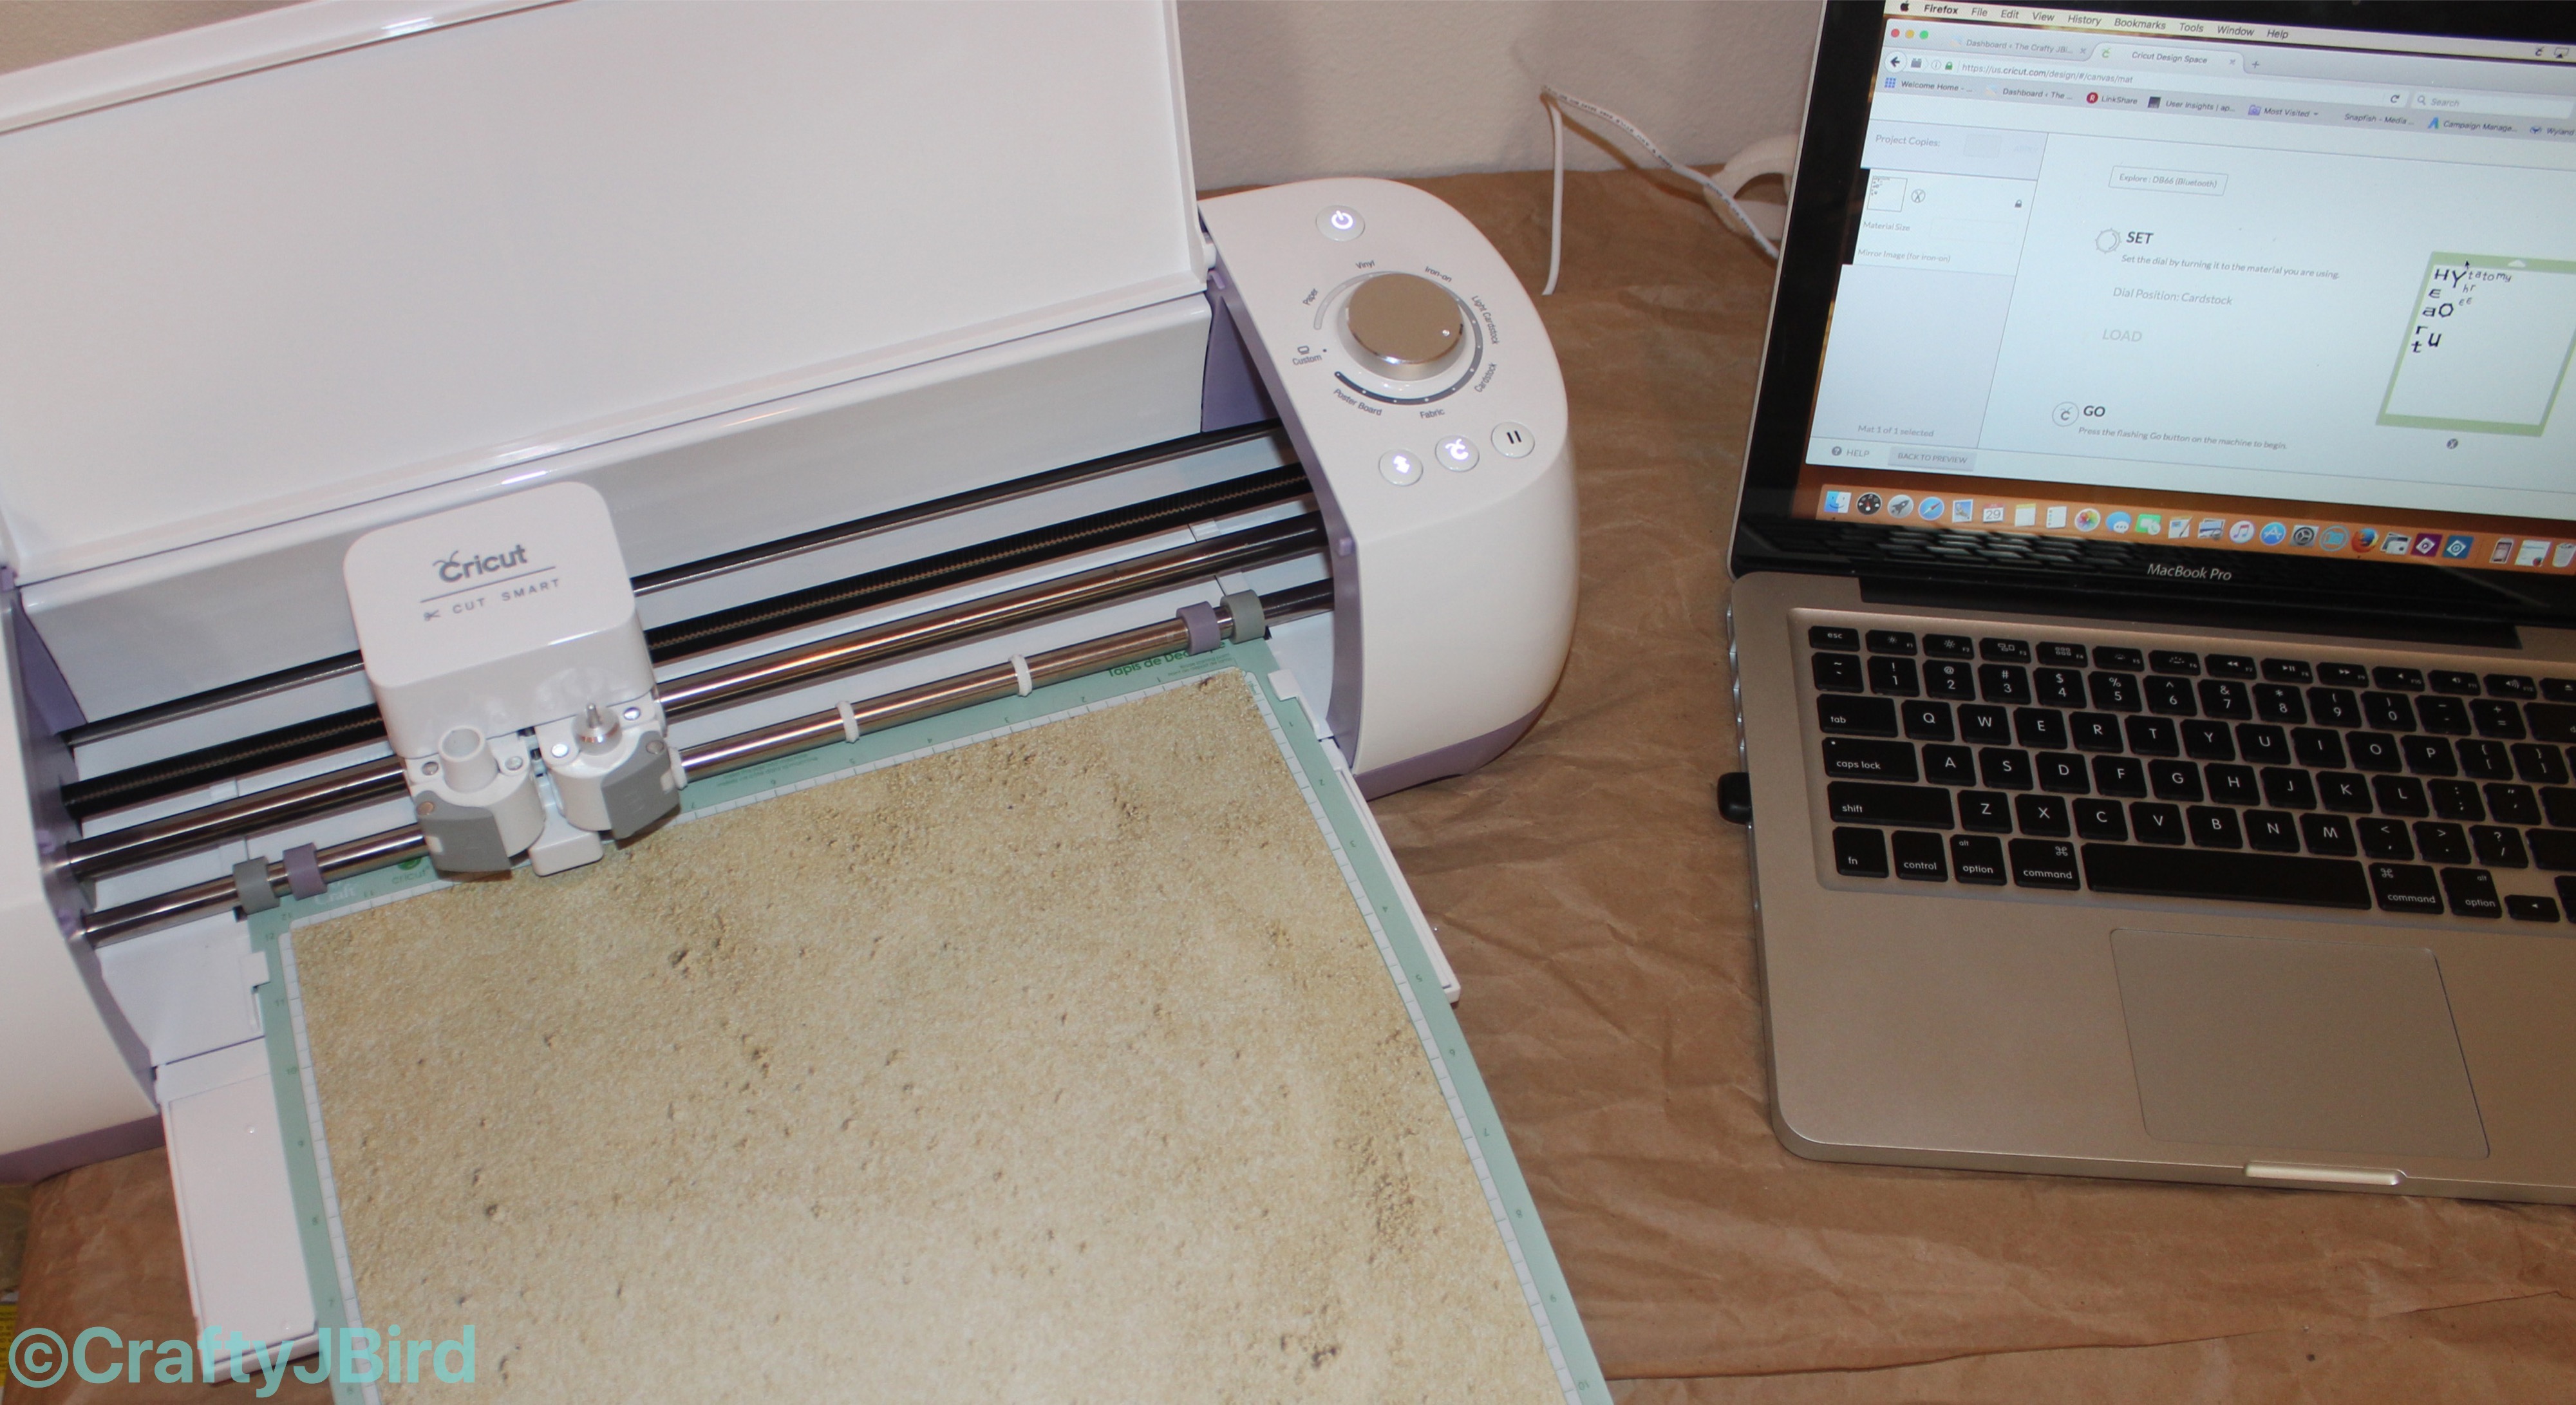
- Cricut Explore or Explore Air Machine
- Design Space
- Cricut Mat
- Computer
- Paper cutter
- Scissors
- Adhesive
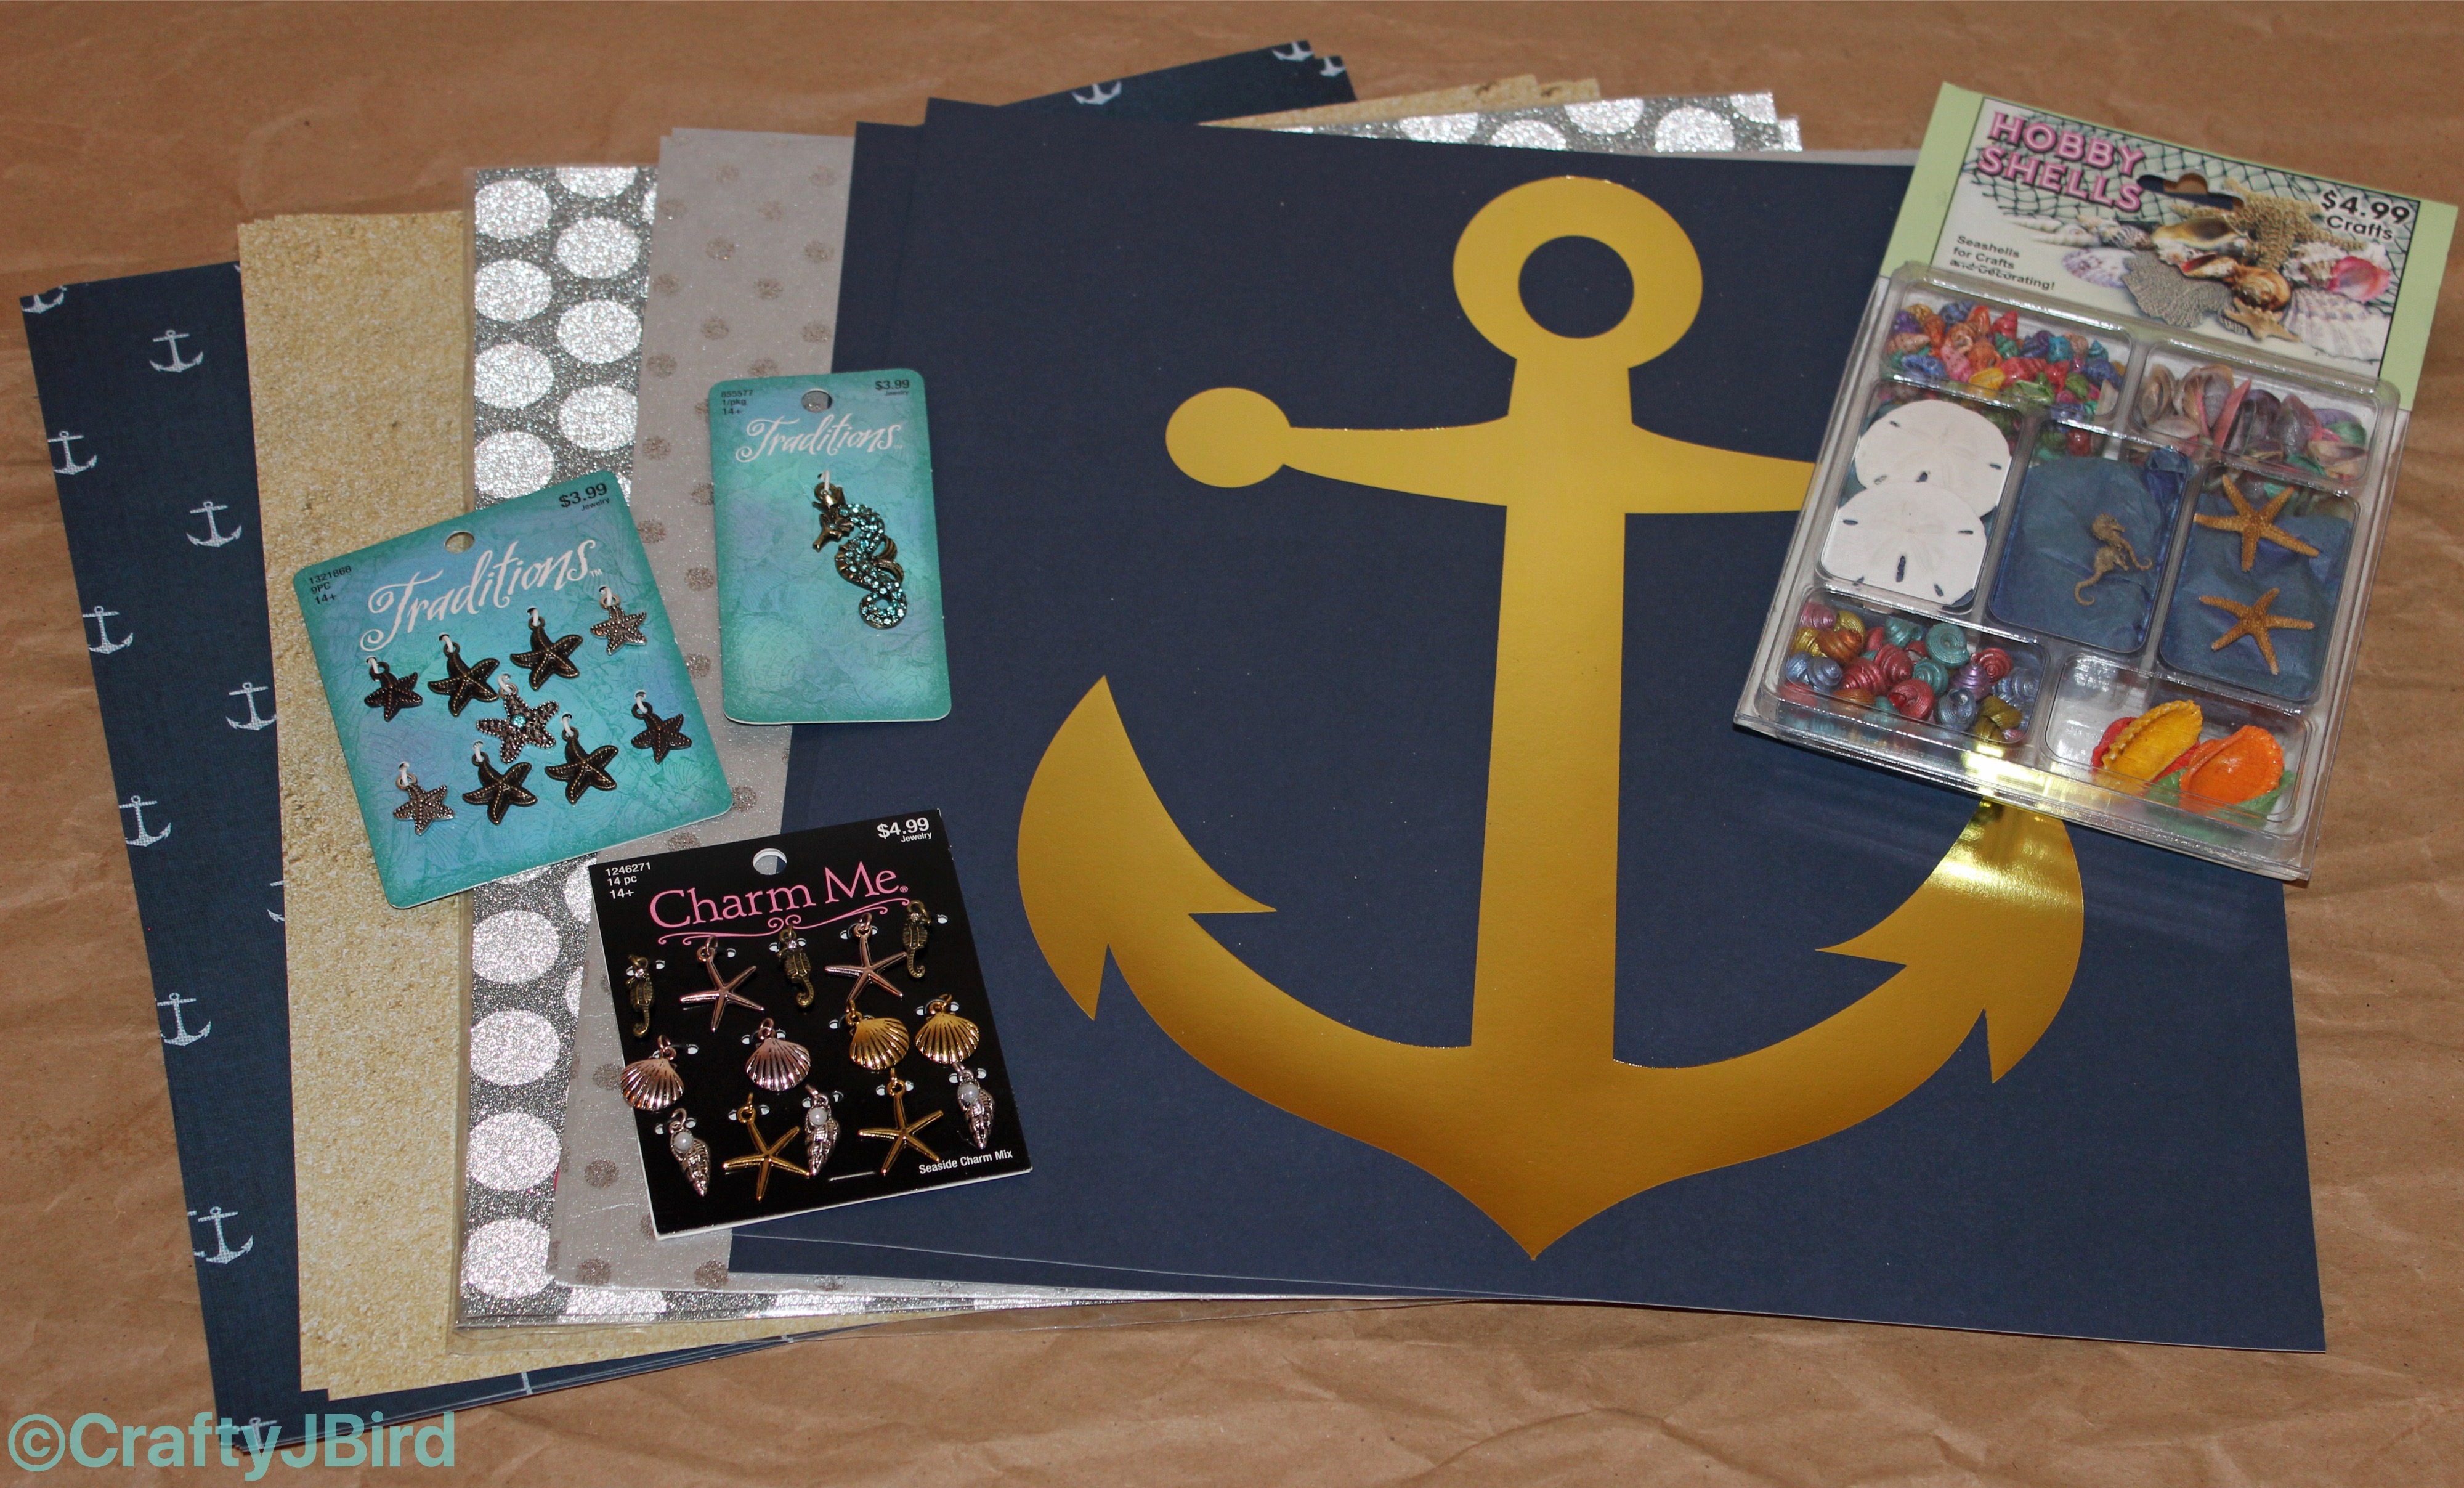
- Dark Blue Cardstock
- White Anchor on Navy Cardstock ($0.59 each)
- Beach Sand Cardstock
- Polka Dot Medium Glitter-Silver Cardstock ($1.99 each)
- Big Silver Polka Dot Cardstock
- Big Anchor Cardstock
- Starfish Charms (optional)
- Mixture of Starfish, Seahorse, and Sea Shells Charms (optional)
- Seahorse Charms (optional)
- Hobby Shells kit (optional)
“You are the Anchor to my Heart”:
Step #1:
First, decide which paper you want to use. I picked up all the paper above not being able to decide then what I wanted to use but then chose what I was going to do once I got started. I end up only using the Dark Blue Cardstock I purchased from Michael’s Crafts Store from their Recollections section; the Polka Dot Medium Glitter-Silver Cardstock I purchased for from The Paper Studio section,the White Anchor on Navy Cardstock also from Hobby Lobby’s The Paper Studio section; and the Beach Sand Cardstock, again from Hobby Lobby.
Step #2:
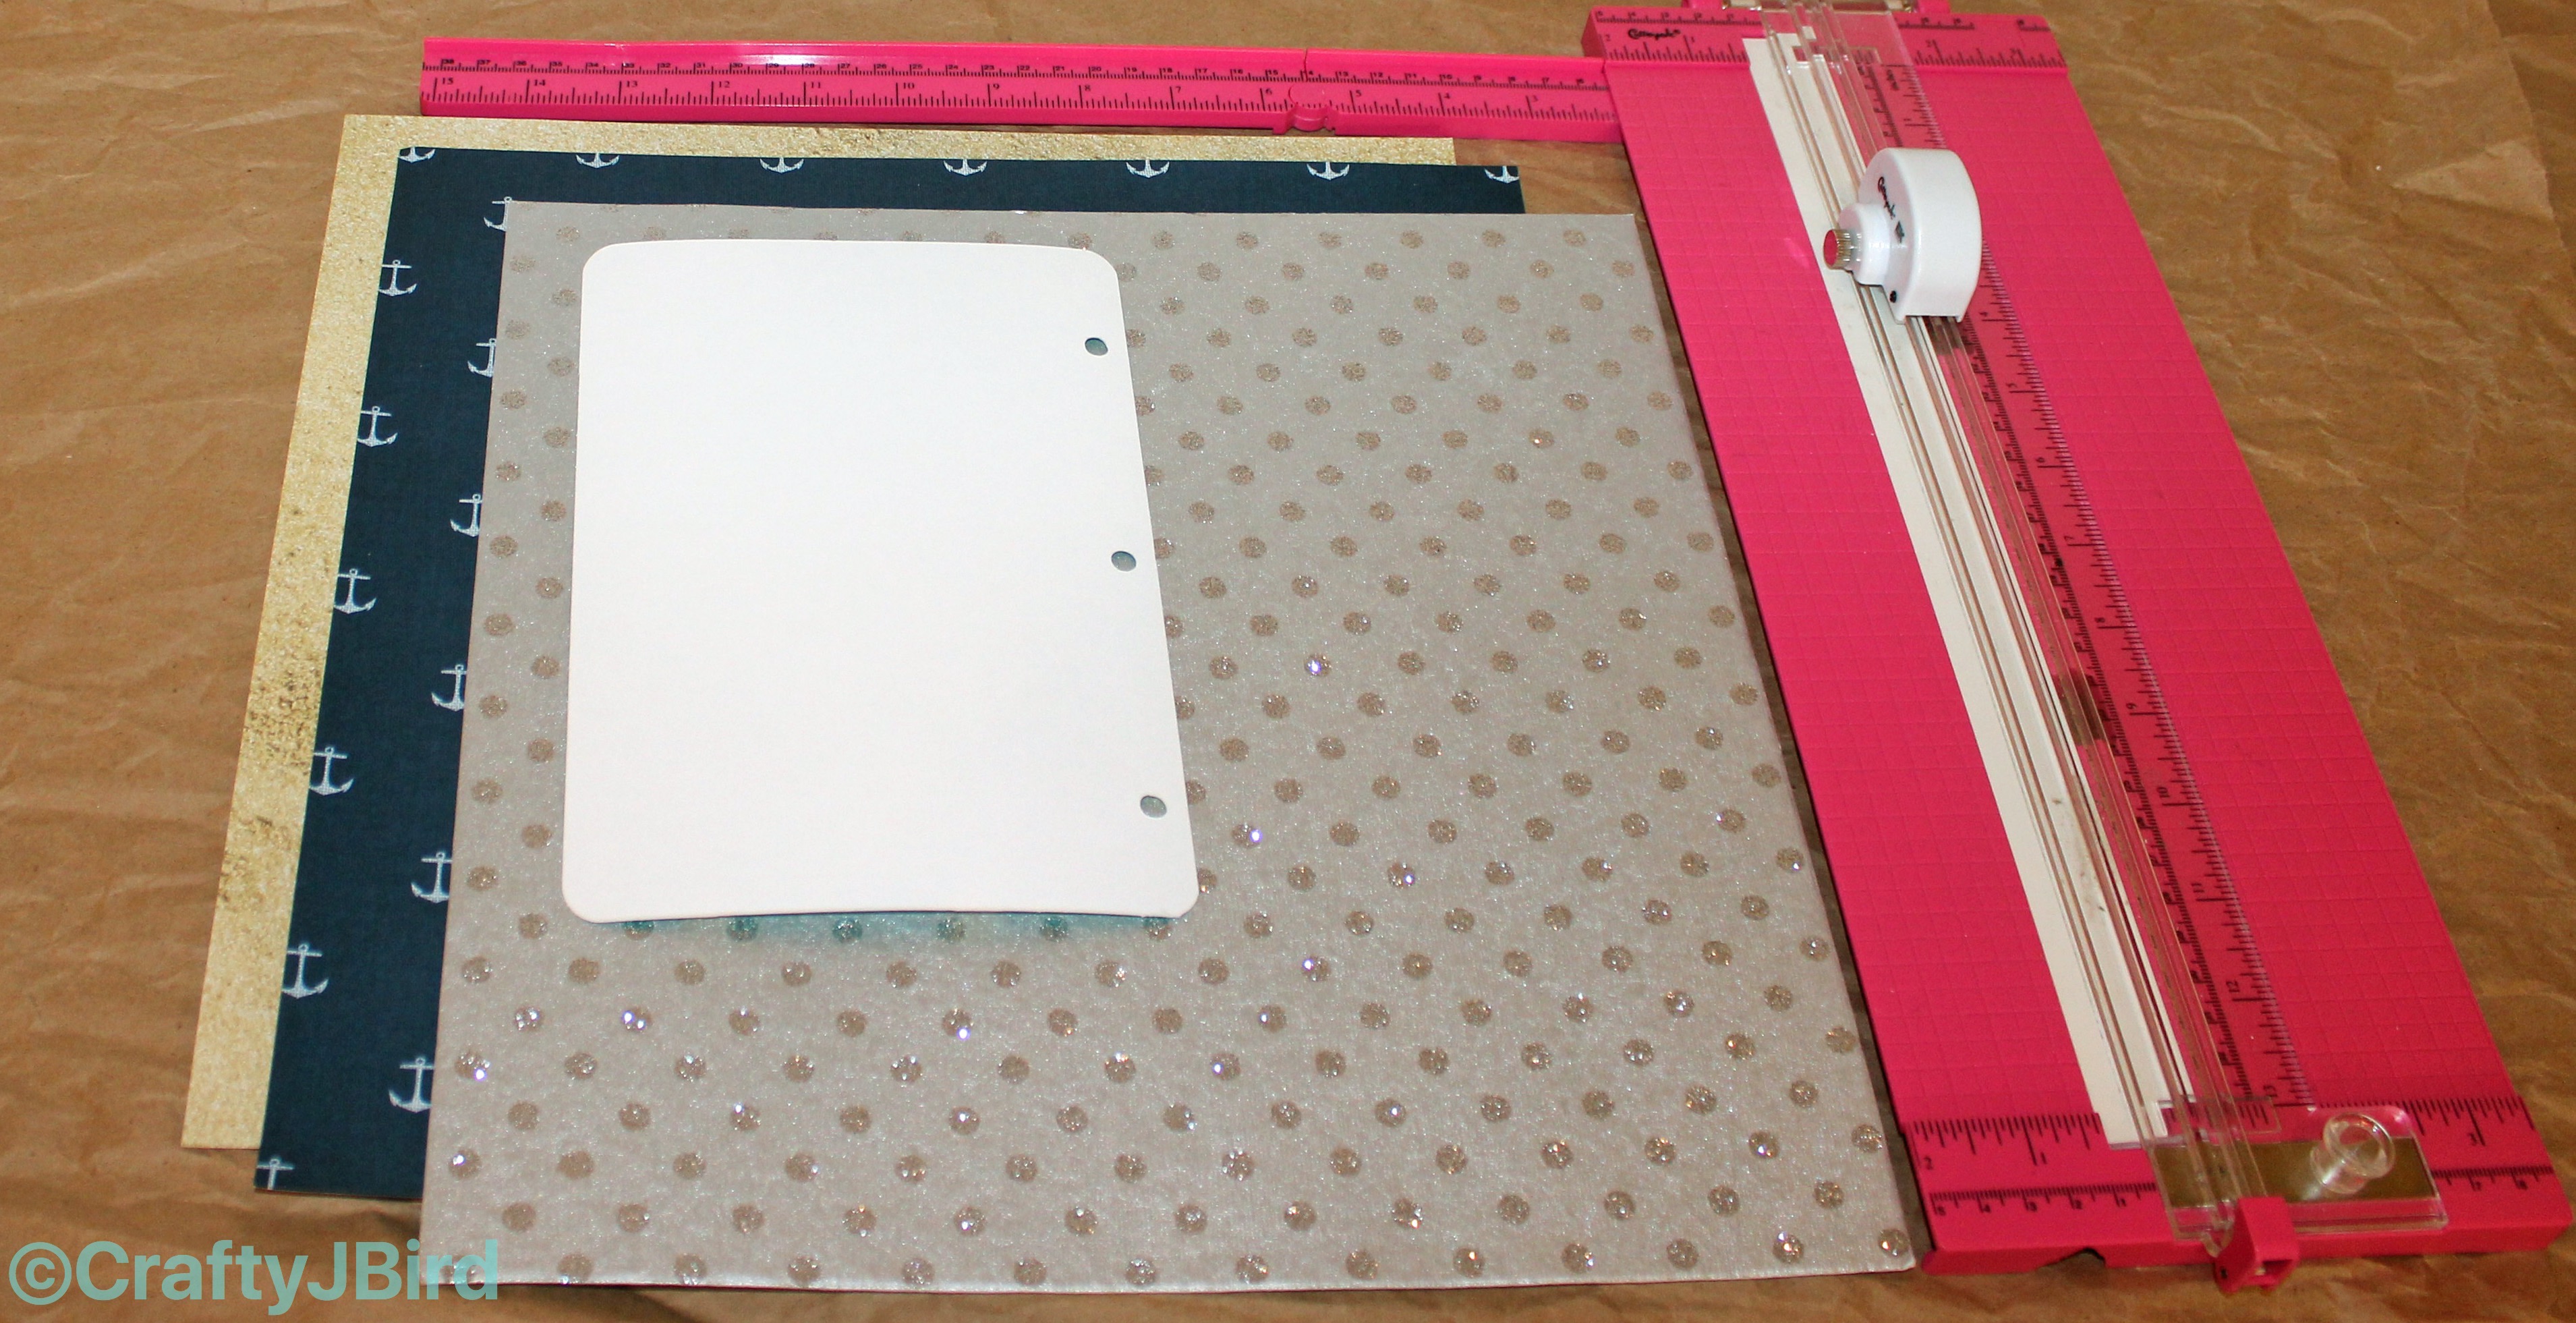 Decide what size pictures you are going to use. I decided for this double page layout, if I were putting pictures on it, I would use 5.5 by 8 on both sides. However, you could always change it up and use 5.5 by 8 on one side and two 4 by 4 on the other side. For props, I used one of the planner inserts I made on Monday’s Make it Monday project; which you can find here.
Step #3:

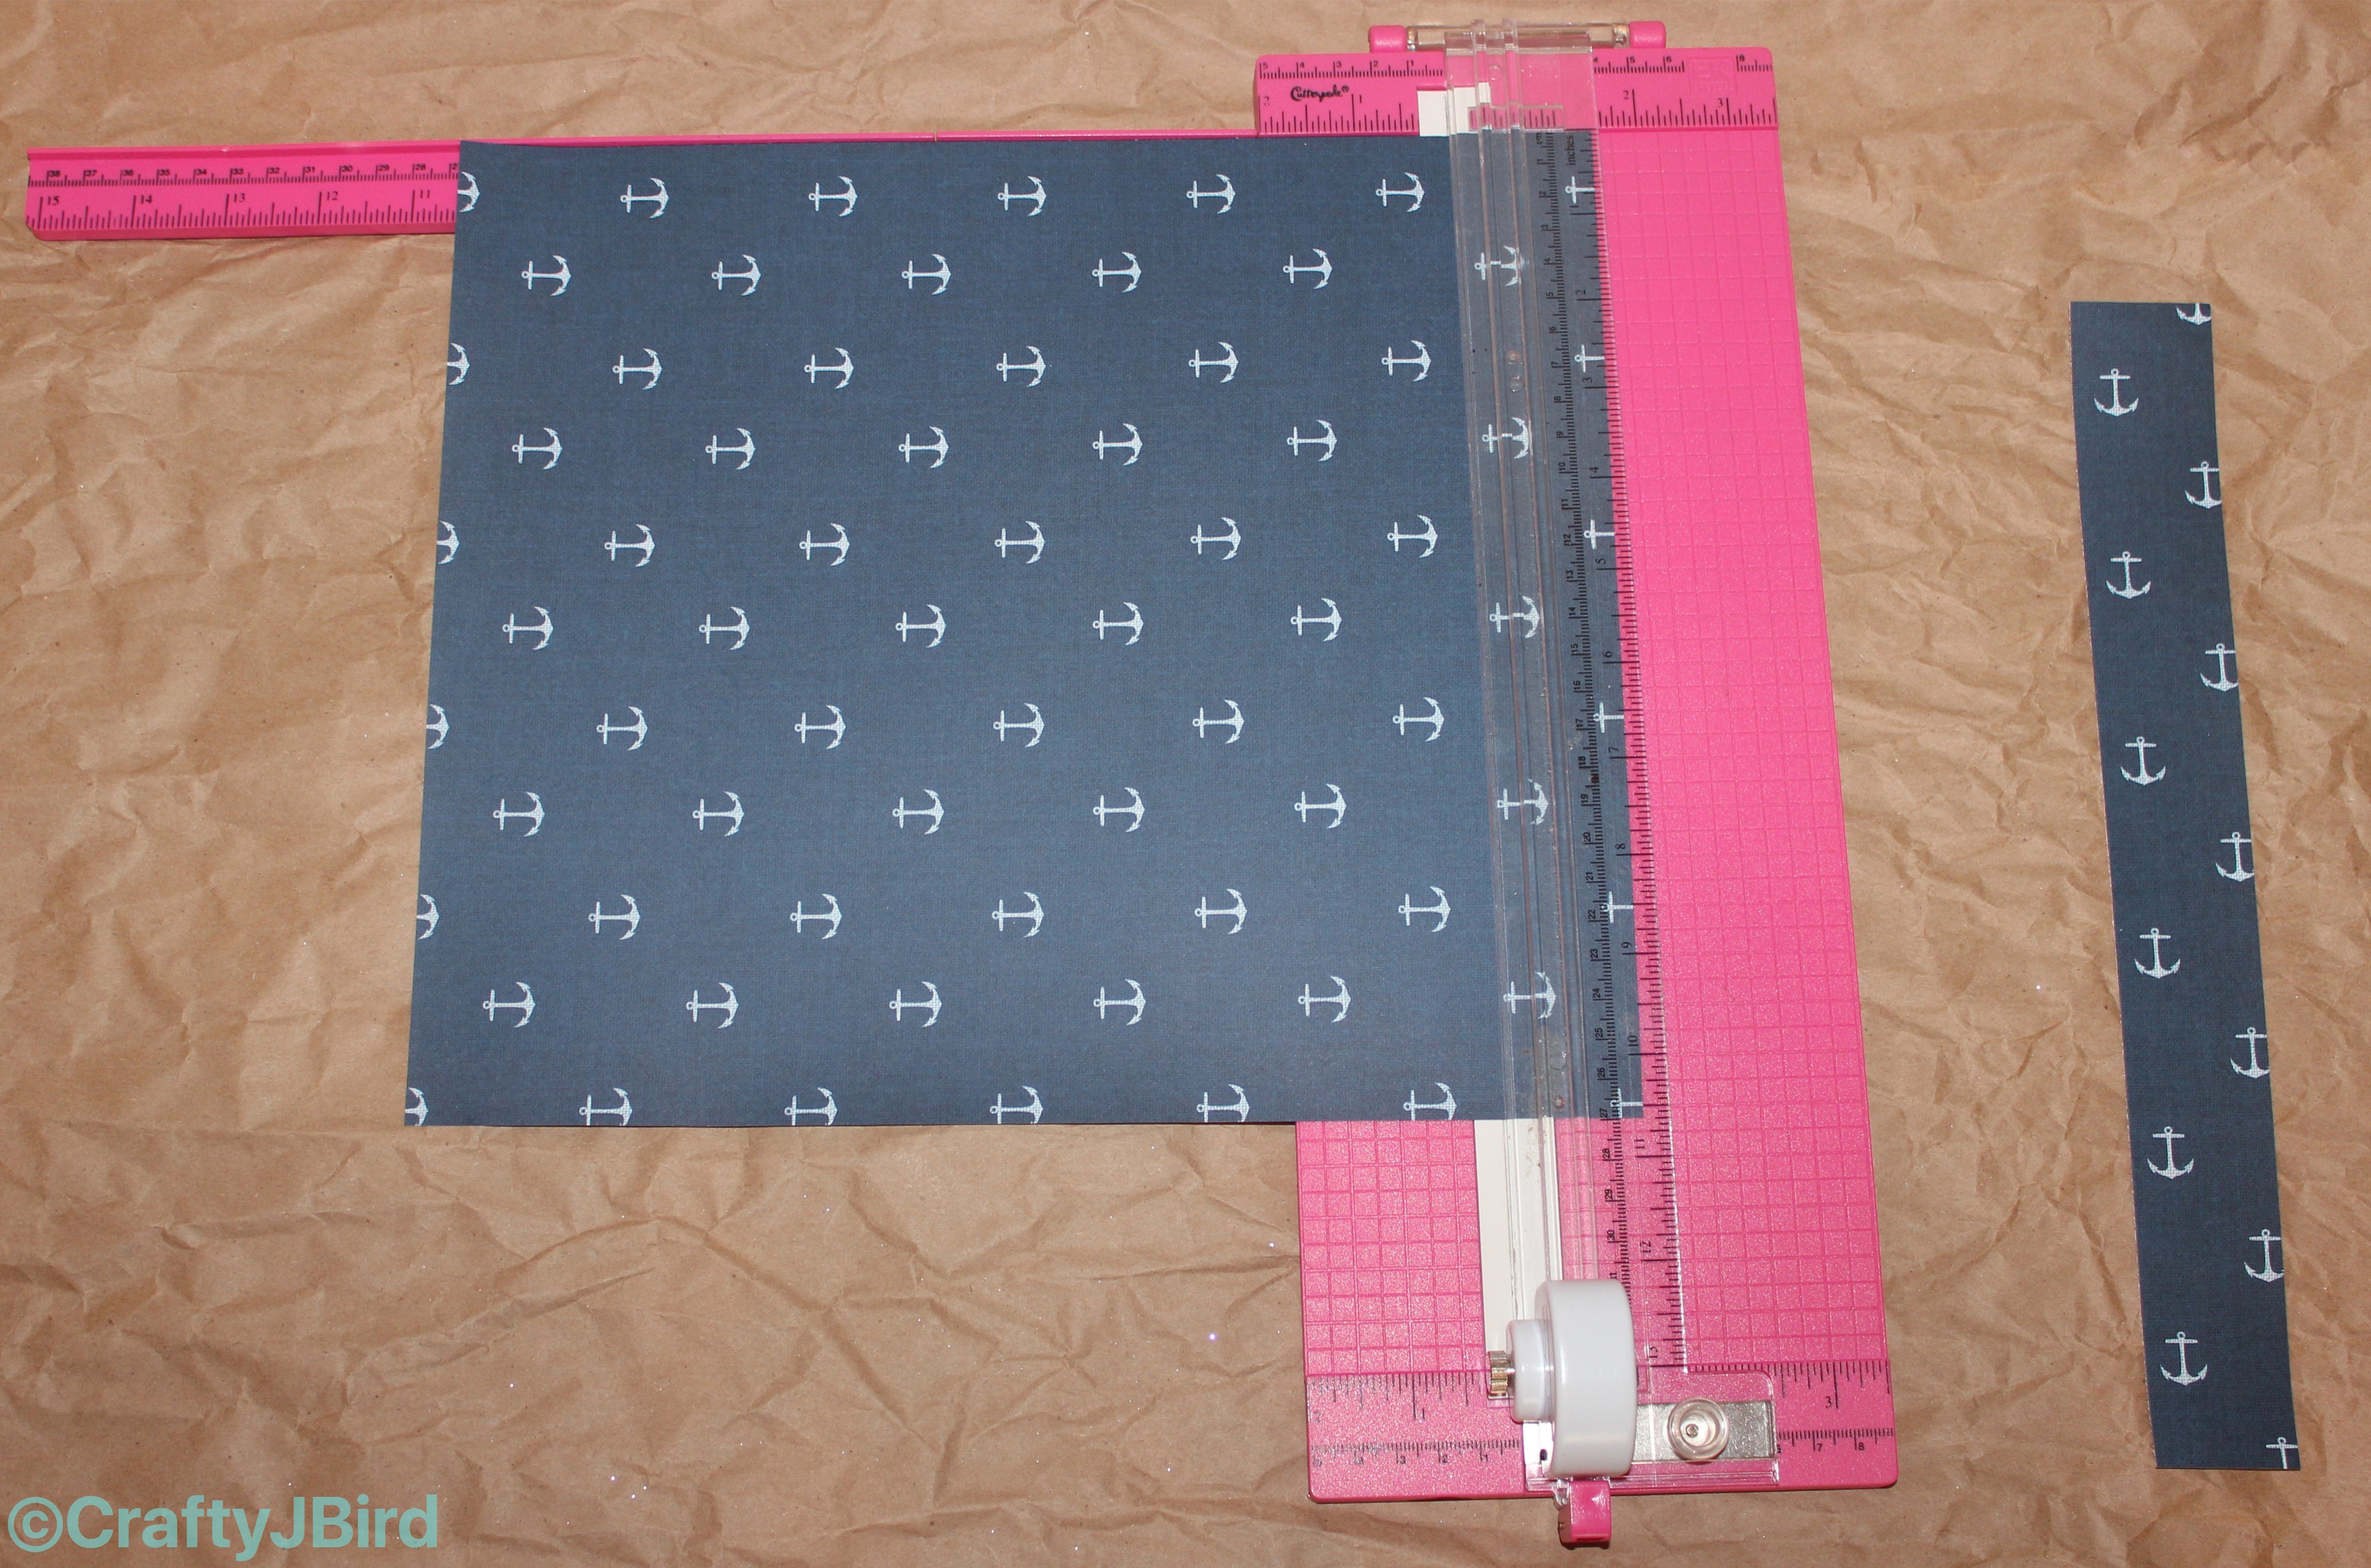
Cut the cardstock to size. First, using the White Anchor on Navy Cardstock to go on top of the Dark Blue Cardstock used as the background, I cut it down to 10.5 by 10.5. Next, I used the Polka Dot Medium Glitter-Silver Cardstock to put on top of the White Anchor on Navy Cardstock cutting it down just enough to have a nice baking for a photo, which ended up being in this case, 6.5 by 9. I did this for both sides of the layout.
Step #4:
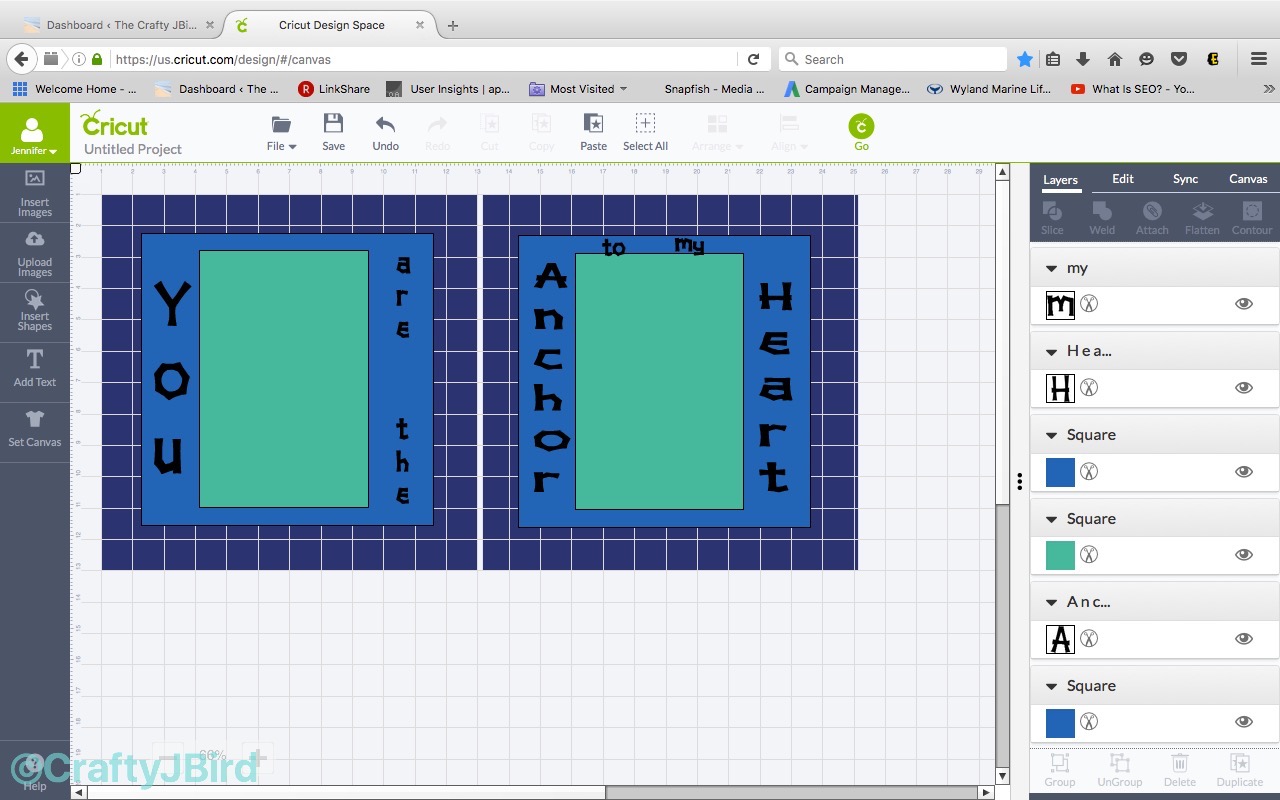 Cut letters out with Cricut Explore or Explore Air in Design Space. I love how the Design Space allows you to pick a “Canvas” to create your project. For this project, I chose the “Double Page Canvas” and then added a ‘square’ to each page to pose as the White Anchor on Navy Cardstock and then added another ‘square’ to each page to pose as the Polka Dot Medium Glitter-Silver Cardstock.
 After I ‘finished’ the layout to that point, I added the words and placed them the way I thought would look good making them the sizes I thought would work. This process makes things like this in the Design Space so much easier than having to keep re-cutting the letters or objects out over and over trying to find the right size. Though I cut all the words out on both sheets of cardstock thinking originally I would overlap them, I ended up using the Beach Sand Paper for the words “are,” “the,” “to,” and “my” and the Polka Dot Medium Glitter-Silver Cardstock for the words “You,” “Anchor,” and “Heart.” You can see those video #1 here and Video #2 here.
Step #5:
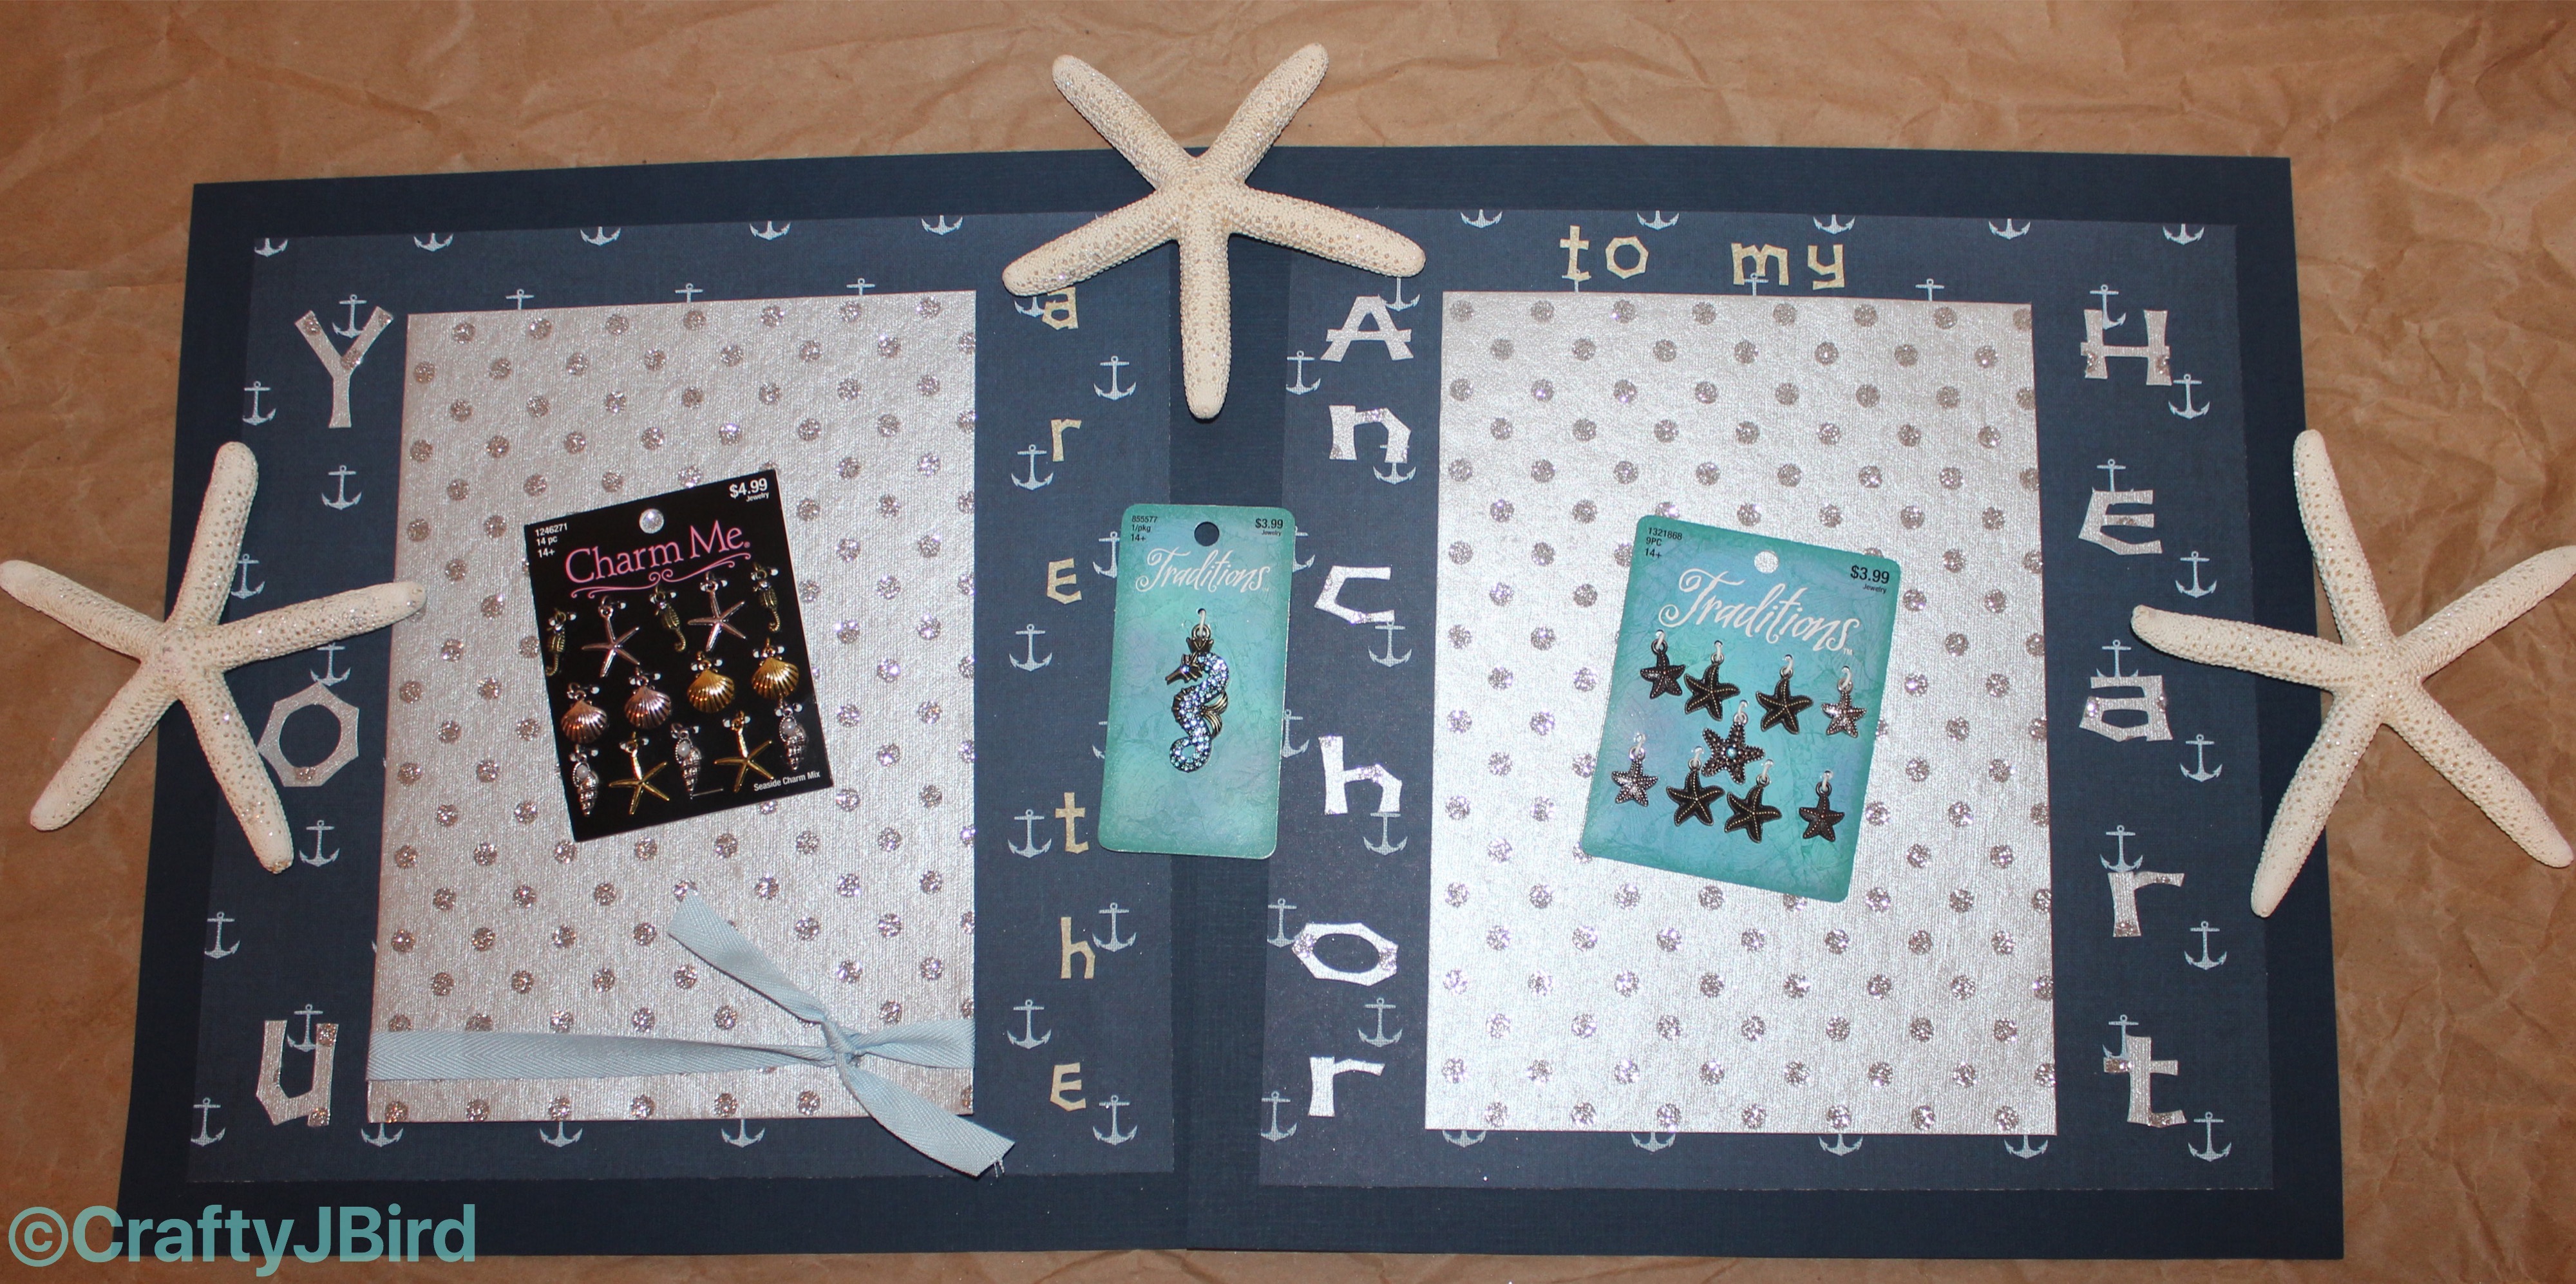 Putting it all together. I put everything in place layer by layer and letter by letter. Then I added a light blue colored ribbon to the first page where the photo would stick under it. You obviously don’t have to add the ribbon but that seems to be the thing these days. Another thing you can add if you want are the charms.
I purchased my charms from Hobby Lobby, but didn’t add them. I’m thinking either the Starfish Charms or Mixture of Charms could look nice outlining various places around the Dark Blue Cardstock. You can always of course pick out another beachy or ocean type charm to put on to add pizazz, but again that’s totally up to you.
I also purchased the Hobby Shells Kit but didn’t use it. I was thinking of putting together a small shaker box, but then I decided against it. Don’t know how to do a shaker box? Check back at a later date and I will demonstrate of how to put one together.
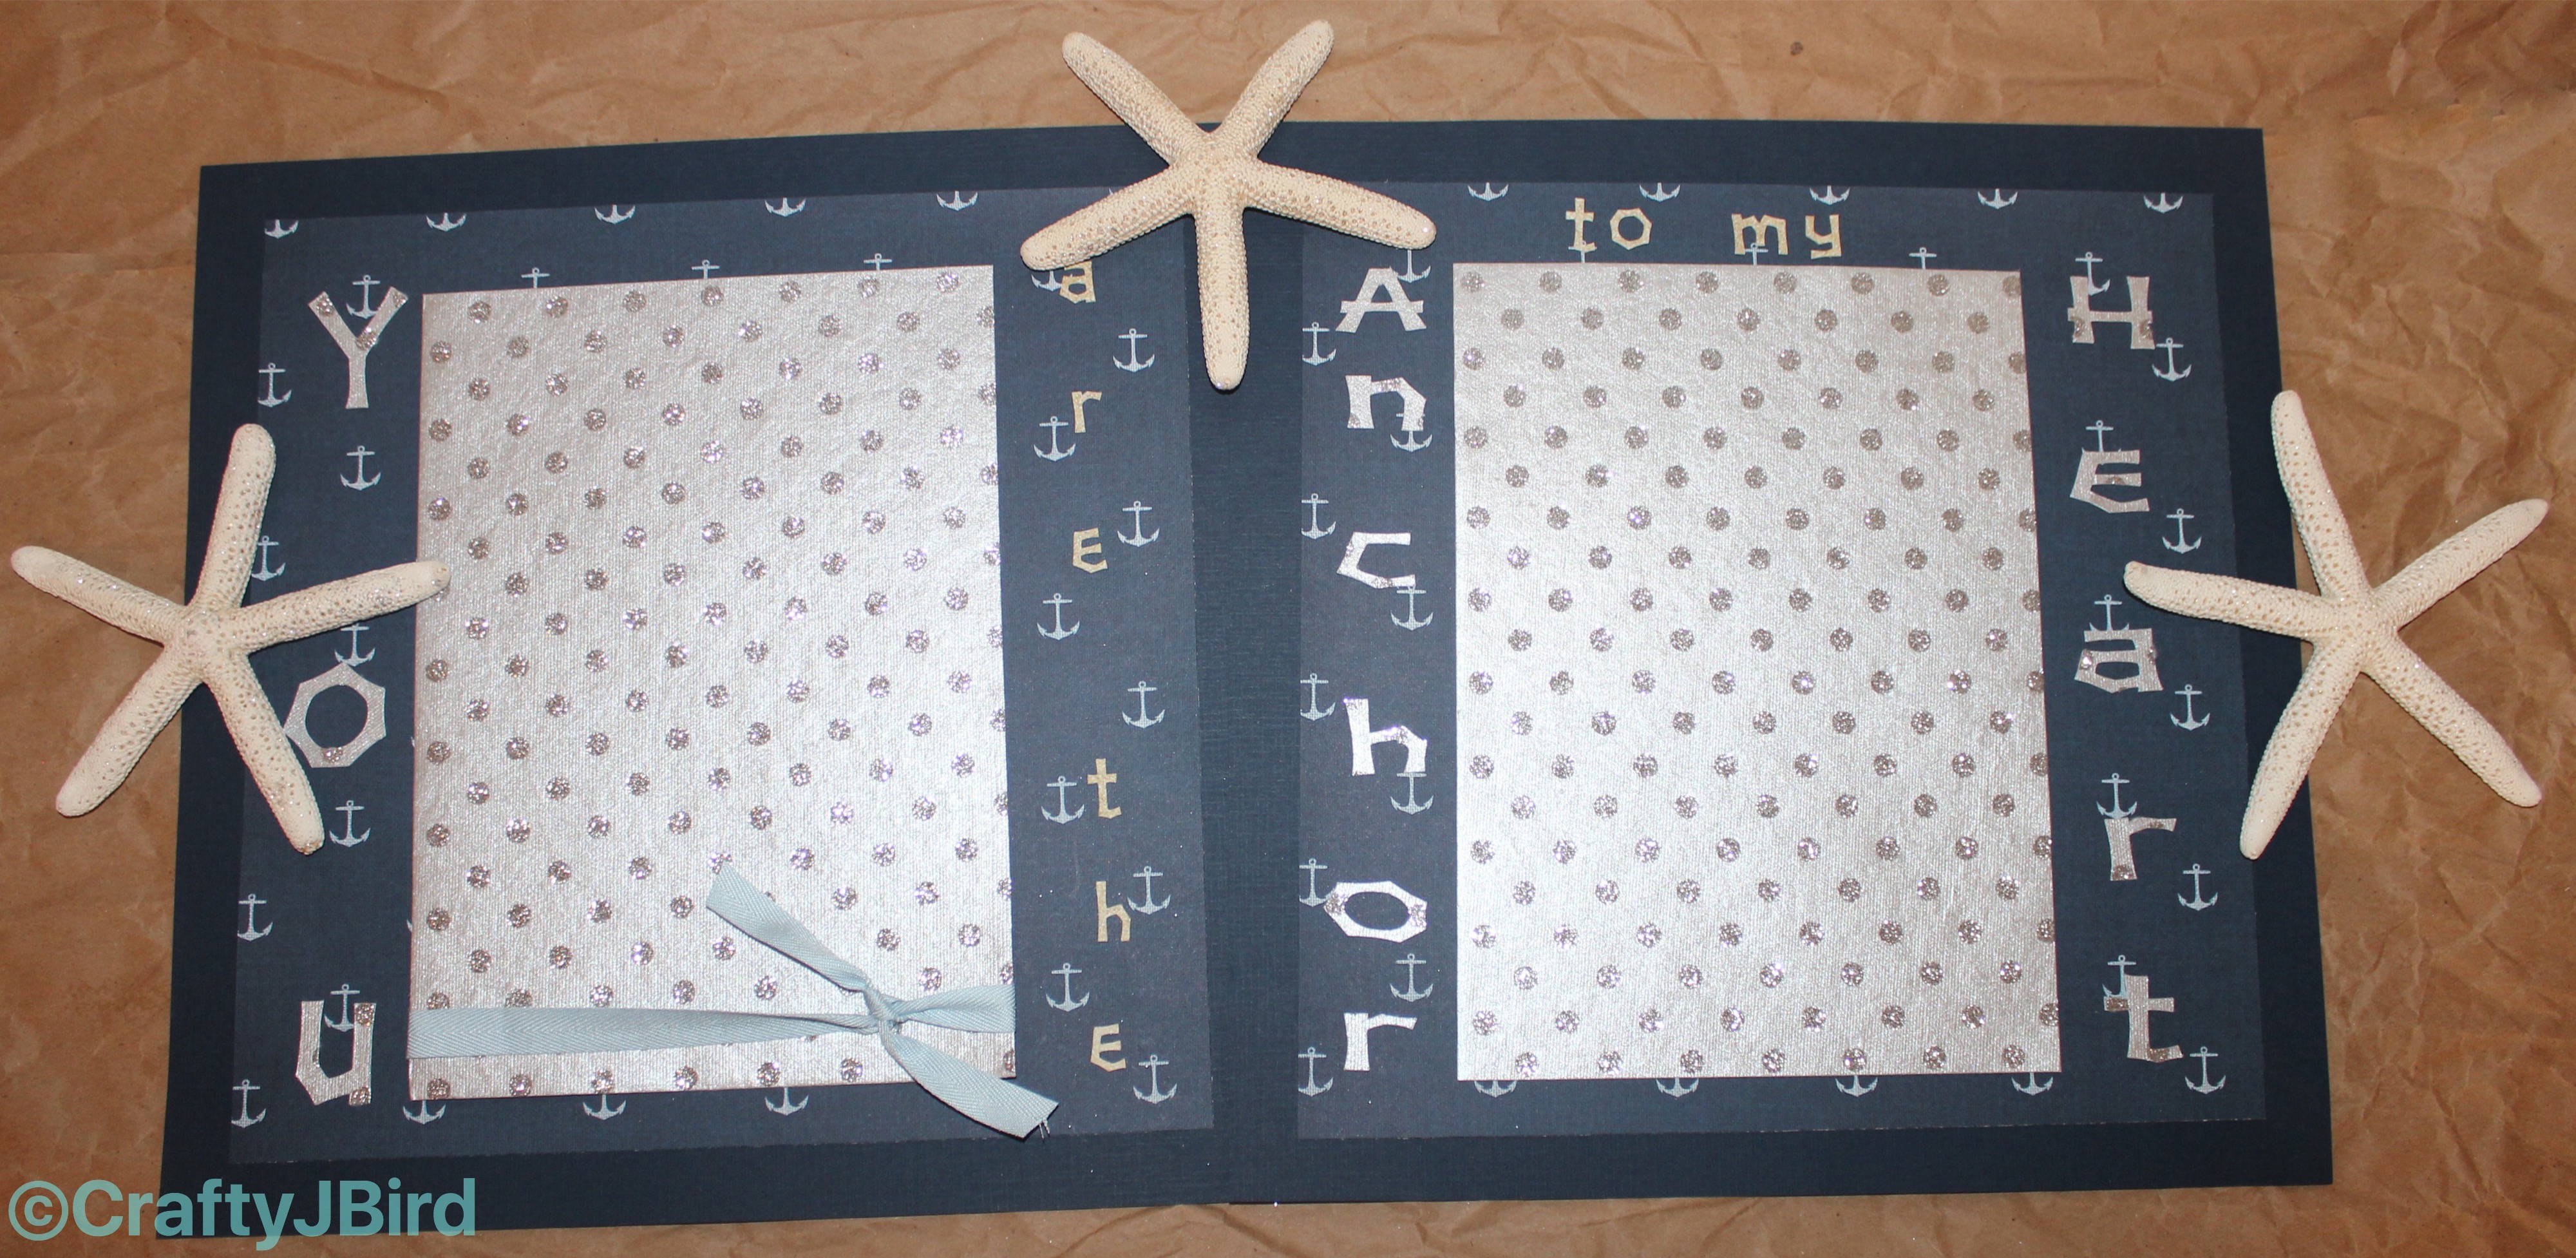
There ya go! Another scrapbook project ready to put to use. Hope you enjoyed!
Have any questions about the project? Please feel free to comment below and I’ll try to respond back as soon as possible! Thanks for visiting! Hope to see you again!
Please be sure to check out my other posts for each day of the week if you have not done so yet. Be sure to sign up for my e-mails at the bottom of this page.
Have a great day!!
Please be sure to follow me on Instagram @craftyjbird
Also be sure to ‘like’ me on Facebook! Link at bottom of the page.
Thanks again!!